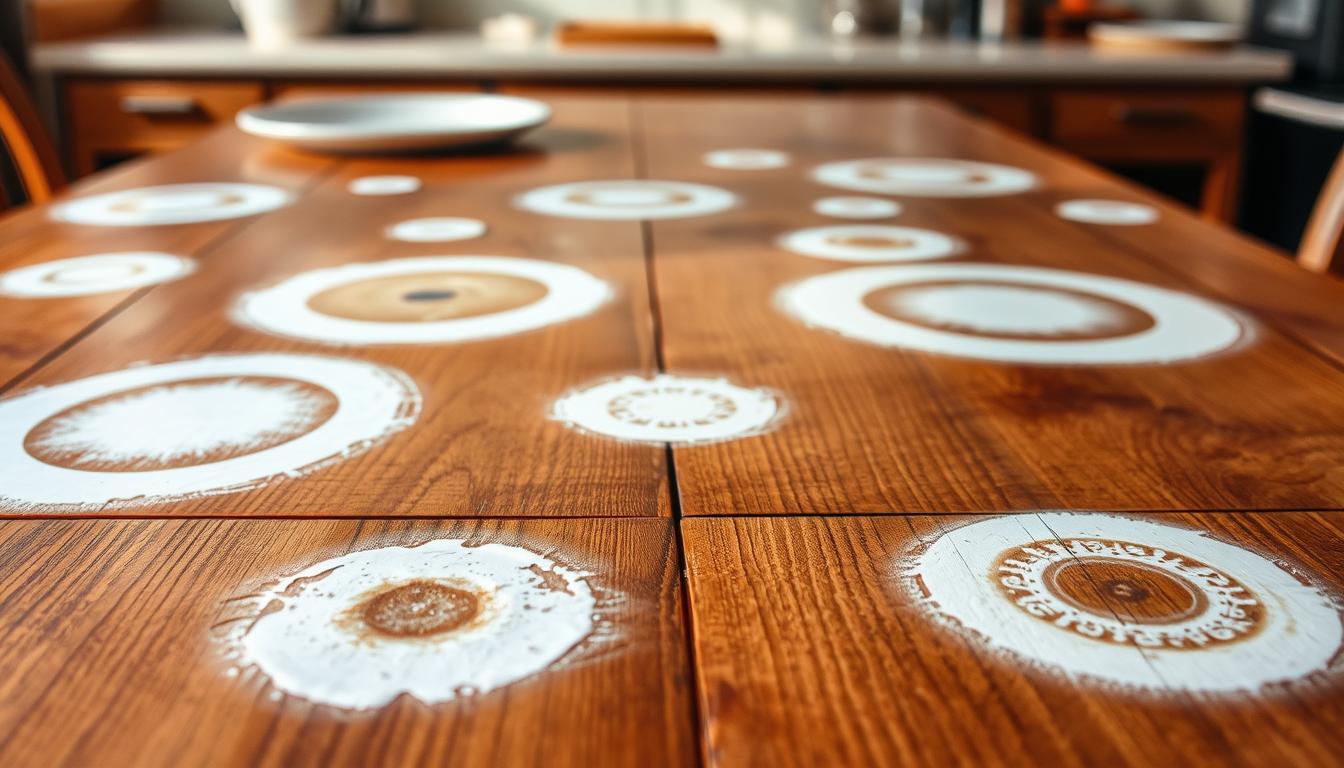
White heat stains are those cloudy, pale marks that appear when a hot mug, plate, or pizza box traps moisture under a finish. You can usually tell they are not burned because the wood beneath looks intact and the mark is white or cloudy rather than dark.
You can often restore your wood table or furniture at home with simple, finish-friendly steps. Fast action helps: many marks lift with gentle heat, mild pastes, or oil-based rubs that coax moisture out. Older or deep stains may need more time or refinishing.
This guide focuses on safe methods so you don’t turn a temporary white mark into permanent surface damage. You’ll get quick, proven home fixes first, then options for refinishing if the stain won’t budge.
Key takeaways: Identify cloudy white marks as moisture-related, try gentle fixes first, and move to refinishing only if needed.
Why White Heat Stains Happen on Wood Tables and Furniture
When a warm object sits on a varnished table, it can force steam under the protective layer and leave a white haze. That haze is usually trapped moisture under the finish, not burned wood.
How this works:
How warm contact opens pores and lets moisture in
Heat briefly expands tiny pores in the wood and the finish. Steam or moisture moves into those open pores while the wood is warm. As the area cools, pores shrink and lock that moisture below the top coat.

Why the mark looks cloudy and why timing matters
The clouded look comes from light scattering where water sits beneath the finish. Over time that trapped moisture can stabilize and bond, making the mark harder to shift.
- It’s usually a moisture issue under the finish, not damaged fibers.
- The finish can hide the problem while also holding moisture in place.
- Act quickly: the longer moisture sits, the tougher the mark becomes.
- White haze differs from scorched dark marks; scorched wood needs different repair.
- Most fixes either rewarm the area to reopen pores or use mild products to draw out moisture.
- Knowing the cause helps you pick the gentlest, safest method for your furniture.
Before You Start: Protect the Wood Finish and Prep the Stained Surface
Take a few careful prep steps to keep your wood surface safe while you work. These steps cut the risk of rubbing grit into the finish and help you judge how aggressive a method should be.
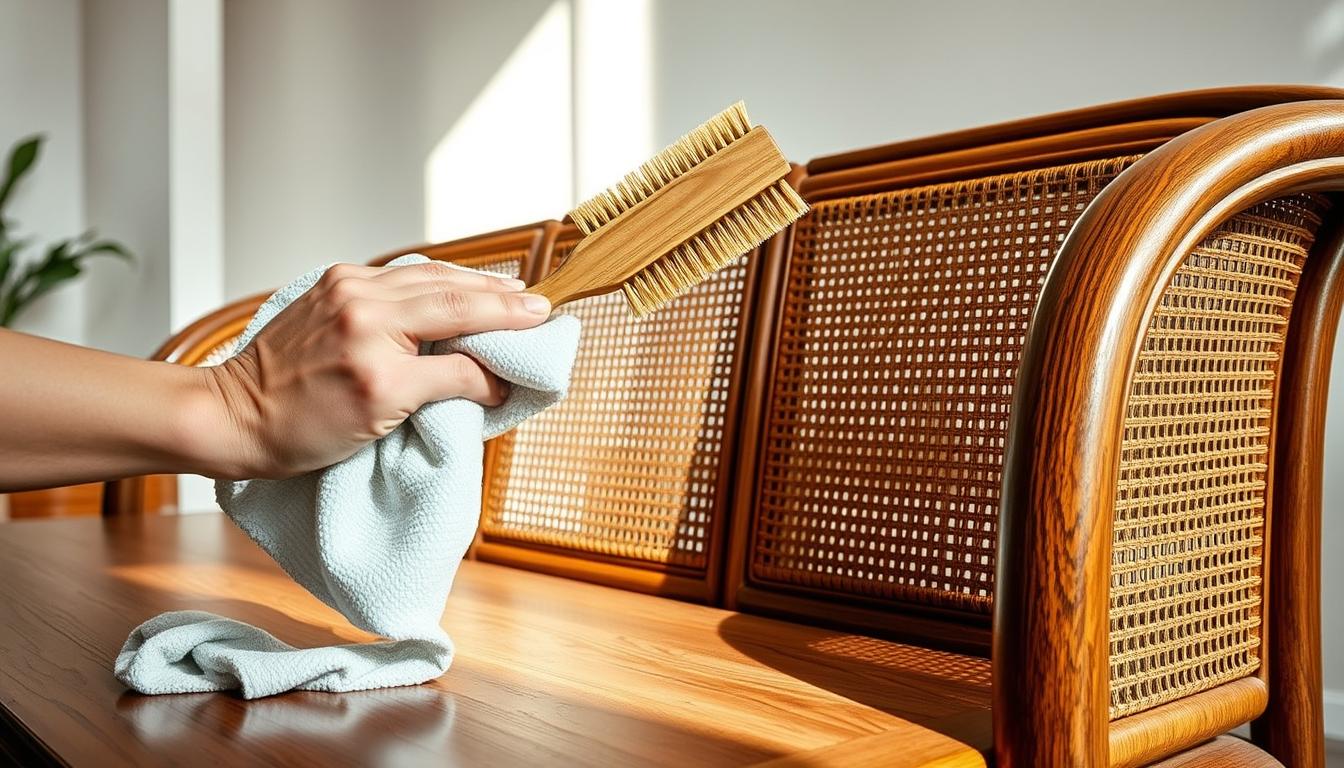
Wipe the area first. Use a clean cloth or one of your microfiber cloths to remove dust and crumbs. This simple cleaning step prevents tiny particles from scratching the finish as you treat the stain.
Always spot-test. Try any product or technique in a hidden spot before you touch the visible mark. A small test shows whether the finish will dull, discolor, or react badly to the method you plan to use.

- Work in short intervals and use light pressure; check the area often so you don’t overdo it.
- Avoid steam from an iron, overheating one spot, or spreading abrasive pastes beyond the stain.
- Have microfiber cloths, clean rags, and a towel barrier ready so you don’t improvise with rough materials.
Follow these guardrails and you’ll protect the finish and give yourself the best chance to lift the stain without causing more damage.
Removing heat stains: Proven Home Methods That Release Trapped Moisture
Simple, safe techniques can often draw moisture out and lift cloudy marks from wood surfaces. Start by wiping the area with a clean microfiber cloth so you don’t grind grit into the finish.
- Hair dryer method: Hold the dryer a few inches from the spot on the lowest warm setting and move it back and forth. Watch the cloudy mark fade in minutes as moisture evaporates. Start low and only raise the setting if needed.
- Clothes iron option: Place a clean towel over the stain and use the iron at the lowest setting. Do not use steam. Check under the towel often and keep the iron moving to avoid overheating one area.
- Toothpaste + baking soda paste: Mix plain white non-gel toothpaste with baking soda into a paste. Apply only to the mark, let sit about five minutes, then wipe gently with a clean rag. Repeat short cycles rather than scrubbing hard.
- Mayonnaise or petroleum jelly: Rub 1–2 tablespoons into the spot with a clean cloth. Let the oil sit for a few hours or overnight so it can penetrate pores and coax out trapped moisture. Petroleum jelly is thicker and stays put on vertical edges.
- Salt and olive oil paste: Mix salt with olive oil into a paste, leave about an hour, then wipe clean. The salt helps absorb discoloration while the oil nourishes the wood.
After any method succeeds, buff the area with a soft cloth to restore shine and blend the repair into the surrounding surface. If the mark persists, move to the refinishing options in the next section.
When DIY Isn’t Enough: Refinishing Options and Heat-Stain Prevention
If short fixes stop working, controlled sanding and a careful reseal can save the piece without a full refinish. You should consider this only after you’ve tried gentle home steps and the cloudy mark won’t change over time. Limit sanding to the stained patch so the surrounding finish stays consistent.
When sanding and resealing makes sense
Sanding is a last-resort repair when the finish is compromised or the stain has set. Lightly sand the affected area, feather the edges, and apply a matching varnish or topcoat. Work in small passes and let coats dry fully before buffing.
When to call a restoration expert
Call a pro if the piece is antique, veneered, high-gloss, or has sentimental value. A technician can identify the original finish and avoid mistakes that lower value.
Prevention and maintenance
- Daily checklist: Use coasters, placemats, trivets, and runners to shield your table from hot plates and boxes.
- Don’t set hot takeout boxes or laptops directly on wood; short contact can still cause cloudy marks.
- Re-oil or reseal on a schedule to keep the finish less permeable to moisture.
- Choose varnishes designed for heat resistance to give furniture better long-term protection.
Conclusion
Act quickly when you spot a cloudy ring on your wood. Most white marks come from trapped moisture under the finish, so early action improves the odds of a full recovery.
Start gentle: apply low warm treatment and light cleaning, then try a mild paste or oil if the mark holds. Work in short bursts, use light pressure, and check often to avoid new damage.
If the stain stays after several careful attempts, consider targeted sanding and resealing or hire a pro. That preserves the finish and restores the surface evenly.
Prevention is key. Use coasters and barriers, maintain the finish, and treat fresh spots right away—over time this reduces repeat problems and keeps your wood looking its best.