You want a simple way to clean painted furniture so the finish stays flawless. This short guide shows how low-friction tools, mild solutions, and quick drying protect paint and keep surfaces even. Proper upkeep can extend the lifespan of painted surfaces by up to 40%.
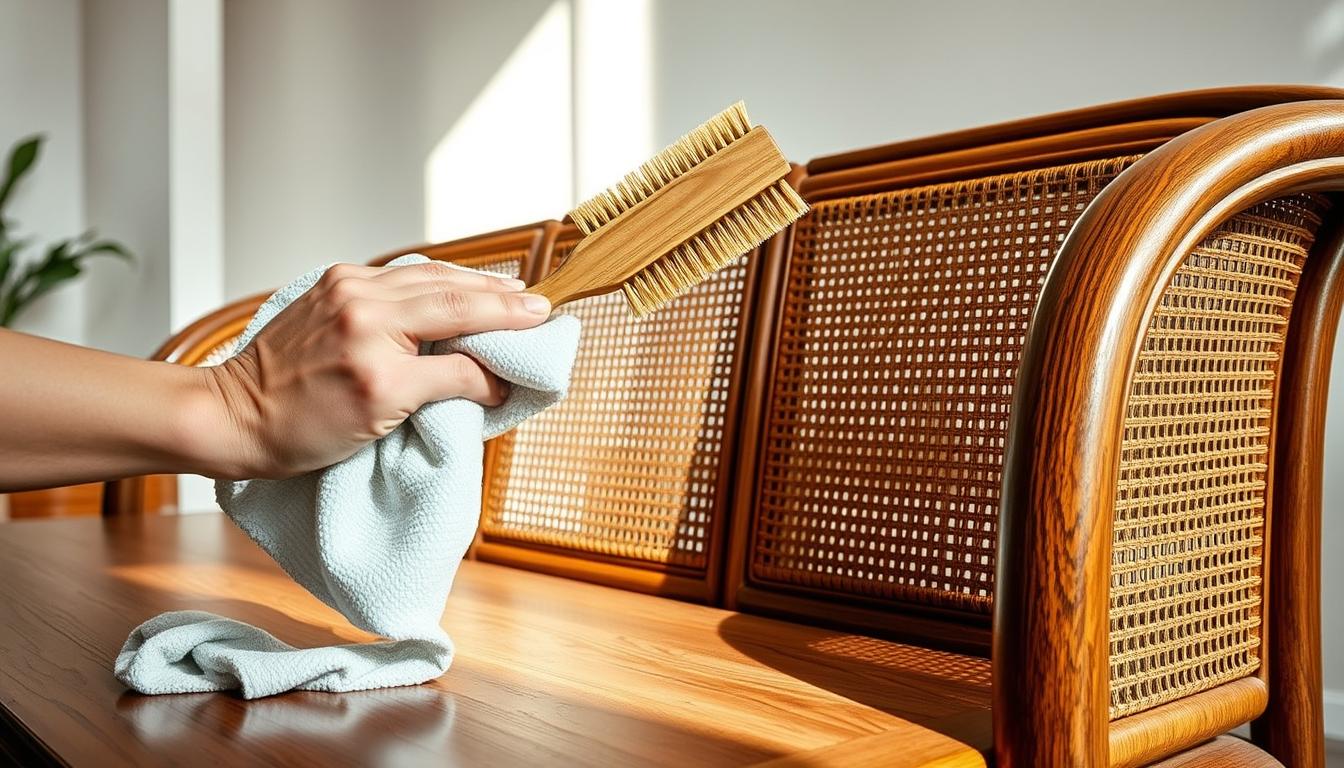
Start with soft microfiber cloths and non-abrasive sponges. Apply the solution to the cloth, not the piece, then wipe. Rinse the cloth, wipe again, and dry immediately to avoid residue or water spots.
This method works for dressers, nightstands, and cabinets in your home. It favors gentle care over aggressive deep-cleaning. You’ll limit chips, peeling, and dull patches while saving time and touch-ups.
Follow a clear routine: assess the finish, choose mild tools, mix a gentle solution, wipe with control, rinse, and dry. These steps keep your furniture looking consistent and cut the need for repairs.
Why painted wood furniture chips during cleaning and how to prevent it
Small scrapes, trapped moisture, and harsh products quietly erode a finish until it peels. Understand the causes so you can protect surfaces during routine cleaning.

Friction and abrasion
Grit plus the wrong cloth or sponge acts like sandpaper. Micro-scratches form and weaken the paint layer.
Scrubbing harder makes this worse, especially on edges and corners where the coat is thin and prone to lift.
Moisture overload
Too much water soaks seams and swells the substrate. That swelling breaks adhesion and can cause bubbling or lifting.
Never let moisture sit; blot or dry right away to avoid long-term damage.
Chemical damage
Strong solvents and harsh chemicals strip or haze the protective layer. Common culprits like acetone or bleach leave a weakened finish.
- Use soft microfiber cloths and damp-not-wet methods.
- Don’t spray cleaners directly onto the surface.
- Rinse and dry to remove residue that attracts dirt.
- Adopt a safe mindset: lift grime, don’t grind it.
Assess your painted surface before you clean
First, look closely at the sheen to decide whether the finish is matte, satin, or high gloss. This quick check tells you how visible streaks or dulling will be after you work and guides the tools you choose.
Identify the finish: matte, satin, or gloss
Matte hides imperfections but can show burnishing from heavy rubbing. Satin balances durability and ease of touch-up. Gloss reveals streaks and is often older or more sensitive, so use extra care.
Consider paint type sensitivity
Latex paint usually tolerates gentle water-based methods better. Oil-based or old coatings can soften or cloud with too much moisture or harsh products. Match your approach to the paint type to avoid damage.
Do a spot test in an inconspicuous area
Pick a hidden area, dampen a cloth with your diluted solution, and wipe very lightly. Wait a few minutes, then check for softening, pigment transfer, or a cloudy patch.
- Red flags: tacky feel, color on the cloth, or sheen loss — stop immediately.
- When safe, proceed; assessment saves you time and prevents uneven clean painted spots.

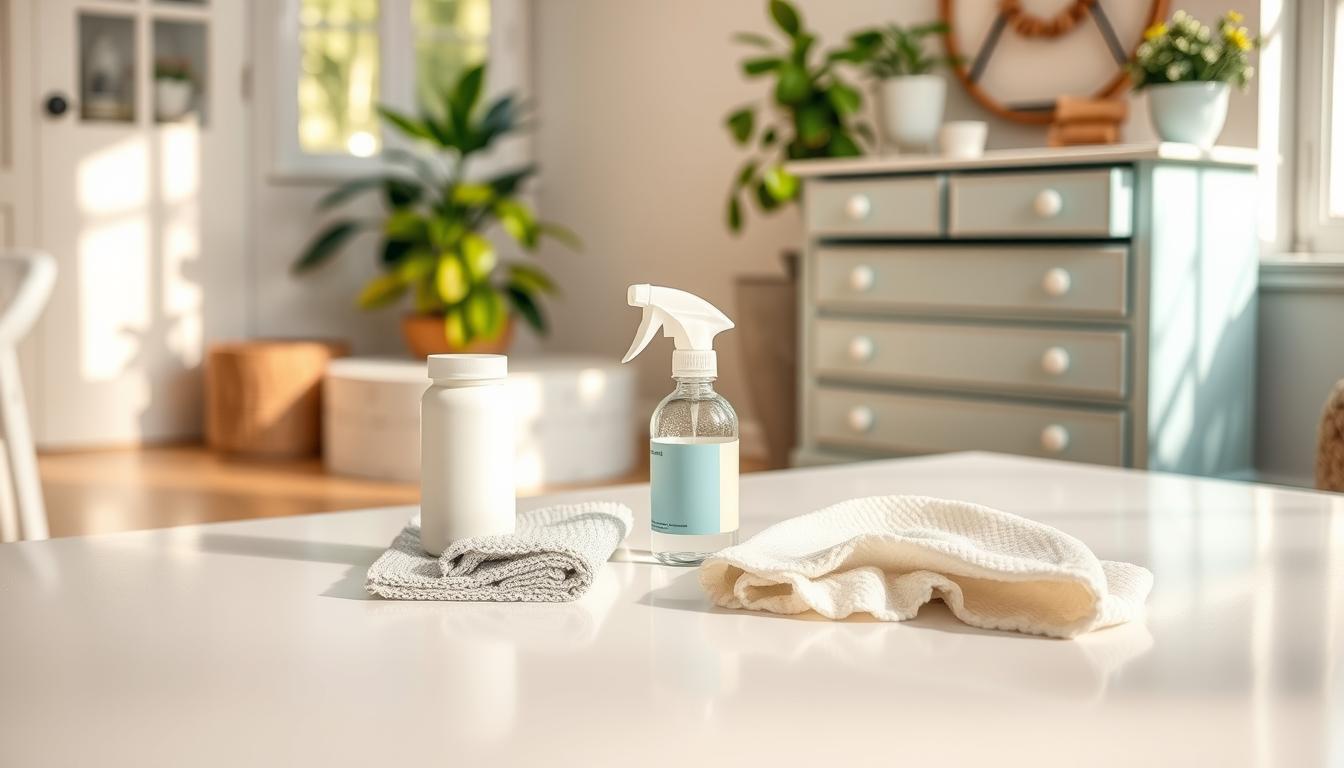
Tools and materials you’ll want on hand for a safe cleaning process
Gather a few soft, non-abrasive items and a basic bucket to make the job safe and simple. A small kit saves time and reduces the risk of chips or scuffs during routine care.
Essential gentle tools
Keep several soft microfiber cloths and non-abrasive sponges ready. Microfiber traps dust and grime in its fine fibers, so you lift particles instead of grinding them into the surface.
Basic supplies to mix and use
Use a bucket with warm water and a little mild dish soap to make a gentle solution. Wear kitchen gloves when you expect longer sessions to protect your hands and keep control of the process.
Detail helpers and why clean tools matter
For crevices, an old toothbrush works well. Use a plastic scraper for stuck-on residue and a handheld vacuum cleaner to remove crumbs before you wipe. Swap to a fresh cloth or rinse often so grit does not get reintroduced to the surface.
- Must-haves: microfiber cloths, soft sponges, soft-bristle brushes.
- Mix: bucket, warm water, a small amount of dish soap, kitchen gloves.
- Optional: toothbrush for corners, plastic scraper, handheld vacuum cleaner for cabinets and hardware areas.
Cleaning painted wood with gentle solutions that won’t strip the finish
Begin with mild solutions that lift grime without attacking the coating. Your default mixture should be warm water with a small amount of dish soap. This solution removes fingerprints, dust film, and light grime without harming the finish.
Everyday method: warm water + a small amount of dish soap
Mix warm water and a tiny drop of dish soap to make a light solution. Apply the mixture to a cloth, not the surface, so you avoid over-wetting.
Natural option for buildup: diluted vinegar
For light buildup, try a conservative vinegar solution: 1 part white vinegar to 2 parts water. Test a hidden spot first since vinegar is acidic and can affect some finishes.
When you need extra lift: baking soda paste
Make a paste of baking soda and water for stuck-on grime. Use it sparingly and rub gently — baking soda is a mild abrasive meant for small areas, not full-surface scrubbing.
- What to avoid: acetone, strong ammonia, and bleach; these chemicals can strip protective layers or discolor the paint.
- Follow the “least aggressive method first” rule: start mild, escalate only as needed, then always rinse and dry to remove residue.
Step-by-step method to clean painted furniture without chipping paint
Follow a calm, repeatable process to protect the finish and cut down on touch-ups. The sequence below keeps pressure low and moisture controlled so the paint stays intact.
Dust first so you don’t grind grit into the surface
Begin by removing loose dust and crumbs with a soft cloth or a vacuum on low. This prevents grit from turning into tiny scratches that lead to chips.
Mix your cleaning solution and apply it to the cloth (not directly to the furniture)
Make a mild solution of warm water and a drop of dish soap. Wet the cloth, wring it until just damp, and work from there. Applying the solution to the cloth controls moisture and keeps seams dry.
Wipe gently with smooth strokes, working with the grain when possible
Use smooth, even strokes in the direction of the grain. A microfiber cloth lifts grime without abrading the surface.
Use light circular motions only where grime is stuck—don’t scrub aggressively
Reserve small, gentle circles for stubborn spots. Light pressure feels like stroking with your finger; stop if you see paint lift or pigment transfer to the cloth.
Control moisture with a damp cloth (avoid over-wetting painted wood)
Keep the cloth only damp. Never let standing water pool at joints or edges. Excess water can seep in and weaken adhesion.
Rinse with clean water to remove soap residue that can attract dirt
Follow with a second, slightly damp cloth rinsed in clean water to remove residue. Residue left behind will attract grime and dull the finish over time.
Dry immediately with a clean, dry microfiber cloth to prevent water spots
Finish by drying the area with a fresh microfiber cloth. Quick drying prevents spots and helps maintain long-term adhesion of the paint.
- Dry dust first.
- Apply solution to the cloth, not the surface.
- Wipe with the grain; rinse and dry right away.
How to remove grease, grime, and spots without damaging paint
Grease behaves differently than dust: oil bonds to a finish and won’t lift with dry wiping. That’s why you use an emulsifying approach — a mild soap solution that breaks oil into small droplets you can remove.
Quick routine for everyday grease and grime: mix warm water with a small amount of dish soap. Dampen a soft cloth, wring it well, and wipe the affected area gently. Rinse the cloth and wipe again, then dry the area to avoid any film that traps more grime.
When a spot won’t budge
For stubborn grease spots, make a paste of baking soda and warm water (about 2 parts baking soda to 1 part water). Apply lightly, let it sit for a minute or two to loosen buildup, then wipe away with a damp cloth. Rinse and dry.
Stain technique and edge protection
Blot, don’t scrub: press and lift stains rather than rubbing. Scrubbing can burnish matte finishes or pull paint at corners and edges.
Use painter’s tape to shield nearby trim, seams, and hardware during spot work. Stop and reassess if color transfers to the cloth or the paint feels soft; that means the contact time or strength is too high.
- Apply a mild solution with a soft cloth.
- Use baking soda paste for persistent spots; let it sit briefly.
- Blot stains and protect adjacent areas with painter’s tape.
Cleaning painted kitchen cabinets and cabinet doors the safe way
A short weekly pass prevents grime from hardening on cabinet exteriors. Daily cooking leaves an almost invisible film on kitchen surfaces that builds up over time. Regular care keeps finish wear low and saves you effort later.
Weekly wipe-down routine for exterior cabinet surfaces
Once a week, use a damp cloth with a mild soap solution and wipe cabinet faces and cabinet doors. Wring the cloth well so water does not pool at edges.
Deep cleaning cadence: outside and inside every few months
Every few months, empty shelves and pull out items. Deep clean both outside and inside to remove hidden grease and dust in storage areas.
Work top to bottom and keep water away from hinges and hardware
Start at the top so drips don’t re-soil cleaned areas. Keep water off hinges and knobs and dry hardware immediately to avoid trapped moisture.
Clean inside storage areas: vacuum crumbs, then wipe shelves and corners
- Vacuum crumbs in shelves and drawers with a handheld vacuum.
- Wipe shelves and corners with a damp, well-wrung cloth.
- Use a soft toothbrush for nooks and crevices around rails and hinges.
- Dry thoroughly before restocking to prevent trapped moisture.
Finishing steps that protect the paint and keep furniture looking new
A careful final check removes lingering film that dulls the surface over time. Spend a few minutes at the end to make sure the finish is clear and even.
Do a final rinse check on high-touch areas like pulls and tabletops. Use a clean cloth lightly dampened with plain water to lift any leftover solution. Follow immediately with a dry cloth so the finish dries clear and streak-free.
Polish occasionally for gentle protection
Every few months, apply a non-abrasive product made for painted furniture. Use a small amount and buff gently with a soft cloth. You are adding a subtle protective layer—not sanding or aggressive buffing.
- Last five minutes matter: soap film left behind can attract dirt and make the finish dull.
- Final wipe: damp plain water on a clean cloth, then dry immediately.
- Polish sparingly to avoid waxy buildup that traps grime or shifts sheen.
Consistent rinsing, prompt drying, and restrained polishing help your paint resist minor scuffs and keep furniture looking newer longer.
Conclusion
Protecting surfaces is mostly about restraint: low pressure, controlled moisture, and mild solutions are the best way to keep paint intact.
Start with a spot test in an out-of-the-way area. Use a soft cloth and a small amount of mild soap in warm water—apply the solution to the cloth, not the surface, and wipe gently.
Rinse with a damp cloth and dry right away. Leftover residue or standing water causes dullness and sticky film more often than scrubbing does.
Adopt a light, regular maintenance rhythm rather than infrequent heavy work. You can adapt these steps to cabinets and other painted surfaces by adjusting pressure and the amount of moisture you use.