Goal: This guide shows you how to make your tabletop more resistant to water and everyday heat while keeping the look you love. You will learn simple steps to create a reliable barrier and a maintenance plan that helps your furniture last.
Expect clear, practical advice — “waterproofing wood” here means building a durable finish and following upkeep, not making the surface indestructible. The methods discussed include penetrating oils, surface sealants, and stain-and-sealer combos, each with different durability and care intervals.
This is for high-use pieces in your home: dining tables, coffee tables, kitchen islands, desks, and similar furniture. You’ll prep the top, pick the right finish system, apply thin coats, and allow time to dry and fully cure.
Performance targets: improve water resistance for spills and humidity, and boost heat tolerance for hot mugs and pans. Different projects and species may change the best product choice, especially if you aim for true waterproof wood performance outdoors.
Safety first: work in ventilation, control dust, and handle oily rags properly. Follow the step-by-step plan ahead and expect results that protect your table for years with realistic maintenance intervals.
Why Your Wood Tabletop Needs Waterproofing and Heat Protection
Simple daily use—spilled drinks, rising steam, or a hot mug—can slowly ruin a finish without proper care.
Common signs of trouble appear first on the top layer. Look for raised grain, swelling at seams, dark stains, cloudy spots, and finish lifting after repeated spills.
- Raised grain and swelling near joins
- White or dark rings from hot items or spills
- Cloudy patches and finish peeling in high-traffic areas
When the wood absorbs moisture it expands, then shrinks as it dries. That movement creates gaps, warps, and can invite mold in high-humidity places.
In real use, waterproofing means a finish that slows water absorption and buys cleanup time. It does not make the top invulnerable to standing water left overnight.
Heat is a separate threat. Hot pans can soften some finishes and leave rings. Temperature swings make the finish and substrate expand at different rates, causing micro-cracks that let more water in.

Match your treatment to where the table lives—kitchen, dining room, or covered patio—to pick the best resistance and maintenance plan.
Prep Work That Makes Waterproofing Last
Good prep is the single best predictor of how long your finish will last under daily use. Clean grime and let the wood dry fully before you touch sandpaper. This process helps coatings bond and prevents early failure.

Clean, strip, or scuff—pick the right approach
If the existing coat is peeling, strip it back. If it is intact, a scuff-sand creates a keyed surface for adhesion. Use a cleaner suited to your tabletop and wait until the wood surface is fully dry.
Sanding: grit and grain
Start with a coarser grit (120–150) to level scratches or old finish, then progress finer. For final prep before oils or sealants, many workflows use 400-grit to refine the surface.
Sanding with the grain avoids cross-scratches that show through glossy topcoats.
Tack cloth and final checks
Wipe the top gently with a tack cloth to remove dust without leaving residue. Don’t press hard—dab or sweep the cloth across the surface.
- Why prep matters: dust, grease, or leftover finish prevents bonding.
- Practical step: remove dust, then inspect before coating.
- Indoor conditions: stable temperature and controlled humidity cut curing problems and speed proper drying time.
Waterproofing wood Options for Tabletop Finishes
The finish family you pick sets the balance of look, durability, and how often you’ll need to refresh the surface.
Penetrating oils for a natural feel
Tung, linseed, and Danish oils soak into the grain and keep the top soft to the touch. They deepen color and enhance figuring while preserving texture.
Expect re-treatment about every 6–12 months on active dining pieces. Oils are easy to refresh but offer less scratch and spill resistance than film finishes.
Film-forming sealants for high-traffic furniture
Polyurethane, varnish, and lacquer build a surface barrier. Polyurethane is common and typically needs three thin coats; drying can take a few days.
Lacquer dries fast but may amber. Varnish resists UV and is a strong pick for covered patios or even outdoor use.
Stain-and-sealer combos and paint
Stain-plus-sealer products add color and sun protection for outdoor use, but read labels—some are too strong for indoor furniture finishes.
Paint gives maximum hide and protection when you prefer coverage over a natural look.
- Choosing tip: match durability, desired appearance, and your recoat tolerance (time, fumes, and maintenance).
- Durability note: film finishes generally deliver better resistance than oil alone for busy tops.
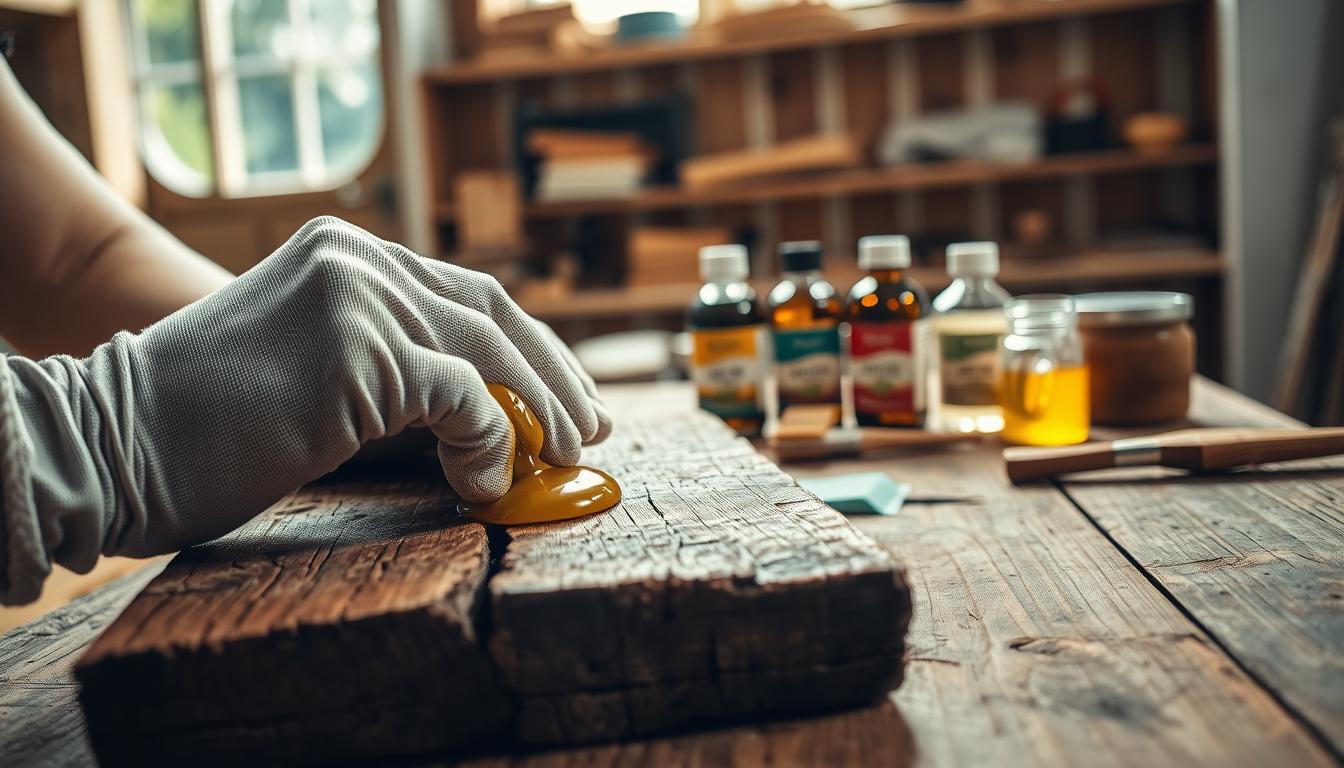
How to Waterproof a Tabletop with a Hand-Rubbed Oil Finish
Using a hand-rubbed oil finish preserves the table’s look while adding everyday resistance to spills and steam. Start with a clean, fully dry surface and stir the oil—do not shake. Sand with 400-grit sandpaper and remove dust with a tack cloth before you begin.
Apply oil evenly, wipe pooling, and work it into the grain
Use an oil-damp cloth and work in small sections. Follow the grain, massage the oil into dull spots, and watch edges where absorption is faster.
If you see shiny pools, wipe them within the working window. Pooled oil can dry sticky or uneven and ruin the low-build finish.
Additional coats, light resanding, and maintenance intervals
Let the first coat dry overnight (check label for exact hours). Lightly scuff with fine sandpaper, remove dust, then apply additional coats until the surface stops soaking up oil—usually two coats.
Expect to refresh the finish about every six months to a year with normal moisture exposure and use.
Safety step: handling and disposing of oily rags
Oily rags can self-heat and ignite. Immediately submerge used rags in water, then spread them to dry before disposal. Do not reuse soaked cloths for future coats.
- Supplies: oil, clean cloths/rags, nitrile gloves, 400-grit sandpaper, tack cloth. Each helps you control application, remove dust, and protect your hands.
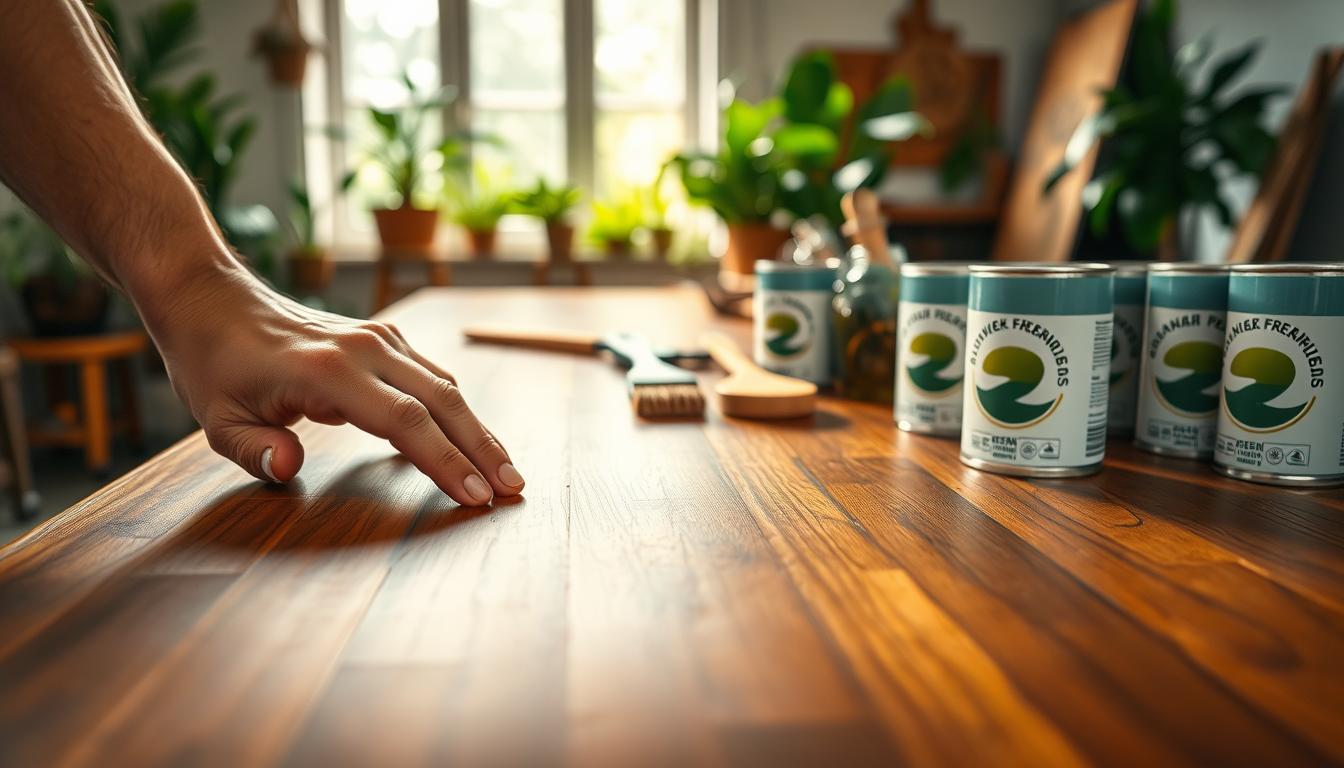
How to Seal a Tabletop with Polyurethane, Varnish, or Lacquer for Maximum Resistance
A film-forming sealant creates a hard outer layer that stands up to heavy use and frequent spills. Choose this approach when you want strong resistance for dining tops, desks, or any high-traffic surface. These finishes give a reliable barrier and are easier to clean than oil-only systems.
Best application conditions
Work at a steady temperature between 65–75°F and keep the room ventilated. Control dust with clean air and a short prep sweep so particles won’t settle into the wet coat.
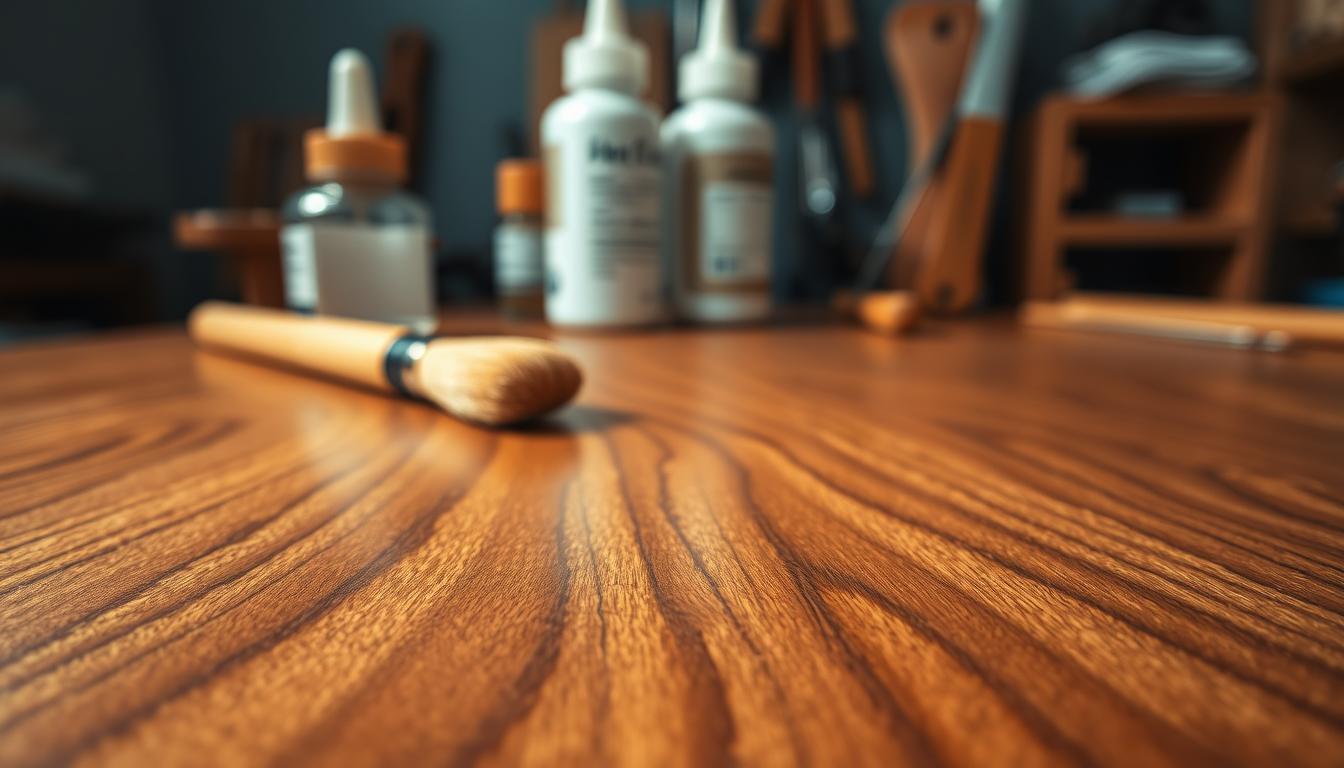
Brush-on technique for a smooth coat
Stir the product—do not shake—to avoid entrained bubbles. Start at one edge and use one long stroke along the grain. Overlap each stroke slightly and keep a consistent wet edge.
- One-pass rule: avoid back-brushing once the finish starts to tack.
- Brush choice: a quality natural-bristle or foam brush helps level film sealants.
Drying time and why thin coats win
Dry times vary by product: some sealants feel dry in a few hours, others need overnight. Polyurethane commonly needs about three coats and can take up to three days to hard cure.
Apply multiple thin coats rather than one thick one. Thin coats cure harder, reduce runs, and build a uniform barrier for better resistance and longer life.
Between-coat sanding and final checks
Lightly scuff with fine sandpaper between coats to promote adhesion. Remove all dust with a tack cloth before the next coat so each layer bonds cleanly.
Outdoor-use notes
For covered patios or pieces exposed to the sun and elements, choose varnish—especially spar or marine types—for UV filtering and long-term protection. If you prefer full coverage over grain, paint remains an option.
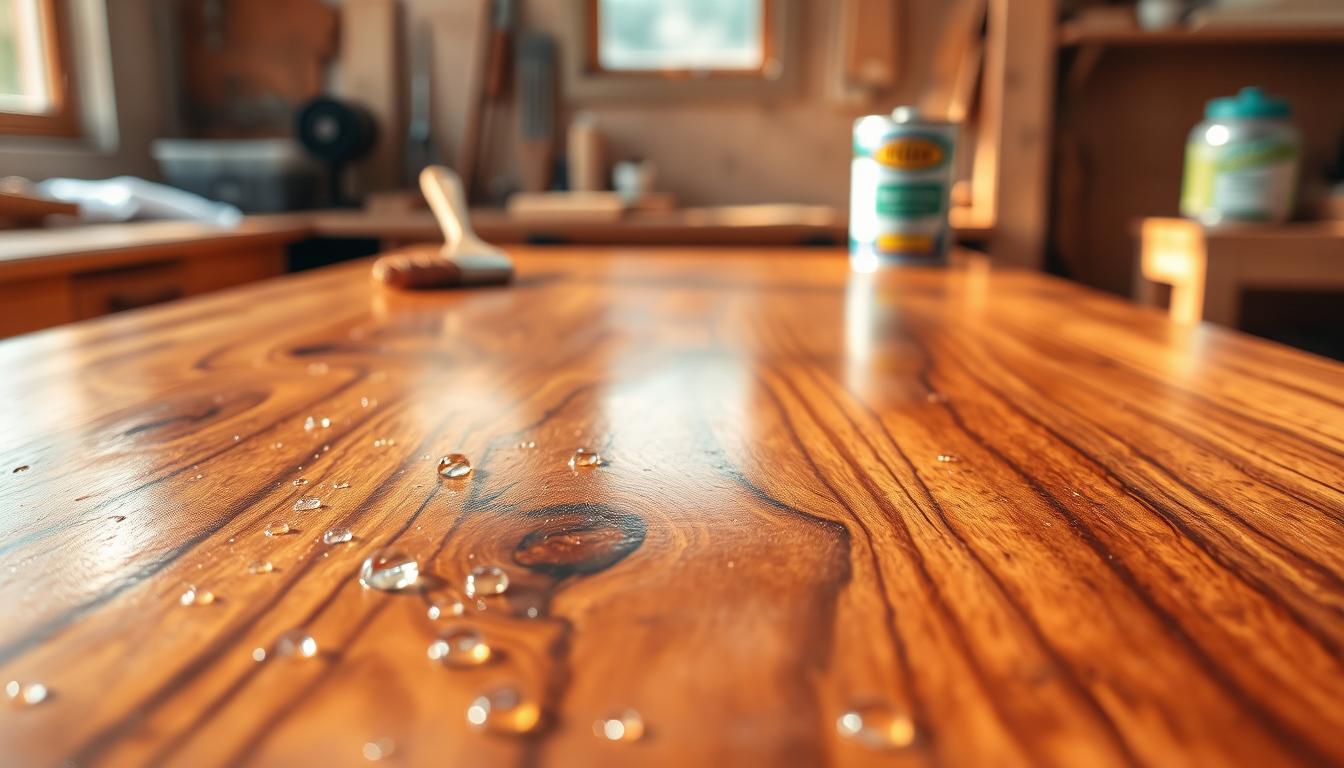
Make the Finish More Heat Resistant Without Ruining the Look
Heat and moisture hit a tabletop differently. A coat that sheds spills may still soften under a hot dish. Choose a harder topcoat when you need extra resistance, but apply thin, even layers to keep the surface looking natural.
Choosing harder topcoats and clear finishes that hold up to hot items
Film-forming finishes such as polyurethane or varnish provide stronger resistance than oil alone. More protective coats improve durability, yet too many layers can change sheen and feel.
Cure time vs. dry time and when your tabletop is safe to use
Dry to touch is not fully cured. Full cure can take days to weeks depending on temperature and humidity.
Plan for light use only after the manufacturer’s window, and wait longer before placing hot pans or heavy appliances.
Daily-use habits that prevent heat rings and surface damage
Use coasters, trivets, and placemats near high-risk areas like the stove, coffee station, and sink.
- Wipe spills quickly to reduce moisture damage.
- Avoid dragging hot or heavy items across the surface.
- Keep room temperature and humidity steady during curing for best results.
Good protection plus simple habits preserves your tabletop’s appearance and extends resistance to everyday use.
Conclusion
Choose the finish that matches how you use the table, how it should look, and how often you’ll maintain it.
For a natural feel and easy spot repair choose an oil system. Pick a sealant if you want a tougher shell. Paint gives full coverage, and varnish-based products suit outdoor areas exposed to sun.
Prep is non-negotiable: clean, sand, and remove dust so each coat bonds to the surface. Apply multiple thin coats, respect dry and cure time, and never rush recoat steps.
Expect to re-oil every 6–12 months and to reseal high-traffic tops about every 2–3 years. Watch wear areas and treat oily rags properly. With the right choice for your household, your tabletop will resist moisture, water, and mold and give reliable protection for years.