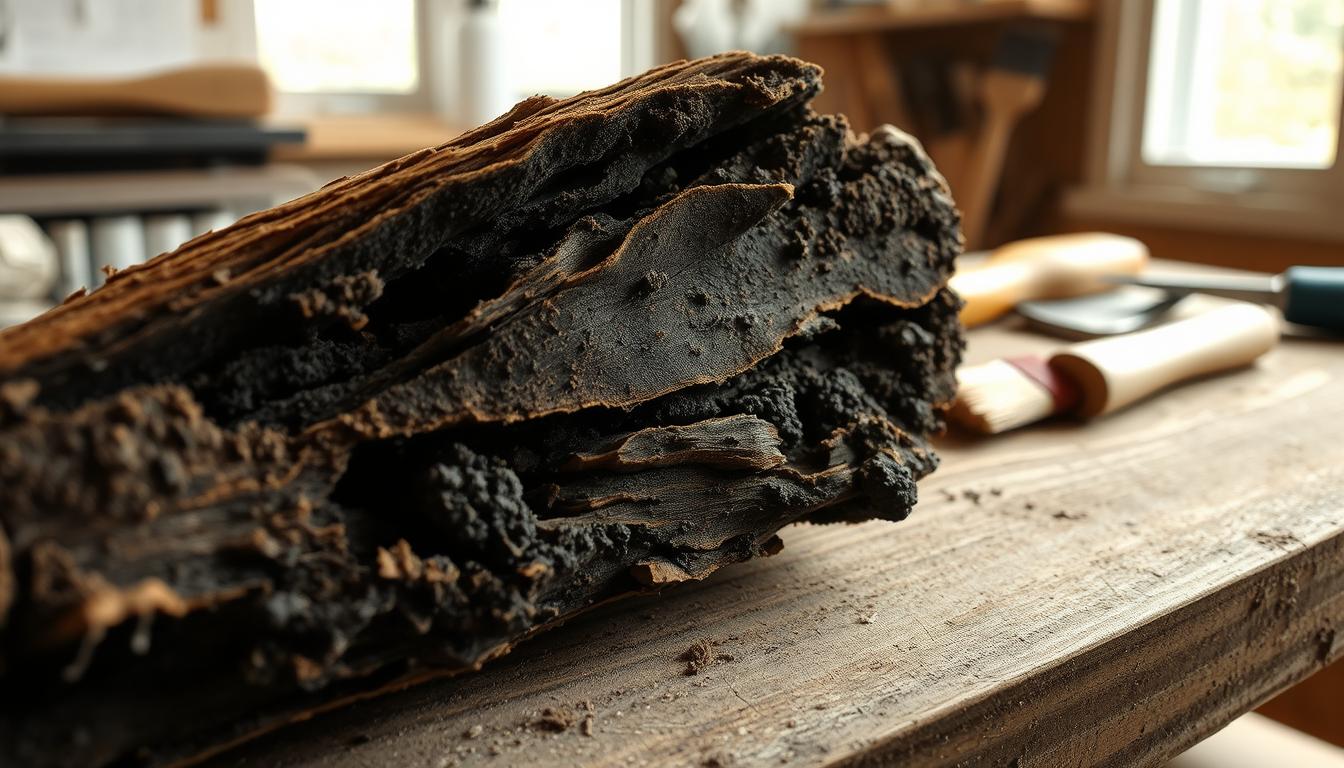
Soft, rotted wood often shows as crumbling edges, spongy legs, or hollow spots along plinths and toe-kicks. In a typical house, fungi thrive where water sits and breaks down fibers, so you usually see damage in tight corners and near floors or plumbing.
Before you start any repair, follow one rule: stop the moisture and dry the area. Drying the piece prevents further rot and makes any patch last.
You can often repair rotted wood with a two-part epoxy method: first a liquid consolidant to harden loose fibers, then a moldable epoxy to rebuild missing shape. When cured, these patches take stain or paint and blend with surrounding surfaces.
Not every item should be saved. If a base is structurally weak, replacement is safer for stability. Gather simple supplies first: a chip brush, putty knife, sandpaper, tack cloth, and an epoxy kit so you can plan your work.
Assess the damage and decide if Treating wood rot is the right fix
Start by doing a quick visual and tactile scan to map the affected area. Look for color and texture differences, and probe gently with a screwdriver to test fiber strength.

Spotting wet versus dry problems
Wet rot is darker, feels spongy, and is often damp to the touch. It usually comes from a nearby leak and is often limited in spread.
Dry rot looks pale, yellowish or amber and is dry to the touch. It can travel into other dry materials and is more likely to undermine the whole piece.
When repair makes sense — and when to replace
Use a simple rule: repair if wet rot is present, about 15% or less of the item is affected, and the repair won’t compromise joins or load points.
Choose replacement when dry rot is present, damage exceeds ~15%, or the base no longer bears weight safely.
Judging stability in a furniture base
- Check for rocking or loose joinery under normal load.
- Probe load-bearing areas for compression or collapsed fibers.
- Mark the boundary where sound material begins so removal leaves clean edges.
Safety tip: a cosmetic patch is not a structural fix. If the base carries weight through compromised material, replace the section or the whole piece for long-term safety.
Find and eliminate the moisture source before any wood rot repair
Hunt down where moisture is coming from before you touch the damaged area. Fungi need water to live, so removing the water source stops decay in its tracks.

Common indoor moisture culprits near bases
- Wet mopping, humidifiers, plant saucers, and pet bowls that sit against furniture.
- Entryway puddles, slow plumbing leaks, and damp basements in your house.
- Spills that wick into trim or repeated wet/dry cycles from poor ventilation.
Why rot keeps coming back if water stays
Think of the problem as a triangle: fungi + wood + water. Remove water and you can stop wood damage.
Confirm the source before you repair. Do quick wipe tests, check baseboards and floor seams, or use a moisture meter if you have one. Fix leaks, adjust cleaning habits, add floor protection, and improve airflow.
Do not seal or patch and ignore the leak — that is why repairs fail. Re‑engineer the setup by moving furniture away from damp walls, raising bases off wet flooring, and improving ventilation in homes. Once the source is stopped, the next step is to dry the material under proper conditions.
Dry the rotting wood completely for a durable rot repair
A durable repair starts when the base is bone-dry, not merely surface-dry. Moisture must be gone so adhesives and consolidants can bond properly. Drying time varies with season and the local conditions in your home.
How long it can take under real home conditions
Expect drying to take days, weeks, or even months depending on humidity, temperature, and how thick the base is. Thin trim dries quickly; enclosed corners and heavy bases hold water much longer.
Use a clear plastic sheet while still promoting airflow
Cover the area with a clear plastic sheet to keep splashes off. Elevate the sheet on blocks so air can move underneath and you do not trap moisture against surfaces.
When to use moving air vs. a heat gun — safety first
- What “dry enough” means: no cool damp feel, no dark wet patches, and consistent dryness at the surface and a little below.
- Airflow strategy: aim a small fan across (not directly into) cavities to speed evaporation without spreading dust.
- Heat gun caution: only use on stubborn spots. Keep the tool moving, avoid overheating finishes, and never leave it unattended — dry, decayed material can ignite quickly.
Let the area reach consistent dryness before you apply any epoxy. When the base is stable and dry, consolidants and filler will bond and perform as intended.
Remove soft and unstable wood fibers so your repair can bond
Begin by carving away loose material so adhesives can grab onto solid, stable edges.
Why this matters: Epoxy and fillers fail when they sit on crumbly or spongy material. You need a firm perimeter for a long-lasting repair and reliable repairs that hold up under load.
Tools that work well for carving
- Screwdriver: probe to find soft spots and pry out weak fibers.
- Paint scraper: lift punky layers in thin passes to avoid gouging sound material.
- Five‑in‑one tool: controlled carving in tight corners and around glue blocks.
How far to remove damaged areas
Remove thin layers at a time until the surrounding material resists pressure and no longer crumbles. Stop when the edge feels solid under your probe.
Work carefully around uneven grain and tight joints to keep the base’s shape intact. Clearing loose material also speeds drying in the repair area.
Next step: once the cavity is clean and stable, you’ll harden remaining fibers with a consolidant.
Harden the damaged wood with epoxy consolidant or wood hardener
The next step is to harden the damaged fibers with a penetrating consolidant before you rebuild. A liquid wood hardener, often sold as a wood consolidant or epoxy resin preservative, soaks into dry, weak material and binds loose strands into a firm base.
What the consolidant does and why it comes first
A consolidant penetrates and binds so remaining fibers become solid enough to hold filler. Treat this as the foundation — filler fails without a firm substrate.
How to apply liquid consolidant
- Confirm the area is fully dry; epoxy resin needs dryness to bond.
- Load a chip brush and apply heavily so the liquid soaks in rather than just coating.
- For deep voids, pour consolidant into cracks and let it wick down for full penetration.
Working time, cure, and an optional trick
Expect about 30 minutes of working time and roughly 2–3 hours to cure at room temperature. Cooler conditions slow cure significantly.
For thicker blocks, drill small holes into the cavity so consolidant reaches deep areas before you follow with wood epoxy filler.
Tip: After drying and hardening, you can optionally treat surrounding pieces with borates or copper naphthenate as a preservative — only after the material is fully dry and per product directions.
Rebuild missing sections with epoxy filler for a furniture-base repair that lasts
Next, restore lost contours by packing a two-part epoxy filler into the cleaned cavity. This step turns a cleaned, hardened perimeter into a solid substrate you can sand and finish.
Mixing the two-part system safely
Wear latex gloves and work in a ventilated area. Use a clean disposable plastic cup and mix Part A and Part B thoroughly so the epoxy cures evenly.
Packing and shaping the patch
Use a putty knife to press filler into voids. Pack firmly to remove trapped air and slightly overbuild the profile so you can sand back to the exact shape.
Cure, then sand to a flush finish
Allow the patch to harden for at least four hours; rushing the process risks tearing or smearing the repair. When cured, sand filler starting with #80 grit to bring the patch to size, then finish with #120 grit for a smooth, paint-ready surface.
- Why epoxy filler: it bonds well, cures very hard, and outperforms most wood fillers in high‑wear base areas.
- Tools: disposable container, gloves, putty knife, coarse and fine sandpaper.
- Outcome: a well-packed, well-cured patch resists dents and holds paint better for a lasting repair.
Finish the repaired area to blend with surrounding wood surfaces
How you finish the patch decides whether the repair is obvious or invisible. Clean, careful finishing makes the repaired area match the original surfaces and helps the repair last.
Cleaning dust with tack cloth for better paint or stain adhesion
After sanding, remove all dust. Fine sanding residue prevents paint and stain from bonding and makes the area stand out.
Wipe the patch with a slightly damp tack cloth, then use a dry tack cloth to lift remaining particles. Work outward so you do not spread dust back onto the repair.
Painting or staining epoxy patches so the repair disappears
Choose paint for full coverage and uniform color. Use a primer over epoxy so sheen and tone match the surrounding finish.
If the nearby surface is stained, test a small area first — epoxy may take stain differently than natural wood.
- Feather edges: sand the repair edge smoothly to blend the profile.
- Seal gaps: caulk small joints to stop water entry and help stop wood rot from returning.
- Final tip: keep finishes intact and control moisture in the area for lasting rot repair.
Conclusion
Fixing a base well depends on doing each task in the right order. Diagnose the problem, stop the moisture source, dry fully, remove unstable fibers, then consolidate and rebuild with epoxy filler.
Remember the main failure point: if water remains, even a neat patch can fail. If the structure is weakened, replacement is often the safer route than reinforcing severely rotted wood.
Short maintenance checklist: seal surfaces, wipe spills quickly, avoid soaking during mopping, and keep airflow in damp rooms. Inspect nearby areas regularly so small spots do not grow into larger wood rot projects.
Optional protection: apply a borate-based wood preservative only to fully dry areas and protect it from repeated wet/dry cycles. Done in the right way, wood rot repair restores shape, accepts paint or stain, and extends furniture life.


