Is your antique table feeling tacky, grabbing lint, or looking dull after a quick wipe? You are not alone. Kitchen grease, old polish film, sugary spills, and tape adhesive commonly leave a thin, tacky haze that hides a finish’s glow.
You’ll follow a conservative plan that protects the existing patina. The goal is a gentle, stepwise approach: identify the likely cause, prep and test, start with mild solutions, then escalate only if needed.
In this guide you’ll see the full “Sticky wood furniture fix” flow. You’ll learn which supplies to gather, how to test a small area, and smart cleaning moves for different types of sticky residue.
Why care matters: antique finishes soften with heat and humidity and can cloud or scratch if over-wet. These tips keep the surface clean without stripping the finish, so your table looks even and attracts less grime.
– A safe, step-by-step cleaning plan that preserves the finish.
– Exact supplies, test steps, and stubborn spot tactics.
– Practical outcomes: a clean-feeling table and streak-free shine.
What’s Making Your Antique Wood Table Sticky in the First Place
Before you scrub, learn what type of residue is clinging to your table so you don’t harm the finish.

Grease, grime, and dust buildup from everyday use
Airborne cooking oil and hand oils settle on surfaces and form a thin film that traps dust and grime. Over time this film feels tacky and dulls the finish. A widespread, slightly greasy feel often means accumulated oil and dust rather than a single spill.
Polish, wax, or oil buildup that leaves a tacky film
Repeated quick cleans or heavy polish layers can leave a waxy buildup. Oily products that never get fully buffed attract dust and cause persistent stickiness. This kind of buildup needs gentle, repeated degunking rather than harsh scrubbing.
Spilled drinks and food residue that dry onto the surface
Sticky spots from soda, syrups, or greasy sauces tend to be isolated. Sugar and food oils can dry into a tacky patch that spreads when wiped with too-wet cloths. Fresh spills often lift with mild soap and controlled water, while old spots may need patient spot treatment.
- Widespread tacky film = likely polish or oil buildup.
- Isolated sticky areas = likely spills or adhesive.
- Dull, grimy patches = dirt and airborne grime.
Heat and humidity make finishes softer and more prone to hold residue, so pick the right approach to protect the antique surface.
Before You Clean: Protect the Finish and Avoid Damage
A careful assessment of the affected area helps you pick a cleaning approach that avoids damage.

Assess residue and the size of the area
Check whether the tacky feel is isolated or covers the whole top. Note color, texture, and whether the residue looks oily, sugary, or like adhesive.
Prepare the workspace and clear loose debris
Remove objects and dust before you clean. Loose grit dragged across the surface will cause scratches and may lead to lasting damage.
Always test on an inconspicuous spot first
Pick a hidden edge or underside corner. Apply the diluted solution to a cloth and dab the area. Let it dry and look for haze, color change, or added tackiness.
- Use light pressure and several gentle passes rather than hard scrubbing.
- Keep moisture controlled — never soak or leave pooled liquid on the finish.
- If the finish looks cracked, flaking, or fragile, stop and seek restoration help instead of escalating the method.
The goal is to remove sticky residue while keeping the original finish intact. Work slowly, check results often, and adjust your method to avoid unintended damage.
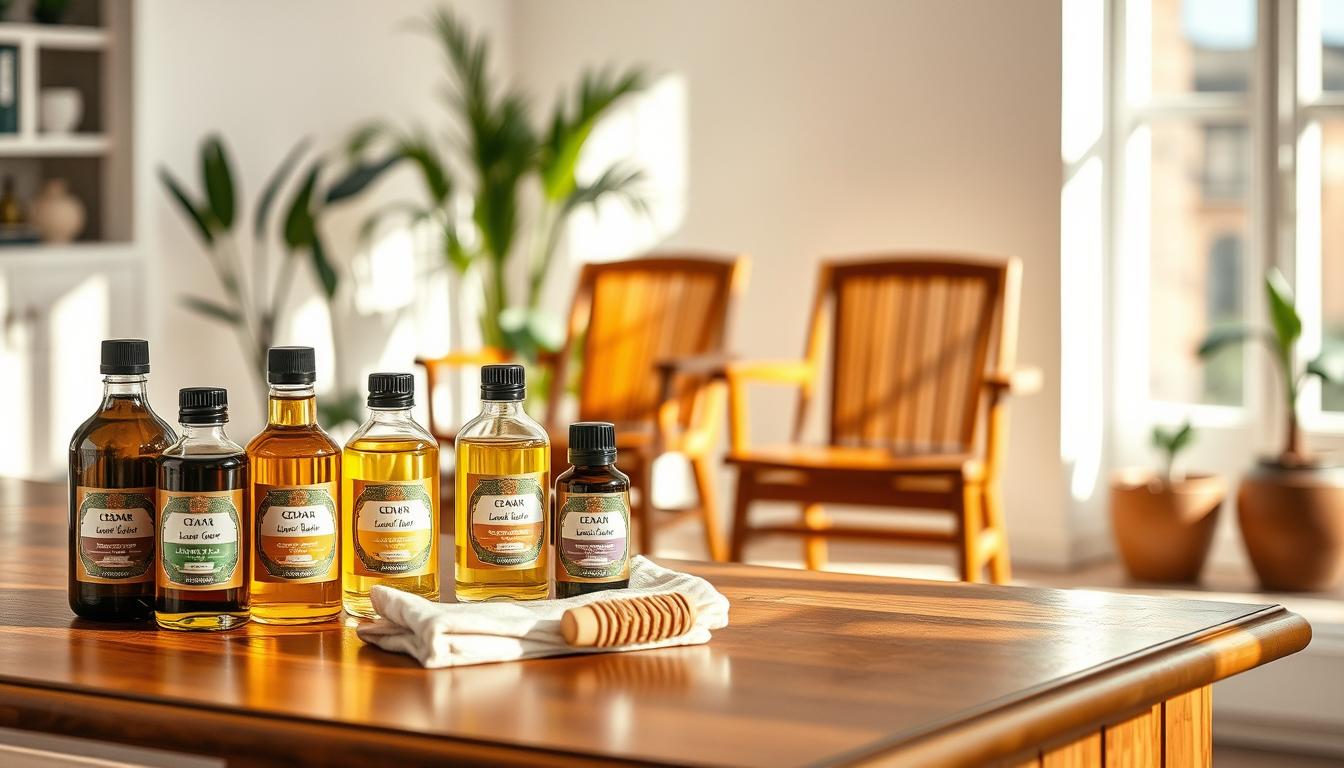
Supplies You’ll Need for Safe, Effective Cleaning
Gather a small kit of gentle supplies so you can remove residue without harming the finish. Start with tools that let you control moisture and work in short sessions over a couple of hours.
Use three cloths: one microfiber cloth for dry dusting, one soft cloth for cleaning passes, and one dry cloth reserved only for final drying and buffing. This prevents cross-contamination and keeps the surface from staying wet too long.
Mix a mild soap cleaning solution for routine stickiness: warm water with a small amount of dish soap so it’s lightly sudsy, not foamy. Put the mix in a bucket and ladle small amounts into a cup for controlled use.
For stubborn residue, make a vinegar water solution — equal parts white vinegar and water. Dampen the soft cloth or a wrung-out sponge with this mix and blot rather than rub. The sponge lets you achieve a “just damp” state for safe passes.
- Bucket and cup: make small batches and avoid over-wetting.
- Sponge: wring to damp, not dripping.
- Optional products: wood-safe wipes or a commercial wood cleaner for edge cases; always spot-test first.
Expect layered grime and polish film to need repeated, gentle passes over several hours with breaks. Patience keeps you from escalating to harsher products that can damage the finish.
Sticky wood furniture fix: The Best Step-by-Step Cleaning Method for Antique Tables
Start by removing loose dust so you don’t grind grit into the finish during wet cleaning.
Start dry
Wipe the entire wood table with a microfiber cloth. Work gently across the surface to lift dust and grit.
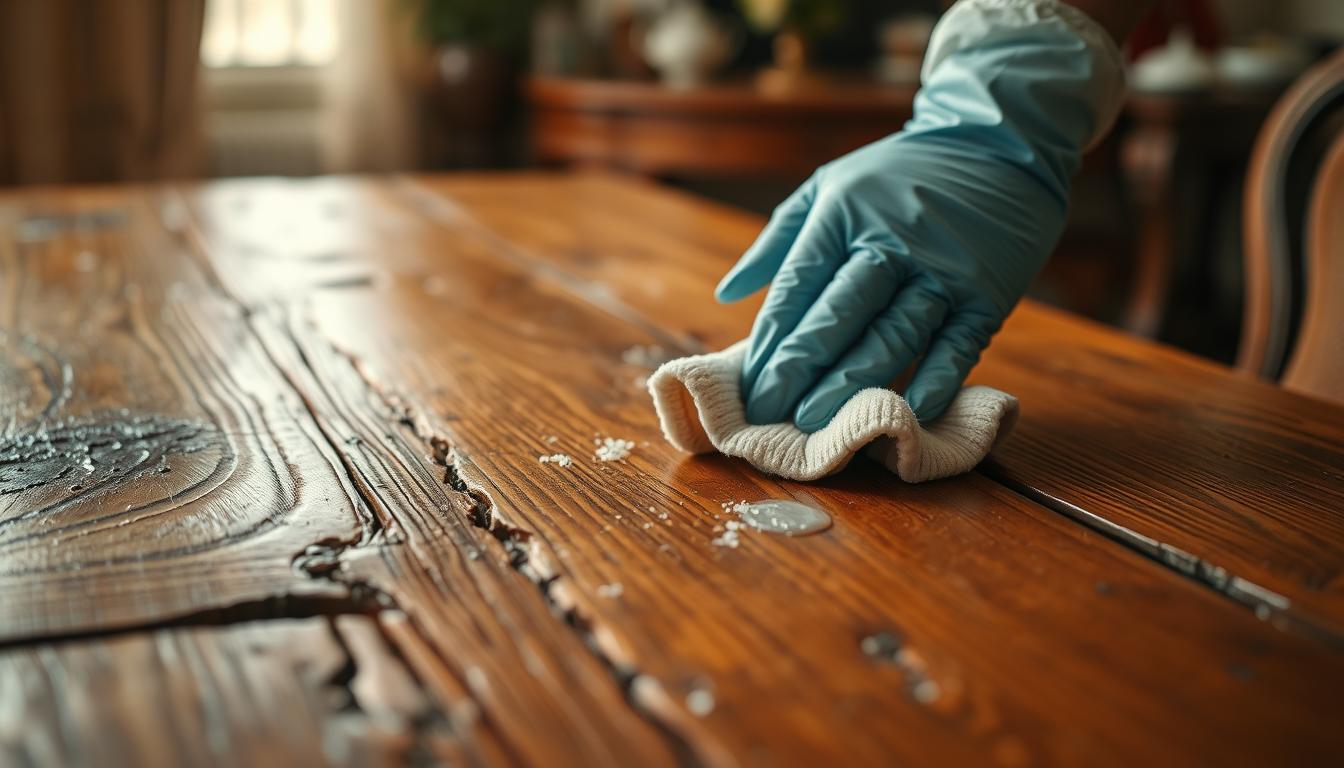
Clean with a damp cloth
Mix warm water and a few drops of mild dish soap. Dampen a soft cloth and wring it until nearly dry.
Wipe sticky areas in the direction of the grain to avoid streaks and swirl marks.
Escalate carefully
If residue persists, use equal parts white vinegar and water on a damp cloth. Test on a hidden edge first and use light pressure only.
Rinse and dry
Rinse with a separate clean cloth dampened with plain water to remove soap or vinegar film.
Dry immediately with a clean cloth, paying attention to seams and edges so moisture does not linger.
- Fold the cloth often and switch to a fresh section to lift residue instead of spreading it.
- Repeat gentle passes rather than increasing pressure.
- Run your fingertips after drying to confirm the surface no longer feels tacky.
How to Remove Sticky Residue That Won’t Budge
When a spot resists, repeat gentle, timed steps instead of scrubbing harder. Work in short cycles and let the cleaning solution soften the residue. This protects the finish and gives better results over time.
Repeat applications patiently
Apply a lightly damp cloth and let it sit briefly on the stubborn area to loosen residue. Wipe away in controlled passes, folding the cloth to use a clean face as you lift the film.
Detail the edges and carved areas
Use a soft toothbrush or a cotton swab to work crevices and carved edges. Work gently so you do not flood seams or drag grit into delicate grain.
Spot-treat only when needed
If soap and vinegar won’t remove sticky residue, test mineral spirits on an unseen spot. Put the solvent on a cloth—never pour directly—and dab lightly.
Finish and know when to stop
After any solvent step, wipe with a clean damp cloth to remove traces, then dry thoroughly. If the surface remains tacky or the finish softens, stop and seek restoration help rather than continuing treatment.
- Key tips: repeat the step over time; switch cloths often; avoid spreading residue into clean areas.
- Stage treatment—soften, wait a short time, then lift gently.
- Spot-treat with mineral spirits only after testing and followed by rinsing and drying.
Special Situations: Light Wood, Dark Wood, and Tape Adhesive
Light and dark surfaces demand different handling to protect color and sheen while you clean.
Light wood tables
Light wood can show uneven color if it sits wet or meets strong cleaners. Use very mild passes and keep contact time short.
Work with a barely damp clean cloth, rinse quickly, and dry each small area at once to avoid discoloration on your wooden table.
Dark wood tables
Dark table tops reveal streaks when residue or cleaner is left behind. Rinse with a fresh damp cloth and dry promptly.
After drying, buff lightly with a second clean cloth to even the sheen and restore depth to the wood table.
Tape and label adhesive
To remove tape residue, warm the spot with a hair dryer on low to soften the adhesive. Lift gently with a plastic scraper or old credit card to avoid gouging.
Finish by wiping the small area with an equal-parts vinegar and water pass, then dry so the sticky wood feel does not return.
- Keep treatment local: spot-treat only the smallest area for any table remove task.
- Use short, controlled passes and swap cloth faces often.
- When in doubt, pause and test on an unseen edge.
After Cleaning: Restore Shine Without Recreating Stickiness
A final rinse and careful drying stop leftover cleaner from leaving a gummy film. Even gentle cleaners can leave a thin residue if not removed. That residue, combined with any remaining oils or polish, is the most common reason a surface still feels tacky after cleaning.
Do a light rinse-wipe with a barely damp cloth of clean water. Work in small areas and dry immediately. This removes soap or vinegar traces that attract dust and cause renewed stickiness.
Buff dry and even out the sheen
After drying, buff the surface with a soft, dry cloth. Use gentle, circular strokes to level the finish and lift the last film. Buffing restores even shine without adding product build-up.
Polish and condition sparingly
If you choose to polish or condition, apply a very small amount evenly and buff thoroughly. Too much polish or repeated heavy application can create a waxy layer that invites grime and stickiness.
- Quick reset: rinse with barely damp cloth and dry immediately.
- Buff: soft cloth to remove films and even finish.
- Aftercare tips: weekly gentle dusting, wipe spills fast, and avoid heavy product layers.
Conclusion
End with a calm, methodical check to ensure your surface feels clean and stable.
Recap the process: identify the cause, start with dry dusting, clean gently with mild soap, and escalate to a measured vinegar-water pass only if needed. Rinse and dry each small area right away to avoid leftover film.
Patience and consistent spot-testing protect the finish. Repeat gentle passes rather than scrubbing hard; that approach keeps your wood and table surfaces safe.
If tackiness persists because the finish is failing or the buildup is deep, stop and consult a restoration pro. For ongoing care, dust often, wipe spills quickly, and use polish sparingly to keep your furniture lasting and clean.