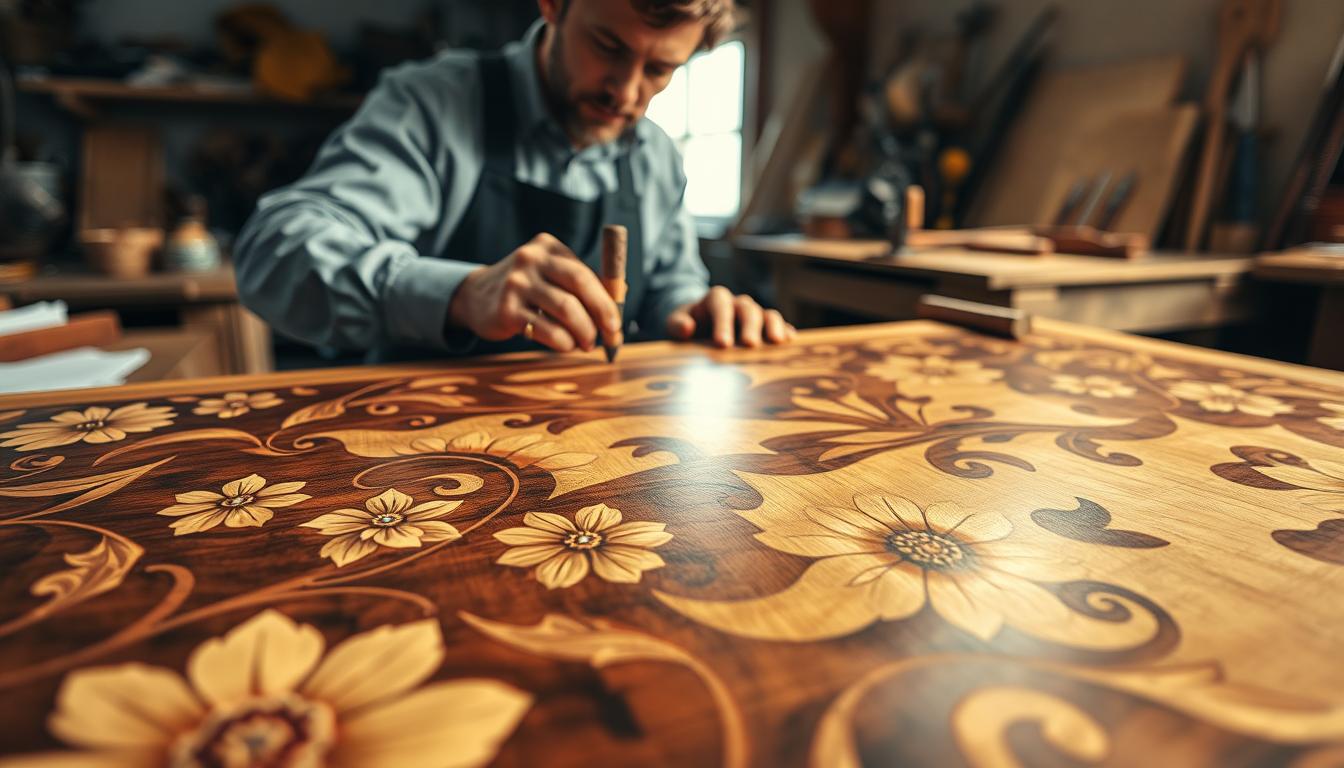
Marquetry is inlaid work made from thin veneers, often under 3mm, and sometimes mixed materials. You’ll learn to tell it apart from parquetry so you know what you’re looking at before you touch the surface.
The goal is conservation-minded repair. Preserve original finish and color whenever possible because that history affects value on an antique or period piece.
You will follow a clear method: assess and stabilize, re-bond loose veneer, then replace missing parts and fill micro-gaps so the repair visually disappears. This stepwise approach uses compatible glues, controlled moisture, and gentle pressure.
Delicate work matters because movement in the substrate causes veneers to lift or curl. Forcing lifted areas flat can snap brittle veneer or widen gaps.
Know your limits: insect damage, severe loss, or water damage may need a pro before you attempt any step at home. By the end, you’ll be ready to evaluate the piece, choose materials, and work in a least-intervention way.
Assess the Marquetry Surface and Stabilize the Piece Before You Start
Start by examining the piece closely in raking light to record faults and plan a safe approach. Work calmly and map every problem area on the surface: lifted corners, ripples, open seams, missing elements, and dark cracked mastic from older work.
Identify substrate-driven failures first. Shrinkage across the grain can open seams and telegraph cracks through veneer, leaving entire parts loose even when dirt or finish seems to hold them.

When to call a professional
Check for insect activity and substantial material loss before cosmetic work. Powdery frass, fresh exit holes, or soft, punky areas point to active infestation. If you find widespread loss or suspected beetles, arrange a conservator or professional fumigation rather than masking the problem.
Control environment and handle loose pieces
- Stabilize temperature and humidity near ~68°F and ~40% RH to limit curling and warping during and after work.
- Collect detached pieces like evidence: label location, store flat, and keep original materials for reuse when possible.
- Set the piece on padded supports, keep the area clean, and avoid pressure points that could crack fragile veneer while you work.
Repairing wood marquetry: Rehydrate Old Glue and Rebond Loose Veneer Without Stripping the Finish
Start gently: target only the damaged zones so you preserve the original finish, such as shellac, on the surrounding surface. Leaving the finish intact keeps historical value and avoids needless stripping.
Introduce moisture with clean distilled water on folded paper towels. Let the towels sit until the old mastic swells and rises. Stop as soon as you see expansion so you don’t over-wet the piece.

Use a long-open-time protein glue — for example Old Brown Glue — because it rehydrates and bonds to older protein adhesive. Flood the surface and rub the glue in while holding loose elements down by hand.
- Rub-in technique: hold floating pieces and stroke glue across the seam to pull adhesive under edges.
- Pressing: place two layers of newspaper, set a warmed plate (~150°F max) and clamp face-down, then leave overnight.
- Cleanup: remove paper and clean squeeze-out with cold water to protect the finish.
Avoid quick household adhesives; they can stain or create irreversible bonds. Take your time so the repair cures without spring-back and the surface reads as one coherent work.
Replace Missing Inlay Pieces and Fill Gaps to Match Color, Grain, and Period Detail
Start by recording the cavity outline precisely; a perfect trace saves hours at the bench. Tape thermal fax paper over the void and burnish with a hard smooth tool to capture every edge.
Transfer that impression to tracing paper on a light table so the pattern remains stable while you glue it to matching veneer for cutting.
Cut and fit replacement elements
Choose veneer that matches species, thickness, and grain direction. Dry-fit each piece, checking how the grain reads across the area and how the color reflects in the surrounding field.
Set, seal, and press
Use a conservation-friendly adhesive and re-press with newspaper and a warmed plate to reach a consistent surface level. Seal nearby end grain with dewaxed shellac (thin to about a 1 lb cut) and mask edges with torn tape to prevent pigment bleed.
Fill gaps and blend color
For tight seams use slow-setting epoxy tinted with matching sawdust or a touch of Mixol Schwarz; overfill slightly to allow for shrinkage. Scrape cured epoxy flush, then sand progressively to at least 320 grit (600 for optical clarity).
- Use clear CA for tiny pinholes rather than re-filling large areas.
- Match final color with dyes or stains, then seal with shellac so the new work visually disappears into the original piece.
Conclusion
Wrap up by making each action part of a repeatable method: assess and stabilize first, re-bond lifted veneer without stripping finishes, then replace missing pieces and fill gaps so no step masks a deeper issue.
Keep a “do no harm” mindset. Preserve original materials, use compatible adhesives, and apply gentle, controlled pressure rather than forcing brittle parts by hand. This way your woodworking work respects the object’s history and period detail.
For long-term care, aim for a stable environment (about 68°F and ~40% RH), avoid rapid humidity swings, and do not expose the piece to water. Save loose pieces for reapplication and avoid household glues that cause stains or irreversible bonds.
Call a professional if you find insect activity, major structural loss, or instability. In serious beetle cases documented practice includes a 48-hour chamber fumigation before further restoration.
Your goal is a flat, stable level where new work matches old in color and grain and future caretakers can still service the part without permanent shortcuts.


