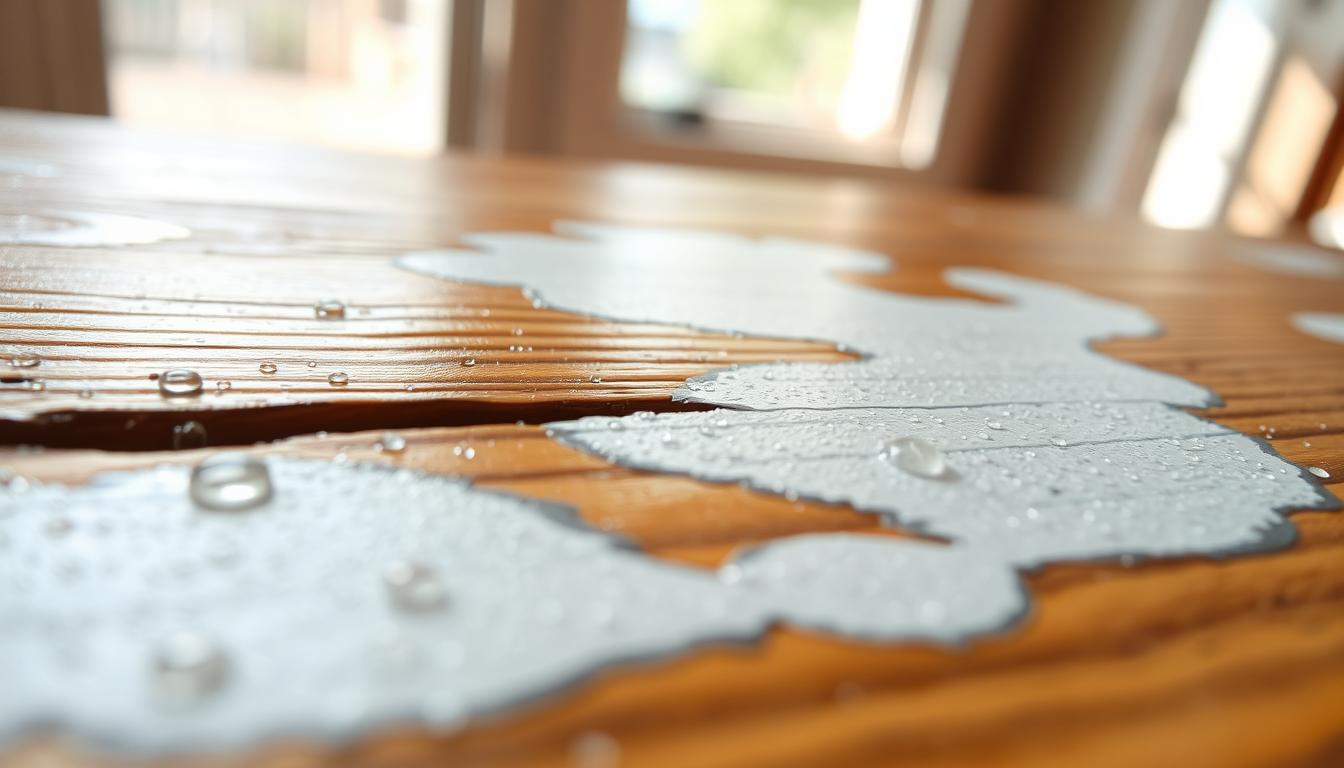
You may spot a cloudy, milky film on a dark stain or glossy table and wonder what happened. This foggy layer is easy to see on shiny surfaces and darker tones because it scatters light and dulls the finish.
Most of this moisture-related haze sits in or on the finish, not deep in the wood. That means you can often reverse it with patient steps at home rather than a full refinish.
In this guide you’ll confirm the cause, identify your finish type, and start with the mildest cleaning and buffing methods before escalating. The workflow keeps you from harming the surface.
The main goal is to drive out trapped water and lift residue without softening, dulling, or scratching the finish. Timing and technique matter more than force, so avoid aggressive scrubbing and harsh chemicals at first.
You can handle most cases with common household items, and the guide will note when a specialty product or pro help is justified.
Key takeaways: Identify the cloudy film, try gentle home cleaning first, follow a stepwise workflow, and prioritize technique to protect the finish.
What white haze is and why moisture causes it in wood finishes
Moisture-related haze forms when tiny amounts of water get trapped in or just below a finish and scatter light instead of letting it reflect cleanly. This often shows as a milky film on glossy or dark-stained pieces, and it can look less visible while the area is wet then return as it dries.

How trapped water creates a cloudy film in common finishes
Finishes like lacquer, shellac, polyurethane, and conversion varnish have micro-pores and tiny cracks. Heat, humidity, or condensation can push water into those gaps.
Once inside, the water turns a clear finish into a pale film that scatters light. That optical change—not always chemical damage—is what you see on the surface.
Finish haze versus real wood damage: what you can fix at home
You can usually restore a cloudy surface at home with drying, gentle cleaning, and mild polishing. Surface residue and trapped moisture often respond well if you act within a few days.
Look for warning signs that mean deeper harm: black stains, raised grain, or soft wood fibers. Those indicate the wood itself absorbed water and may need professional repair.
- Quick note: Gloss shows the film more; satin finishes may simply look uniformly dulled.
- Timing matters: Treating the area within days improves results and lowers the chance the film sets or spreads.
Confirm it’s moisture haze before you start
Pause and test first. Simple checks tell you whether the cloudy film is moisture-related or a worn finish. Confirming the cause saves time and prevents damage.
Quick checks you can do with light, water, and a clean cloth
Light test: shine a flashlight at a low angle across the surface. If the cloud sits as a film, light will reveal a patchy reflection; uniform dulling suggests finish wear.
Cloth test: gently wipe with a clean, dry microfiber. If the film smears or clears briefly and then returns, you’re likely seeing moisture or surface residue.
Controlled water check: in a small inconspicuous spot, use a barely damp wipe and dry immediately. Reactive cloudiness confirms moisture without soaking the wood.

Identify your finish type so you don’t dull the surface
Know the finish before you use any cleaner or solvent. Shellac and lacquer react to alcohol and strong solvents, while cured polyurethane tolerates more aggressive products.
When to stop DIY and call a pro
- Widespread whitening across panels or multiple surfaces.
- Peeling, cracking, or sticky/tacky finish that won’t harden.
- Suspected veneer lift or soft wood fibers under the surface.
Gather a sponge, soft brush, and a non-scratch pad for small test patches only. Follow a stepwise approach so each step improves your results with minimal risk.
Timing matters: how long you should wait (and when waiting makes it worse)
Acting fast often makes the difference between a simple cleanup and a costly refinish. In many cases, prompt attention within a few days gives the best results because trapped moisture and surface residue stay soft and responsive.
If the film is very fresh, try a short initial wait: place the piece in a warm, dry, ventilated room for 24–72 hours before you touch it. That can let moisture evaporate without you using chemicals.
When waiting hurts more than it helps
If the haze spreads, keeps returning after light cleaning, or appears during high humidity, don’t hope it resolves on its own. Acting within days prevents migration of moisture and limits interaction with waxes or polish that form stubborn residue.
How your approach changes with age
- New film: gentle buffing, short heat, or a mild cleaning step often clears it.
- Older film: you may need a finish-safe solvent or a specialty remover for effective removal.
- Avoid long, hard scrubbing; use short passes and re-check under angled light to protect the finish.
Tools, products, and safety gear you’ll want on hand
Gathering the right tools before you start saves time and keeps the finish safe. Set up a clean, well-lit workspace and lay out the kit so you can work methodically.
Basic kit and why each item matters
- Microfiber cloths: lift film and pick up residue without scratching.
- Sponge: for controlled, damp wiping that won’t oversaturate the surface.
- Soft brush: reaches crevices and removes trapped dust gently.
- Non-scratch pad: provides gentle agitation to loosen stubborn film without swirl marks.
Products to consider
Start with a pH-neutral, finish-safe cleaner to remove oils and grime. That cleaner often solves mild cases and prevents the need for stronger steps.
Keep a finish-safe solvent on hand for stubborn spots, but always spot-test first. Have a compatible polish or wax ready only after the film is gone so you don’t trap residue under a new coat.
Safety and work habits
Wear gloves and increase ventilation when you use any solvent or stronger product. Store chemicals away from kids, pets, and food areas.
Adopt a “clean in, clean out” flow: use fresh cloths for each wipe, rinse in a second container, and dry with a separate lint-free cloth. This reduces re-depositing residue and keeps your work product effective.
Removing white haze: step-by-step methods from mild to strong
Work from mild to stronger actions so you clear the film without harming the finish. Start with dry techniques, then add controlled water, gentle heat, and only then a solvent or a dedicated remover.
- Dry buff first. Use a clean microfiber and light pressure. Change cloth faces often to lift residue instead of spreading it across the surface.
- Water-only wipe. Dampen a cloth lightly, wipe a small area, then immediately dry-buff. This step uses minimal water to avoid reintroducing moisture into the finish.
- Apply gentle heat. Use a hair dryer on low/warm, keep it moving, and stop if the surface feels hot. Heat helps evaporate trapped water without softening the finish.
- Spot-test solvents. On sealed surfaces only, test a finish-safe solvent in an inconspicuous spot. Use the mildest product that works and wipe off promptly to prevent clouding.
- Use a non-abrasive pad correctly. Keep the pad clean, use straight light passes, and avoid grinding grit into the coating to prevent swirl marks and dulling.
Avoid vinegar on sensitive finishes. Acids, including white vinegar mixes, can etch or open porous surfaces. Only try mild acidic methods after a clear spot-test confirms safety.
Rinse thoroughly and wipe dry. After any cleaner or remover, remove residues with a lightly damp cloth and dry immediately so the film does not return as water evaporates. Re-check under angled light and stop once the surface looks clear.
Common mistakes that lock haze in or damage your finish
Small errors while you clean can lock moisture marks into the finish and make future repairs harder. Pay attention to chemistry, tools, and process so you protect the surface.
Letting cleaners dry on the surface
When a cleaner or chemical dries on the finish it can leave a new film. As the liquid flashes off, dissolved residue stays behind and can look like the original haze. That layer is harder to remove and may bond to the topcoat.
Using the wrong chemistry
Match cleaner type to your finish. Acidic or strong solvents can soften or dull a topcoat. A bad choice can cause permanent loss of sheen or uneven color.
Over-scrubbing and dirty-water mistakes
Even a non-scratch pad or brush will abrade if it picks up grit. Aggressive pressure creates swirl marks and scratches.
Wiping with a loaded sponge spreads dissolved residue and enlarges the cloudy area.
Process controls that improve results
- Work small sections and change cloths often.
- Dry-buff immediately after any water contact.
- If you see this, stop: a tacky finish, color transfer to the cloth, new scratches, or a growing dull patch.
Prevention tips to keep moisture haze from returning
A few simple habits prevent most moisture marks from returning to finished wood. You can cut the chance of recurring film with low-effort routines that protect the surface and preserve results over time.
Coasters, mats, and fast wipe-ups
Reduce water contact time by using coasters and placemats and by wiping condensation immediately. Don’t leave damp items on wood even for a minute.
Humidity control and ventilation
Manage humidity in your home for consistent results. Keep furniture away from humidifier output and steam sources. Improve airflow to speed drying after accidental spills.
Protective topcoats and release-like films
Some finished pieces have a thin release-like film from wax or polish. You’ll notice a slippery feel or light smearing when you wipe. That film can trap moisture or affect how products behave during cleaning.
- Quick habit: follow a simple, finish-safe product routine—mild cleaners and polish designed for your finish.
- Long-term fix: when the finish is worn, a proper topcoat is better than a quick coat that mismatches the original.
- Why it matters: repeated micro-exposure to water causes recurring haze patterns that slowly dull the piece.
Conclusion
Wrap up with a clear sequence: confirm the film’s cause, identify the surface, then move from dry buffing to controlled water and gentle heat before trying solvents or a dedicated haze remover.
Think of tile and grout work: grout haze on tiles can smear and return if you leave residue, so you must rinse and dry thoroughly. The same rule applies to finished wood and natural stone—match chemistry to the surface.
Use caution with acids. Vinegar may be OK on ceramic porcelain but can harm natural stone. Wear gloves, ventilate, and stop if the finish softens or the area gets worse.
When to call a pro: large areas, failing finish, or repeated failed attempts deserve professional refinishing. Prevent future issues by cutting water contact time, controlling humidity, and noting any protective film before you treat the area.


