Goal: You want to get crayon marks off your furniture while keeping the finish, color, and sheen intact.
Stains behave differently: waxy crayon often sits on top, while dye-based marker can soak in. That means the best methods and ways to treat the area depend on what you’re dealing with and how long it has set.
We’ll walk you through a gentle, step-by-step flow. Start with water-based cleaning, try wax-lifting techniques next, and use stronger cleaners only if needed.
Reminder: Test a hidden spot first. If you see any change to the finish, stop and reassess. More scrubbing is not always the answer on finished surfaces—use controlled moisture, light pressure, and short dwell time.
You’ll get clear answers and simple supplies so you can remove crayon without trading a stain for a dull spot. If kids were involved, act quickly: fresh marks usually lift more easily than old stains.
What to check before you remove crayon marks from wood furniture
First, confirm what kind of surface you’re dealing with so you pick a safe method. A quick check now can keep the finish intact and save you repair time later.
Identify the material and finish
Look at the wood grain and edges to decide if the piece is solid wood, a veneer, or a painted surface. Glossy and satin finishes react differently than matte or painted areas, so choose wisely.
Test a hidden area first
Pick a small spot under the table or the back of a chair and try your chosen step. If the finish softens, stops shining, or the paint micro-lifts, stop and pick a gentler option.
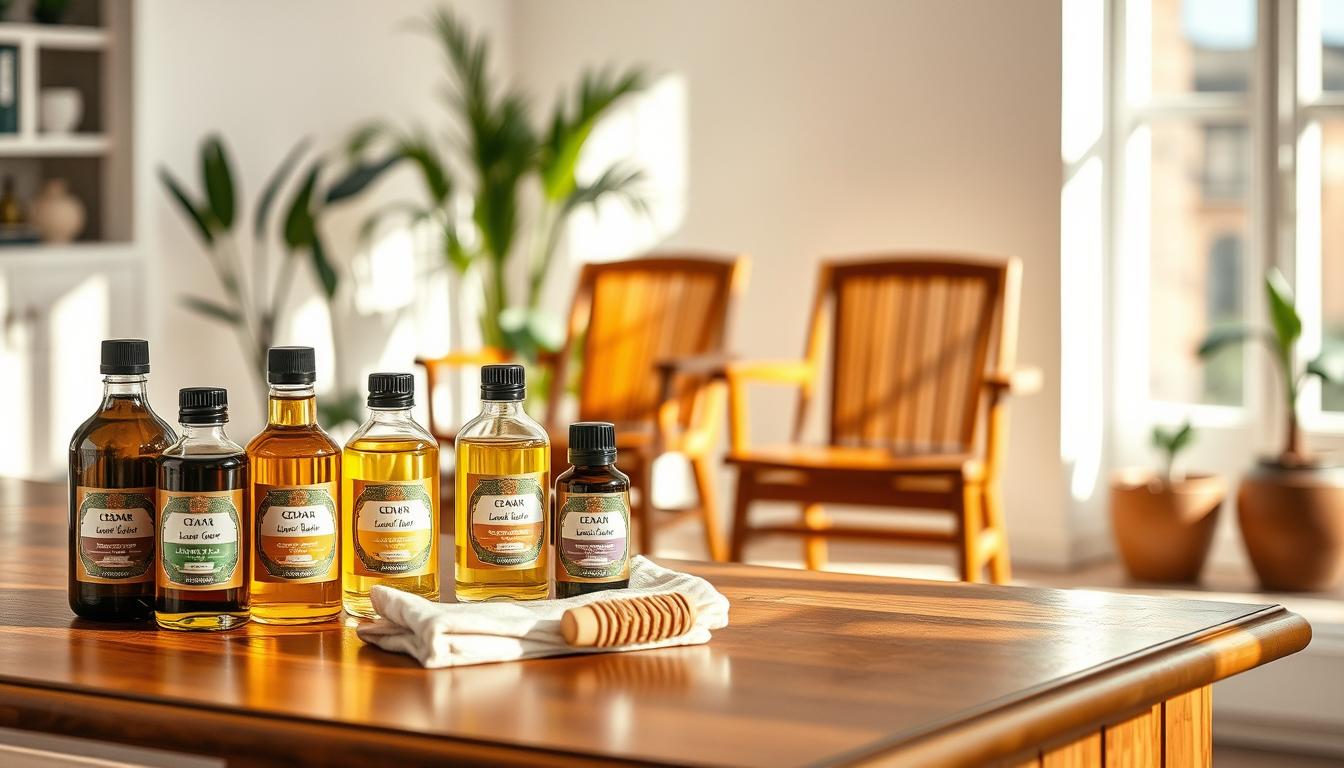
Gather simple supplies
- Soft cloth or clean rag and a damp cloth for initial wiping
- Paper towels and a towel for drying
- Warm water and a mild cleaner or dish soap solution
Control time and pressure
Work in short bursts—just a few minutes per attempt—and use light pressure. Wipe, check progress, and halt if you see color transfer or finish change.

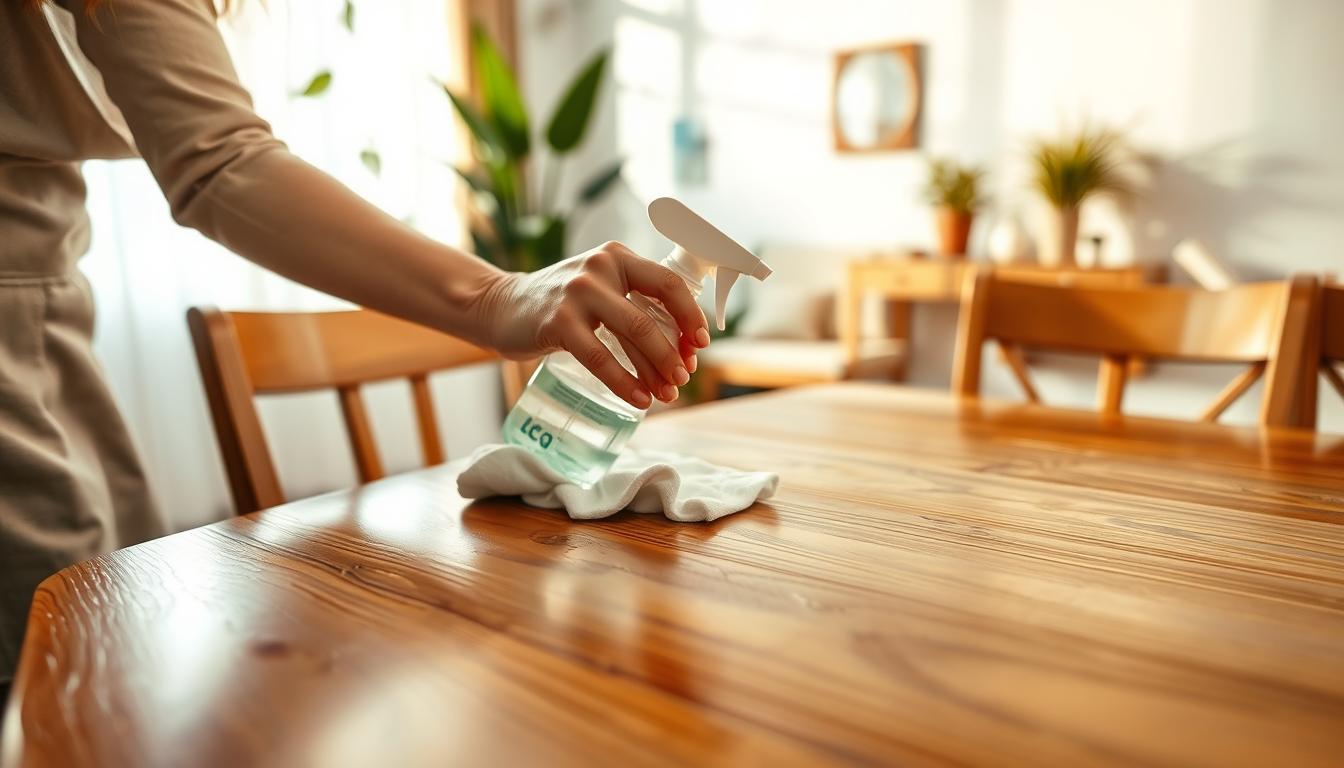
Removing crayon from wood with gentle soap and water methods
Begin with the mildest approach to protect the finish. Light cleaning often lifts fresh marks quickly with no risk to the sheen.
Wipe fresh marks using a warm water and a damp cloth. Use very light pressure so you lift residue instead of pushing wax deeper into the grain.
Mix a pea-size amount of liquid dish soap or mild detergent with warm water. Wring the cloth well and work only the stained area in small circular motions.
- Start by wiping fresh crayon marks with a damp cloth and warm water.
- Use the soap solution on the area in controlled circles for a few minutes.
- Rinse by wiping with a separate cloth dampened with clean water.
- Dry immediately with paper towels or a clean towel.
Repeat the same step if the stain lightens but does not disappear. Let the area dry fully before you try a different method.

Done looks like: no visible color, no slippery wax feel, and no soapy haze on the surface. If you still see stains after these steps, move on only when the area is dry.
When crayon wax won’t budge: safe ways to lift wax from the surface
When wax sits stubbornly on the surface, a few controlled techniques will help lift it safely. Start with heat or cold, then follow with gentle oil-based cleaning for any thin residue.
Warm the wax slightly with a hair dryer, then wipe with a dry cloth
Use gentle heat when wax is sitting on top of the finish. Keep a hair dryer on low and move it steadily over the area for a minute or two.
As the wax softens, wipe softened wax with a dry cloth before it re-hardens. This method works because heat loosens wax so you lift it instead of grinding residue into the grain.
Harden thick, smeared wax with an ice bag before lifting bits away
For thick smears, use cold to your advantage. Place an ice bag sealed in plastic over the wax to harden it.
Once firm, lift small bits away with a fingernail or the edge of a plastic card. Keep the ice bag sealed, avoid puddles, and dry the area immediately to protect the finish.
Use mayonnaise to break down waxy residue, let sit, then wipe with a clean rag
If a thin waxy film remains, apply a small dab of mayonnaise and let sit for about 10-15 minutes. The oils help break down waxy residue.
Wipe away with a clean rag, then follow with a lightly damp cloth to remove any oily film. Test first on a hidden spot—oily products can darken matte or porous pieces.
- Tip: Work in layers over time, not one aggressive pass.
- Safety: Use plastic tools, dry quickly, and stop if the finish changes.
Using cleaners on wood furniture: all-purpose spray, magic erasers, and what to avoid
If a light stain remains after soap and water, you can step up to an all-purpose cleaner carefully. Test first in a hidden spot so you don’t harm the finish or nearby paint.
For best control, spray the cleaner onto a paper towel, not directly onto the surface. Wipe the stained area with gentle strokes and check progress every few wipes. This prevents oversaturating seams and keeps moisture out of joints.
Magic Eraser basics
The Mr. Clean Magic Eraser is a mild abrasive. Use it per the manufacturer’s direction, test first, and apply only light pressure. Stop immediately if the sheen dulls or the finish changes.
What to avoid
- Avoid harsh solvents and strong acids; they can strip or dull the finish and damage nearby paint or walls.
- Skip heavy abrasives and metal tools—use a plastic card to lift softened wax or residue instead of scraping with metal.
- Vinegar is often suggested online, but it can backfire on some finishes. If you try it, dilute heavily and test a hidden area first.
If the stain still won’t lift, return to the proven soap-and-water circular method, rinse, and dry. Alternating gentle steps is safer than jumping to stronger chemicals.
Handling marker stains, older crayon stains, and stubborn spots
A quick feel and look at the spot will tell you if it’s dye-based ink or waxy residue. That diagnosis guides which method to try first.
How to tell the difference
- Waxy marks often feel slightly raised or slippery and may smear when warmed.
- Marker usually soaks in and shows a sharp edge like a flat stain.
- For older marks that have been there for years, color may be deeper and need repeated care.
Let the solution sit briefly
Apply your chosen solution lightly and wait 2–5 minutes before wiping. A short dwell time softens pigment and cuts down on scrubbing.
Work safely and contain the area
- Wipe from the outside edge inward to prevent spreading marker stains across the surface.
- Use a clean rag or cloth and rotate to a fresh section often to avoid redepositing color.
- For marks that sat for years, expect several gentle passes rather than one aggressive attempt.
When to stop
Stop immediately if you see finish color on your cloth, if the spot turns dull or hazy, or if the stain spreads. Protecting the finish is the best answer; a faint mark is easier to fix later than a stripped patch.
Conclusion
Finish with a simple plan: start gentle, work in one small area, and stop before the finish suffers. Begin with warm water and a soft cloth, then try a mild dish-soap solution if the mark won’t lift.
If wax remains, use controlled heat with a hair dryer or harden with ice and lift bits with a plastic card. Wipe with a clean rag and dry immediately with a towel or paper towels to protect the wood surface.
All-purpose cleaner or a Magic Eraser can help in tight cases, but test first and use very light pressure so paint and sheen stay intact. For homes with kids, keep washable crayons and a drawing wall to cut clean-up time.
If safe steps fail or the finish looks at risk, stop and get professional repair advice rather than pushing harder. That is the best answer for long-term care.