You’ve likely noticed thin splits or visible warping on a favorite piece after a long, dry winter. Dry indoor air pulls moisture from timber, and that loss can lead to checking, splitting, and surface cracking over time.
When we talk about preventing wood cracks, you should think in terms of control, not total stop. You can’t freeze natural movement, but you can slow moisture swings and design or maintain a piece so small shifts don’t become damage.
This guide focuses on a few big levers: humidity control, smart placement, proper acclimation, better material choices, and finishes that slow drying. Expect different outcomes for antiques, modern solid pieces, and DIY builds depending on grain, thickness, and past drying history.
As you read on, you’ll learn how to spot early warning signs, cut fast moisture loss, and reduce stress that turns small checks into major cracks. Special cookie and log-slice tabletops are high-risk and will get a dedicated section with proven turning and drying tips.
Key takeaways: Dry air pulls moisture and causes damage; you can slow movement with humidity, placement, acclimation, material choice, and finishes; cookie/log-slice tops need special care.
Why Wood Furniture Cracks and Warps When the Air Is Dry
In dry indoor air, timber slowly loses moisture and that steady loss is what drives many splits and warps. Wood is hygroscopic, so it is always exchanging water vapor with the surrounding air. That ongoing exchange changes size and creates stress over time.

Moisture loss, shrinkage, and internal stresses over time
As the surface dries faster than the core, the outer layer shrinks while the center lags. Those unequal changes build internal stresses until fibers pull apart and a visible split appears.
End grain vs face grain drying and why ends split first
The end grain soaks and releases water quickly—think of a bundle of straws. Because ends dry faster than the face, the ends and short faces often fail first and open up.
Tangential vs radial shrinkage and why round pieces crack
Growth rings matter. Tangential shrinkage around a circle can be much larger than radial shrinkage toward the center. A round disk from a single tree wants the circumference to shrink more than the radius allows, so it relieves stresses by cracking outward over time.
- Wood is hygroscopic: it gains and loses water constantly.
- Uneven drying causes cupping, bowing, and splits in wide panels.
- Glued-up tops with mixed grain orientations magnify the problem.
Understanding this process lets you manage rate-of-change and design so normal movement doesn’t become damage.
Spot the Early Warning Signs Before Small Checks Become Big Cracks
Before a small split widens into a repair job, you can spot early signs with a quick monthly check. Look closely at edges, fastener zones, and the ends of boards. Catching movement early makes fixes simple and less costly.

What these defects really look like
Checking often appears as thin, hairline lines that run parallel to the grain. These lines open and close seasonally and usually start near the end or side of a board.
Shake is separation along growth rings—think layers peeling apart. It can be cosmetic, but deep shake in a leg or rail can weaken a piece.
High-risk areas to inspect
- Joints: Glue lines, tenons, and shoulders concentrate stress when parts move differently.
- Ends and breadboard ends: Short grain dries fast and often shows the first damage.
- Wide panels and fastener zones: Large faces and screw holes can split or show a diagonal crack near stress points.
Quick visual checklist and when to act
Look for bright fresh lines, dark dirt-filled gaps, raised edges, or a crack that telegraphs through the finish. If a check is lengthening, widening, or appears on both faces, act to reduce drying stress.
Is this normal? Small checks in solid material are common. But if alignment, doors, or drawers suffer, treat it as a problem and stabilize the piece.
Preventing wood cracks in Dry Air Starts With Controlling Moisture
Controlling indoor humidity is the single most effective way to stop small splits from becoming bigger problems. Aim for roughly 35–55% RH in most U.S. homes and focus on stability as much as the exact number.
Your target indoor humidity range and what changes are too fast
Large swings over days or a rapid drop after a move can dry a surface faster than the core. That differential adds stress and often starts at ends or thin sides.
Humidifiers, HVAC settings, and whole-home vs room fixes
Use a portable humidifier for a single room, or a whole-home unit tied to HVAC for steady control across months and year. Avoid constant high fan speeds and direct heat blasts on one side of a cabinet.
Simple monitoring and why sun exposure matters
Place a hygrometer near the piece (not on a windowsill) and log RH by month. Direct sun both heats the surface and speeds water loss, which raises the chance of cracking.
Quick action plan
- Add humidity early rather than trying to “catch up” later.
- Move the piece away from vents, radiators, and direct sun.
- Consider paint or a reflective finish in very sunny rooms to reduce heat and moisture loss.
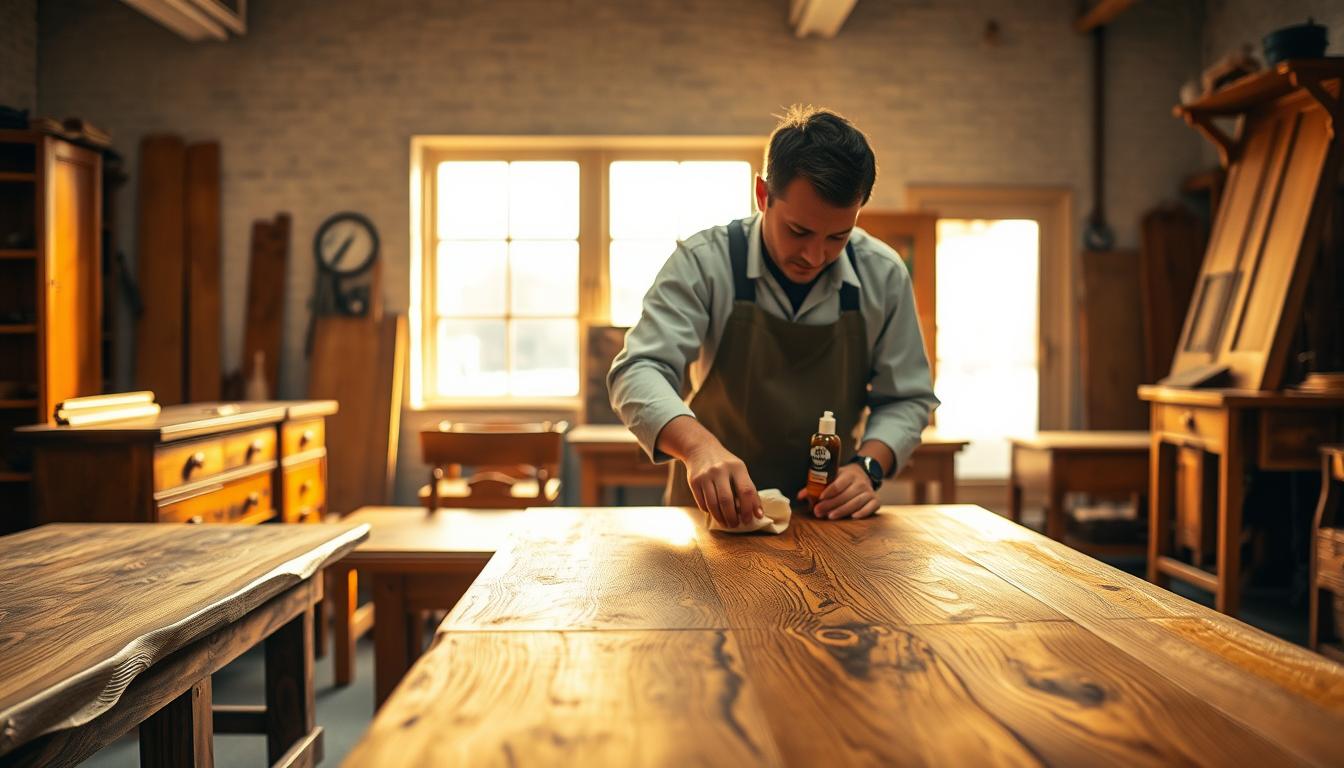
Acclimate Wood the Right Way Before You Build, Refinish, or Install
Before you cut or finish a board, let it live in your shop so its internal moisture can catch up with the room. Acclimation is a simple process that equalizes moisture content so movement happens before final fit, not after installation.
How to let boards adjust without “shocking” them dry
Bring pieces indoors and stack them with stickers so air flows around every side. Keep stacks out of sun and away from vents or direct heat. Avoid rapid temperature or humidity changes during the process.
When kiln-dried lumber still needs a wait
Even kiln-dried lumber can show uneven moisture if the kiln cycle was fast. Let boards sit in the target room; thin stock may stabilize in days, but thicker slabs can take weeks to months.
What stable looks like and why green wood is different
- Stable indicators: steady moisture readings, consistent weight over several days, and no further shape change in a piece.
- Green wood will continue drying and moving. If you use green wood, expect large shifts and design joinery to allow movement.
When refinishing, control the room so newly exposed surfaces don’t dry too fast. If you have a question about timing for a specific board or project, test one piece first before you commit to assembly.
Choose More Stable Wood and Grain Orientation for Furniture That Lasts
Pick lumber and grain that cooperate with indoor conditions, and your furniture will age with fewer surprises.
Your species choice, the cut, and board quality govern how much movement you’ll fight over the year. Some species are naturally steadier; mesquite, for example, performs well for cross‑cut discs and tables.
Why higher-grade, straighter boards check less
Higher grade lumber has fewer knots and straighter fibers. That reduces stress concentrators where checking and cracking usually start.
How vertical grain reduces movement compared to flat-sawn
Vertical grain (quartersawn or rift) moves more predictably. It costs more, but it cups and checks less than flat‑sawn boards on show surfaces.
Buying checklist and matching material to project size
- Look for straight grain and consistent ring spacing.
- Avoid boards with pith or severe runout for wide panels.
- For large tops, prefer vertical grain or narrower glued panels to limit movement.
- If milling logs yourself, plan cuts and drying to control stress in each piece.
Expect some movement through the seasons. The goal is to choose species and grain that make that change predictable and easy to manage, not impossible to stop.
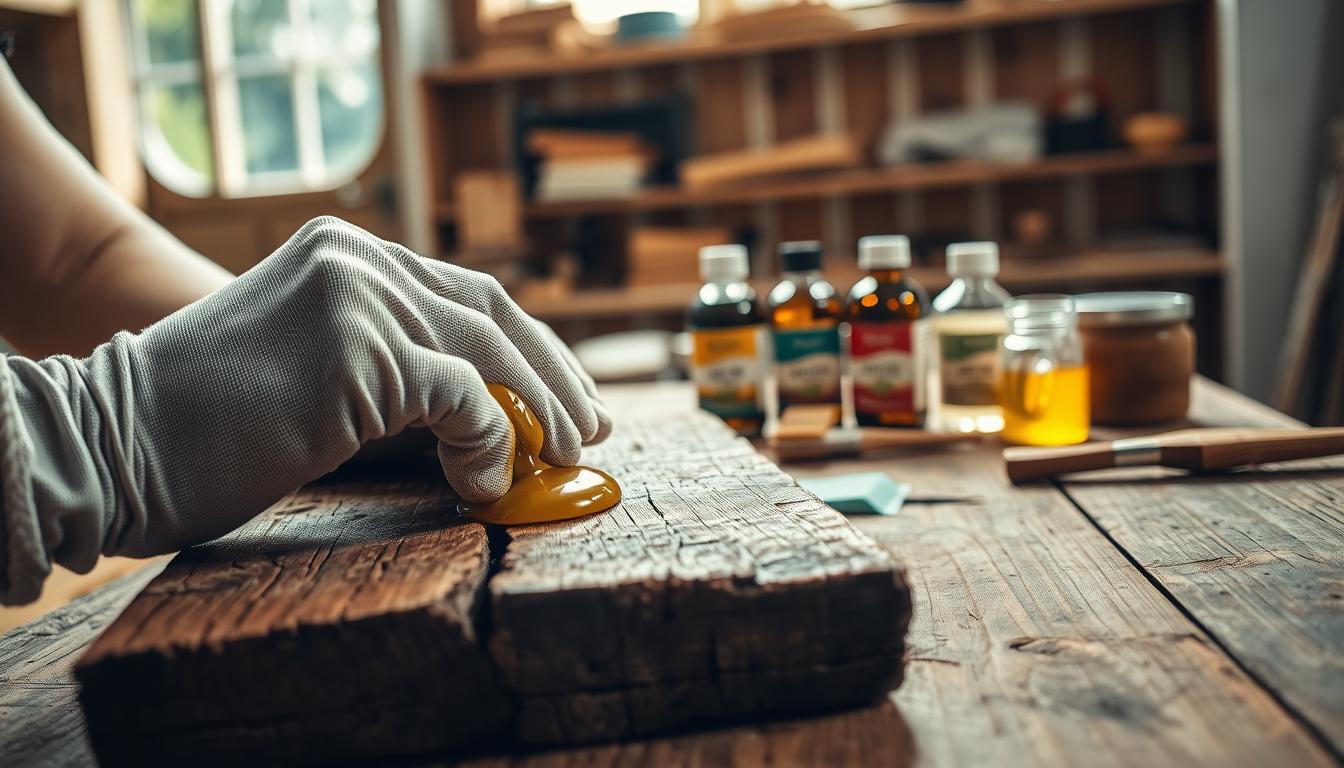
Seal and Finish to Slow Drying and Reduce End-Grain Cracking
The right finish helps the whole piece dry evenly, which reduces stress at vulnerable ends. Your goal is not to make the item waterproof but to slow the rate of moisture exchange so the face and core change together.
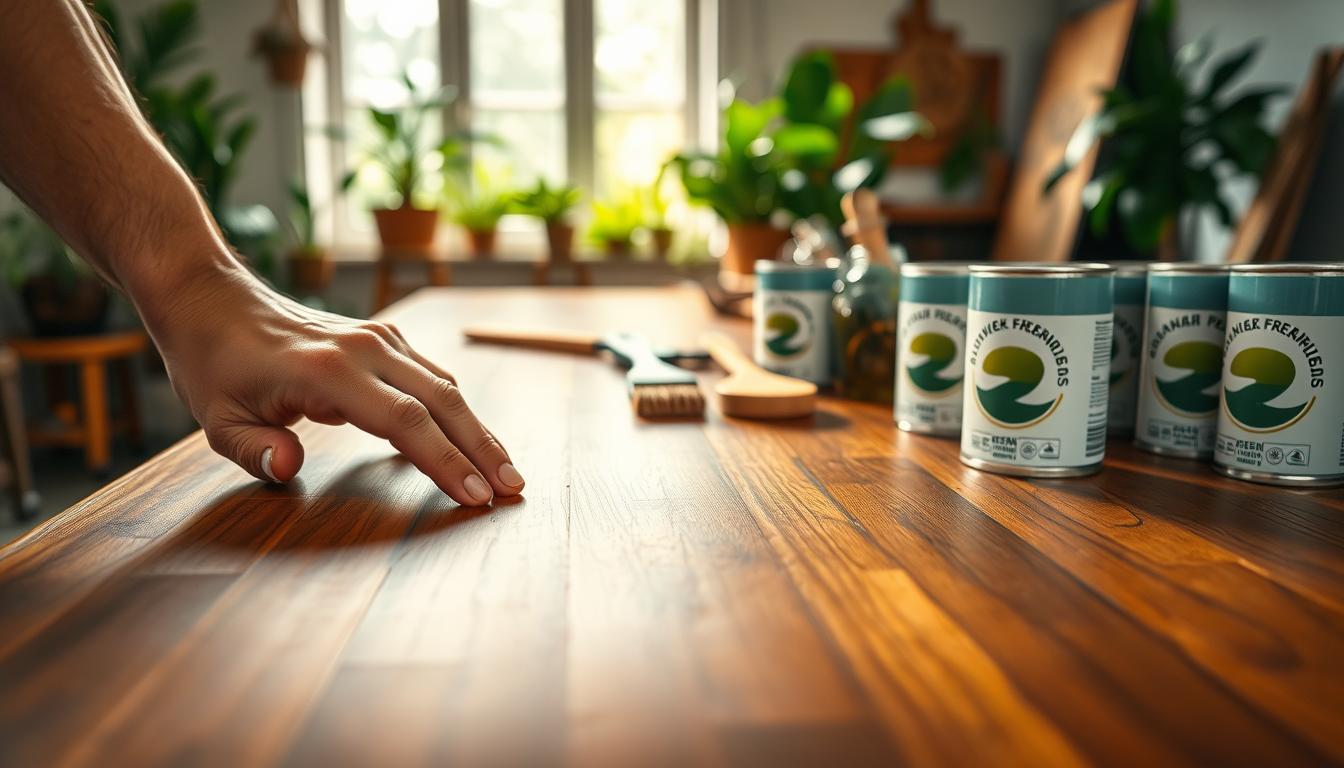
Stains, sealers, and how they work
Penetrating stains and sealers soak into pores and slow water movement through the grain. That reduced flow gives internal moisture time to equalize instead of forcing the surface to shrink first.
Paint as a stronger barrier and heat reflector
Paint creates a tougher barrier than most penetrating finishes. In sunny rooms, a light-colored paint also reflects heat and cuts rapid surface drying that can trigger checks.
End-grain priorities and practical products
Seal ends early: end grain loses moisture fastest and often starts linear splits. Treat the ends before assembly or after repairs.
- Commercial wax emulsions and endcoat products for discs and slabs.
- Latex paint on ends as an accessible, effective barrier.
- Wax-based products for short-term slowing during initial drying.
Timing and realistic expectations
Apply a sealer before the piece can dry too fast—this is especially important for newly built items or exposed end-grain components. Finishes reduce the risk of cracking but do not eliminate seasonal movement.
Combine finishing with humidity control and smart placement for the best long-term results. That way your finish is a solution, not the only defense.
Place and Use Furniture in Ways That Minimize Dry-Air Damage
Place and daily use decisions have a big effect on how long a piece resists seasonal drying. A thoughtful location reduces uneven shrinkage and lowers the chance of cracking over time. Small moves now can save you repairs later.
Keep heat and sun off vulnerable faces
Keep pieces out of direct sunlight and away from vents, fireplaces, and radiators. Sun and direct warm air drive fast surface drying that invites splits and surface checking.
Stop the one-side problem
If one side of a tabletop bakes in warm air while the other stays cool, that face will shrink more. The result is cupping, warping, or open joints at the ends.
Simple placement and use tactics
- Don’t park furniture over floor registers; redirect airflow if needed.
- Rotate large pieces seasonally so the same face isn’t always exposed.
- Use curtains, UV film, or blinds to cut rapid sun-driven moisture loss.
Also watch habits: hot mugs, space heaters, or electronics next to a wood surface create local drying spots. If drawers stick or doors misalign with the seasons, suspect uneven drying and move the piece before damage grows.
Build and Fasten So Wood Can Move Without Splitting
Good construction lets parts shift a little each season instead of forcing a sudden failure. If you lock a wide panel or slab in place, normal movement has to relieve itself somewhere, often by splitting along a grain line.
Common over-restriction mistakes are easy to spot. Fully glued cross-grain joints, rigid corner blocks, and screws driven tight through a tabletop all stop natural expansion and contraction.
- Let panels breathe: use floating tenons, elongated screw holes, or slotted metal fasteners so a top can shift a little.
- Fastener guidance: choose the right screws by size and use enough of them. Too few fasteners can let torque rip the threads out; too many fixed points concentrate stresses.
- Glue strategy: glue where structure needs it, but avoid full-surface glue-ups that fight cross-grain movement across large pieces.
If a crack appears at a screw line or at a joint shoulder, suspect restraint rather than bad luck. Redesign that attachment to spread stresses and avoid a single brittle failure point.
Quick fix checklist: add slots, back off one fastener slightly, or convert a fixed cleat to a floating one before you repair splitting or cracking.
Special Case: End-Grain “Cookie” Tables and Log Slices That Love to Split
A cross-cut disc from a tree often splits because tangential shrinkage around the circumference outpaces radial shrinkage of the diameter. For example, a 24″ disk can want about 8% circumference shrink while the diameter wants roughly 4%, which drives radial cracks from the center outward.
Right after you cut logs into discs, slow moisture loss. Seal faces and ends with a wax emulsion or paint to reduce surface shock.
Removing the pith by drilling a center hole lowers stress concentration. It’s a handy step if you later mount hardware or a clock.
For controlled drying, store the piece with gentle airflow and even exposure on both sides. The slower the drying, the lower the chance of a catastrophic split over months.
Turners use a couple of practical methods: a short denatured alcohol soak for thin, porous pieces (4–12 hours), then drip-dry and cover with paper or a paper bag for a few days. Or pack the piece in a plastic bag with shavings to slow release.
- Bulking: PEG or Pentacryl can reduce shrinkage if applied while the disc is green, but expect cost and finish tradeoffs.
- Mechanical relief: Kerf cuts on the back or cutting the disc into wedges, drying, then reassembly trades seams for stability.
- Repair options: Let the piece crack and stabilize with epoxy fills and butterfly keys; laminating to plywood adds backing support.
Conclusion
Controlling the environment is the most reliable way to keep furniture intact through long dry spells. Manage indoor humidity so the wood changes slowly, and you’ll limit rapid moisture loss that causes stress.
Start by stabilizing RH, avoiding sudden temperature swings, and keeping heat or sun off one face to stop uneven drying. These steps are the fastest way to protect a favorite piece.
When you build or refinish, acclimate material, pick stable grain where it matters, seal end grain early, and use joinery that allows seasonal movement. Treat each piece as part of a system, not an isolated item.
Special-case items like cookie or log-slice tops are prone to cracks and cracking, so plan relief strategies and accept some movement as normal.
Over time, keep a simple habit: monitor RH, boost humidity in the driest months, and refresh protective finishes to slow drying. That routine is the easiest, most effective way to preserve your pieces.