Restore deep color and protect your surfaces by following a simple, repeatable method. You’ll learn how to gather the right tools, clean gently, prep problem spots, apply polish in small sections, and buff for a lasting result.
Work with the grain and use thin coats to avoid haze and streaks. For flat tabletops use even strokes; for carved trim use soft brushes or folded cloths. Let products absorb, then buff by hand or with an electric buffer for larger pieces.
These steps will help your wood furniture regain a deeper glow instead of a short-lived shine. Focus on low‑moisture cleaning, clean cloths, and spot testing to protect the existing finish and prevent sticky buildup.
Why Polishing Matters for Dark Walnut and Mahogany Surfaces
The right polish does more than add shine. It restores color and creates a thin protective layer on the finish that helps guard against moisture and light scratches. That protective film also evens out sheen so the surface reflects light more uniformly.

How polish boosts sheen and protection
When you apply polish correctly, it fills tiny irregularities and enhances grain contrast. This improves the look and gives short-term protection from spills, moisture rings, and daily wear.
Why these pieces dull over time
Fine dust and airborne dirt settle into the finish and cut down reflectivity. Oily fingerprints and grime make shine look patchy, especially on high-touch edges and cabinet fronts.
Set realistic expectations
Polish improves appearance and adds temporary defense, but it won’t replace refinishing when the finish is failing. Regular cleaning, correct product choice, and gentle buffing are what keep that deep glow without buildup.
- Protect now: reduces future touch-ups.
- Clean first: removes dust and dirt for even sheen.
- Use sparingly: light coats prevent sticky residue and lost depth.
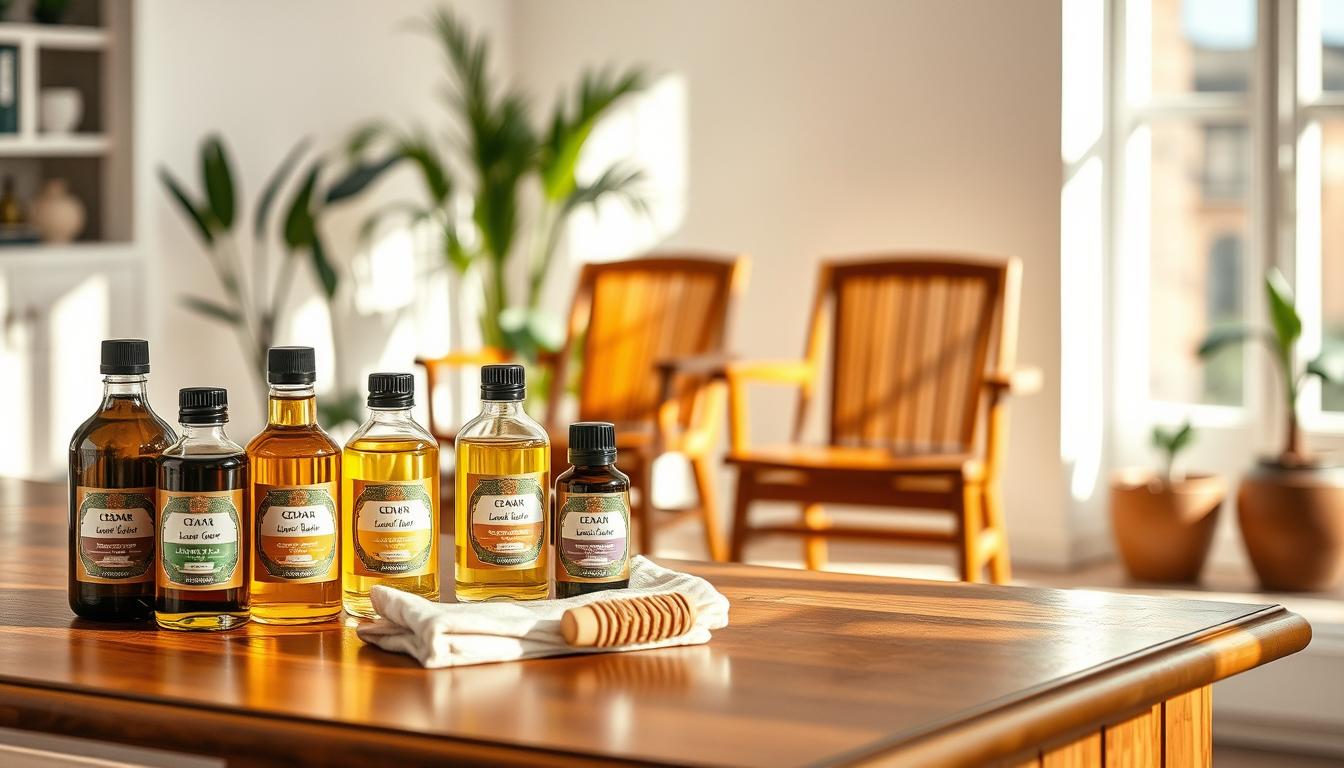
Materials You’ll Want Before You Start
Start by assembling approved products and soft tools so you can work confidently and cleanly.

Choose the right polish and product
Match the polish to the finish: use wax for a traditional protective feel, oil for deeper nourishment, or water-based formulas for quick-dry, low-odor upkeep.
Avoid silicone-based options if you may refinish later, since silicone can leave residue that interferes with recoating.
Cloth and soft cloth essentials
Use microfiber for applying and buffing. Keep extra lint-free cloths so you can swap to a clean one and avoid swirl marks.
Brushes and detailing tools
Use small brushes or cotton swabs for carvings, tight corners, and edges where a cloth won’t reach evenly.
Light leveling and sanding tools
Carry fine-grit sandpaper, a sanding sponge, or fine-grade steel wool for tiny rough patches. Sand gently in the direction of the grain.
Dust control and safety
To remove dust, use a tack cloth, vacuum with a brush attachment, and a dry brush before you apply any polish.
Make sure you wear gloves and spot-test any product on an inconspicuous area first.
- Match smart: wax for surface protection, oil for penetration, water-based for light maintenance.
- Tools: microfiber cloths, detail brush, sandpaper for small fixes, and tack cloth to remove dust.
- Safety: gloves and a spot-test keep the finish safe and let you make sure the product behaves correctly.
Clean the Wood Thoroughly Without Damaging the Finish
Start by removing loose particles with a soft brush, then follow with a gentle vacuum and a dry microfiber wipe. This dry sequence helps you remove dust without adding moisture that can harm the finish.
Dry dust removal first
Use a soft brush to loosen grit in crevices. Vacuum with a brush attachment to remove that debris. Finish with a lint-free cloth to remove remaining dust from the surface.
Remove grime safely with minimal water
For sticky marks, mix a drop of mild soap in a bowl of water and wring your cloth until it is barely damp. Wipe gently along the grain and immediately follow with a dry cloth.
Handle sticky spots and light stains before finishing
Do not polish over dirt or stains — you will trap them under the protective layer. Treat sticky spots first so the final sheen looks even and clean.
When to step up cleaning power
If grime persists, use a gentle wood cleaner as directed. For stubborn residue, apply mineral spirits sparingly to a cloth and spot-test first. A vinegar-water mix (no stronger than 50:50) can work for mild buildup, but always test in an inconspicuous area.
- Safe sequence: brush, vacuum, dry cloth.
- Water control: use barely damp cloths to avoid swelling or haze.
- Spot-test: make sure stronger cleaners won’t damage the finish.
Let the surface dry completely
Make sure the surface is fully dry before you apply any product. Polish applied to damp wood can streak and fail to bond evenly, so let air circulate and recheck with a dry cloth.
Assess the Existing Finish and Prep the Surface for a Professional Result
Begin by examining the surface in bright, even light so you can spot worn areas and tiny defects.
Look for uneven sheen, thin finish spots, fine scratches, dents, and rough patches. Mark problem areas so you know where to work.
How to check for defects
Hold a lamp at a low angle to reveal flaws that hide in flat light. Small scratches and worn-through spots show up clearly this way.
Sanding basics
Use fine grit sandpaper and sand with the grain only. Apply light, even pressure and keep your strokes steady in one direction.
Sand only where needed. Stop if the finish gets too thin or if veneer is at risk. Over-sanding causes damage that won’t give the desired results.
Remove dust before the next coat
After sanding, remove dust thoroughly. Use a tack cloth, vacuum, and a clean microfiber wipe to remove dust so the next coat goes on smooth.
- Why prep matters: it’s the way to even results and faster buffing later.
- Key tip: match your sanding direction to the grain for invisible repairs.
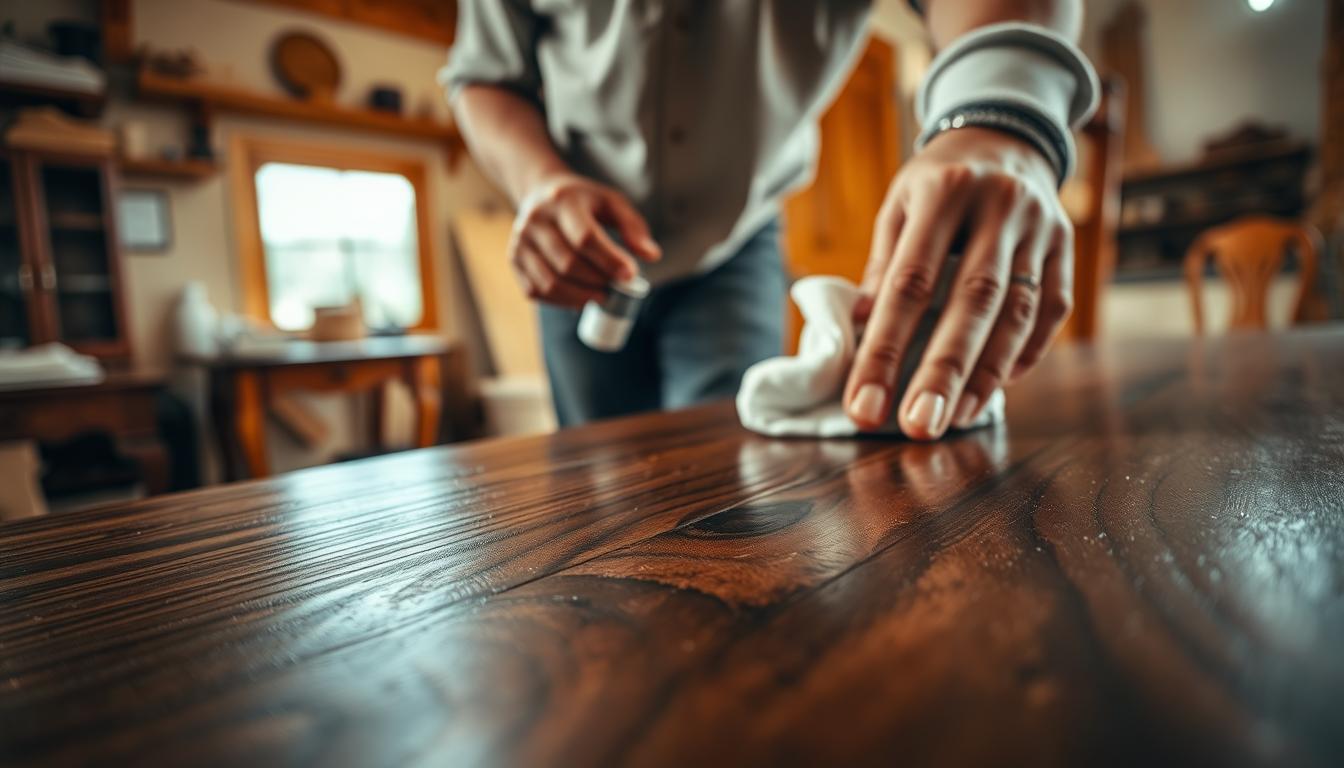
Polishing Dark Wood: Applying Product the Right Way
Apply product in focused, manageable areas so you control coverage and avoid excess. Working small keeps the amount predictable and prevents sticky buildup on furniture.
Work small and measure the amount
Work in palm-sized sections. Put a measured dab on your cloth, not a puddle, so you limit the amount on the surface.
Application technique and grain direction
Use a soft cloth and spread a thin, even coat in the direction of the grain. Thin layers dry clear and buff fast; thick coats trap residue and streak.
Cloth versus brush for details
Use a cloth for flat panels and broad tabletops. Use a soft brush for carved furniture and tight corners so the product reaches crevices without pooling.
Wait time and absorption
Give oil or wax formulas the recommended time to absorb before you buff. Proper time improves clarity and the final glow.
Layering strategy
Add a second layer only if the surface still looks dry after the first buff. Stop if haze or clouding appears — more layers can harm the finish.
- Tip: less is more — a consistent process yields the best, long‑lasting sheen on furniture.
Buffing for Shine and That “Deep Glow” Look
Final buffing is what transforms a treated surface from dull to deeply luminous. Take your time here—rushing leaves patchy gloss on walnut and mahogany pieces. Start with a clean microfiber cloth and work in small, manageable areas.
Technique to lift and even out finish
Begin with gentle circular motions to lift excess and even out coverage. Follow with long passes along the grain to align sheen and hide swirl marks.
Pressure and cloth care
Use moderate pressure—enough to activate the product but not enough to create friction heat. Swap to a fresh cloth when the one you’re using loads up, since a saturated cloth can smear and reduce shine.
Working larger tables and using a buffer
For a dining table or a set of cabinet doors, keep movement consistent across panels. If you use an electric buffer, choose a low speed, keep the pad moving, and monitor surface temperature to avoid overheating the finish.
- Tip: circular then grain passes yield the best shine.
- Tip: replace cloths often to prevent smearing.
- Tip: take your time—buffing time equals better results.
Troubleshooting Common Issues on Dark Walnut and Mahogany
Small problems often have simple, reversible fixes. Use targeted steps so you protect the existing finish while improving appearance.
Streaks, haze, or patchy shine
If you see streaks or haze, it usually means excess polish remains. Wipe the area with a clean, dry cloth and rebuff in small, overlapping passes until the surface looks clear rather than smeared.
Sticky residue and over-application
Sticky buildup comes from too much product or multiple uncured layers. Reset the area by cleaning with a mild cleaner or mineral spirits on a soft cloth, then let it dry before applying a very thin layer of wax or oil.
Fine scratches and worn spots
Light sanding with fine grit can smooth minor roughness. Sand sparingly, with the grain, and stop if the finish feels thin. Afterward, clean the dust and test a single thin layer for best results.
Product mismatches and lacquer work
Avoid silicone-based products. Silicone can leave residues that block adhesion and cause defects when you later use lacquer or attempt recoating. Diagnose problems by asking if the cause is too much product, a dirty surface, or an incompatible product—then correct it before repeating the process.
- Quick tips: rebuff excess polish, clean to reset sticky areas, sand only tiny spots, and skip silicone if you plan future lacquer work.
Conclusion
In short, wrap up by building a short maintenance habit that protects the finish.
Follow the five clear steps you used: clean, assess, prep, apply, and buff. Do each step lightly and consistently so polishing becomes a repeatable routine, not a heavy one‑time task.
Keep habits simple: dust weekly with a lint‑free cloth, use a gentle cleaner when needed, and reapply wax or polish about every six months after a spot test. For a dining table, coffee table, or cabinets, treat high‑touch areas first and match technique across pieces for a uniform look.
Final tip: aim for clarity and depth, not buildup. When you respect the existing finish and follow these steps, your furniture will hold its rich, elegant look for years.