This guide helps you tackle small growth on wooden pieces without spreading spores or harming finishes.
You’ll learn what causes this growth in real homes: moisture plus organic material. That explains why it shows up on decks and antiques. Quick action matters because the longer it sits, the more likely it will stain and return.
First, confirm the spot is mold and do a severity check. Then put on basic safety gear and add ventilation. The goal is simple: remove the growth safely and keep your finish intact.
Be mindful of your health if you have allergies or asthma; cleaning can release spores and irritate lungs. This is a how-to for surface-level cases. If the issue is widespread or inside structural material, hire a pro.
Remember: cleaning treats the symptom; controlling moisture and airflow fixes the long-term problem.
How to Tell If You’re Dealing With Mold or Just a Stain
A quick inspection helps you decide the right way to clean and whether you need extra precautions. Look at texture, color, and smell before you touch the surface.

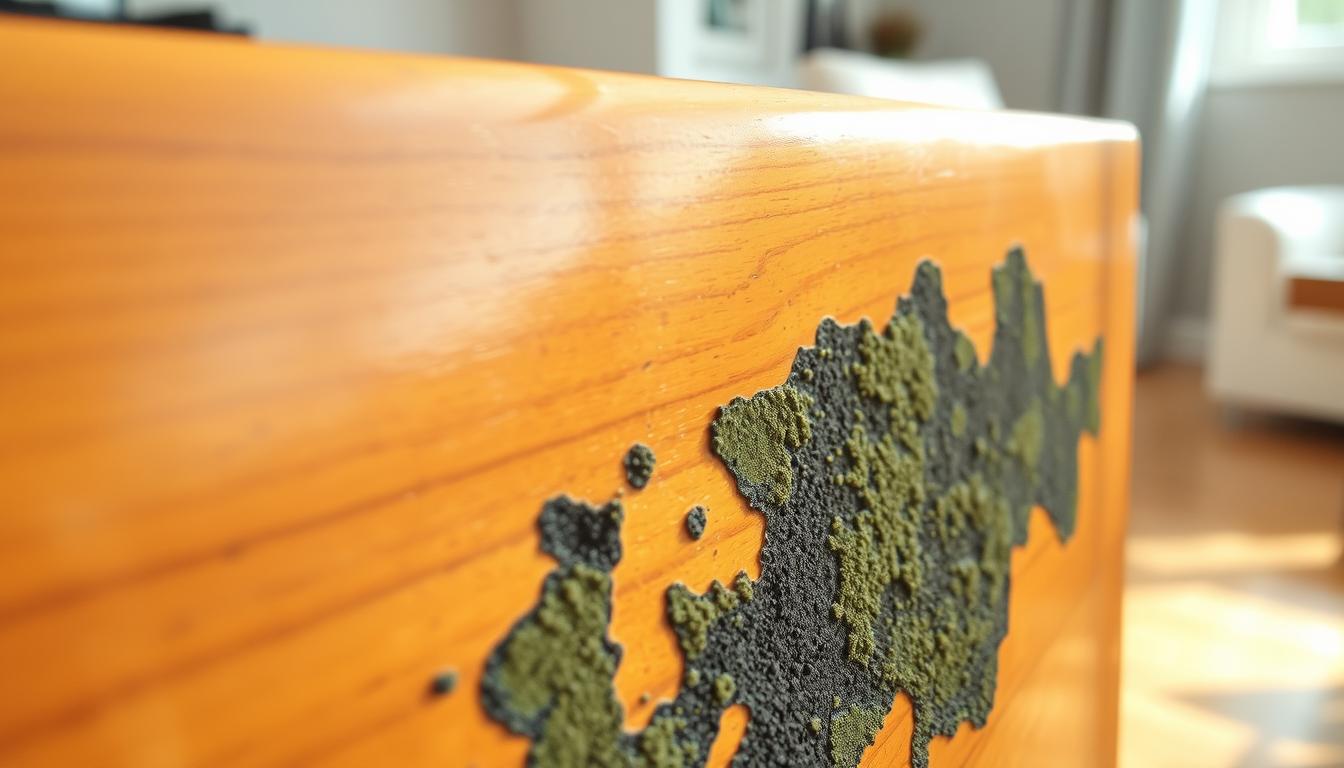
Common signs of biological growth
Visible texture: growth may appear fuzzy, powdery, or slimy with irregular spots in black, green, blue-green, white, or gray.
Clues it may not be living growth
Flat dark marks with no texture are often simple water stains. A natural knot or grain variation can mimic spots. If there is no musty odor, it is less likely to be active growth.
Quick severity check
Try a gentle touch-and-wipe test: if residue comes off and the surface beneath feels solid and dry, the issue is likely surface-level contamination.
- Small area and intact feel = surface cleaning usually works.
- Spread into joints, soft or discolored wood, or persistent musty smell = deeper damage and different approach.
- If you are unsure or the affected area grows, stop and follow the safety guidance next.
Safety First: Protect Yourself From Mold Spores While Cleaning
Start by protecting yourself—proper gear and airflow cut the risk of airborne spores during cleaning.

- Wear an N95 mask (not a loose face covering), safety glasses, and disposable gloves.
- Use long sleeves and avoid touching your face while you work.
Why cleaning can make things worse
Scrubbing can aerosolize tiny particles and push spores into the air. That increases exposure across the room and nearby areas.
Ventilation and containment tips
- Open windows or doors and create steady airflow with a fan that blows outward.
- Run a HEPA air purifier if available to cut airborne particles.
- Keep kids and pets out, avoid dry-brushing, and seal used cloths in a bag for disposal.
When to call a certified specialist
Contact a pro if the type is unknown, anyone has health concerns, coverage exceeds about 10 square feet, the growth keeps returning, or the issue is behind walls or near HVAC. Experts use probes and moisture meters to find hidden moisture and measure spread, which helps decide the right repair or remediation.
Next: once you’re protected and the space is controlled, gather supplies and set up a safe workspace before cleaning.
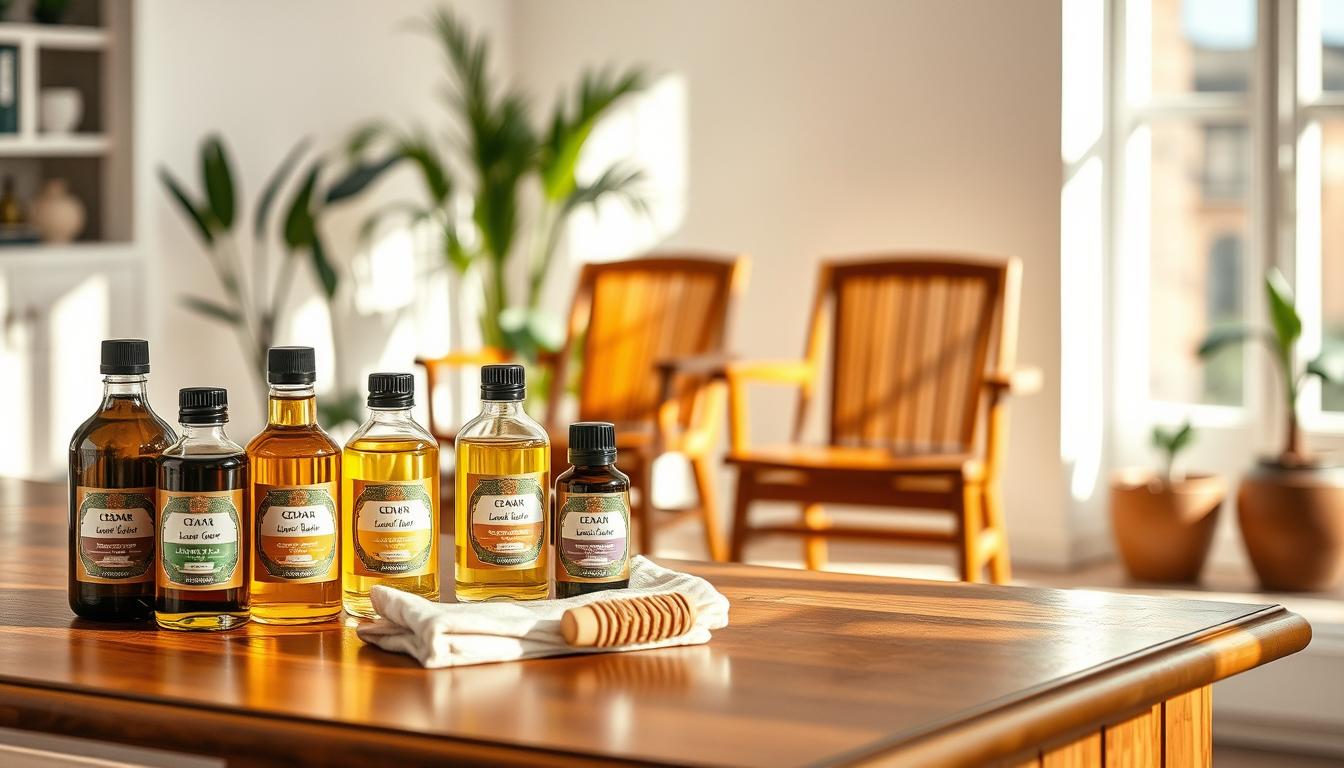
Mold on wood furniture: Supplies and Workspace Setup Before You Start
Before you start cleaning, gather the right tools and pick a workspace that limits spread and speeds cleanup. A brief prep step keeps spores from moving and helps you work without damaging the finish.
- HEPA-filter vacuum to remove loose particles safely.
- A spray bottle filled with a white vinegar solution for the initial pass.
- Soft-bristled brush and microfiber cleaning cloths for gentle agitation and wiping.
- Clean water for light rinsing and a plastic sheet or disposable drop cloth to catch debris.
Where to clean for best airflow and easiest cleanup
Outdoors on a calm day is the preferred way. Good airflow reduces airborne concentration and makes tidy cleanup simpler.
If you cannot move the piece, isolate the area indoors. Open windows, run a HEPA air purifier, and lay down a disposable sheet. Avoid dry-brushing or actions that stir dust.
Keep liquids controlled. Use light sprays and blot rather than soak. Excess water can feed regrowth, so aim to clean without saturating the surface.
How to Remove Mold From Wood Furniture Without Ruining the Finish
Use a step‑by‑step, low‑moisture process to lift growth while protecting the finish.
Start with dry removal. Run a HEPA‑filter vacuum with a soft brush attachment over the affected area to pick up loose spores and debris. Work slowly so you do not spread particles.
Mix equal parts water and white vinegar in a spray bottle. The bottle helps you control how much liquid reaches the surface and prevents excess moisture from seeping into joints or end grain.
Lightly mist the stained area and let the solution dwell 10–15 minutes. Then gently scrub with a soft brush, following the grain. Re‑mist only if needed; avoid soaking the piece.
Wipe the residue with a clean cloth, turning to a fresh side often to avoid re‑smearing. Towel‑dry right away, then finish by drying completely with good airflow and, if possible, sunlight to discourage regrowth.
Finished vs. unfinished pieces: sealed finishes usually limit penetration and respond well to surface cleaning. Unsealed wood absorbs liquids, so use minimal spray, extend drying time, and consider repeat light treatments rather than heavy soaking.
If a musty odor lingers, sprinkle baking soda nearby or place activated charcoal in drawers. Keep ventilation running until the smell fades and moisture is controlled.
If Mold Keeps Coming Back: Deeper Cleaning, Repairs, and Surface Protection
When regrowth repeats, treat moisture and poor airflow first; cleaning alone rarely fixes the problem.
Start by using a mold-specific cleaner safely: read the label, do a small spot test, and follow the listed dwell time. Work with windows open and a fan blowing outward. Wipe treated surfaces and make sure the piece is allowed to dry completely before any further steps.
If stains or embedded growth remain, only sand as a controlled last resort. Wait until the wood is fully dry, then sand lightly with the grain. Clean up dust with a HEPA vacuum and damp cloth, and dry the area again.
Protective treatments and prevention
- Apply a borate-based wood treatment to reduce susceptibility, then seal with an anti-microbial finish to block moisture entry.
- Control humidity: aim below 50% (30–50% ideal). Use a dehumidifier in damp zones and improve air circulation.
- Pull pieces a few inches from exterior walls, fix leaks, dry spills fast, and inspect backs and undersides regularly.
Conclusion
Conclusion — the three essentials for success:
Confirm the spot is mold, remove loose spores with a HEPA vacuum, then clean the surface using a vinegar solution with controlled moisture. Dry thoroughly; drying is the most important step to stop repeat mold growth.
Don’t spread spores into the air while you work. Keep windows open, run a fan outward, and bag used cloths right away to protect your home and health.
If the problem covers more than about 10 square feet, keeps returning despite prevention, or affects hidden areas near HVAC, hire a certified specialist for a safe assessment. For daily prevention, monitor humidity, fix leaks fast, and keep pieces slightly away from exterior walls.