You can repair a small nick or scratch so it blends into the rest of the piece. This brief guide shows how to assess the finish, find hidden undertones, and test color in your room light before you apply anything.
Start by learning the difference between a stain and the finish that sits on top. The topcoat changes how the tone reads, so look at sheen and grain as much as hue.
For a tiny repair your goal is practical: match tone, mimic undertone, and match sheen so the spot does not jump out. Expect a nearly invisible blend, but sometimes a coordinated transition is the smarter aim.
You will assess the existing finish, gather simple tools, test small samples in real lighting, apply thin layers, and seal. The most common failure is picking a brown color without checking undertone, grain, or topcoat.
In the end, your eyes are the final judge. Make choices that help the repair age with the piece using compatible products and a consistent finish system.
Assess the Existing Wood and Finish Before You Touch Up
Start by confirming where the color lives — in the surface film, in the wood fibers, or from a chemical change. That will decide what products you need and how hard the repair will be.
Use simple observations to separate surface tint from a penetrating dye or stain. Dyes often look even and smooth across the panel. Stain shows up in pores and grain lines, especially on oak.

How to tell stain, dye, or chemical alteration
Look for uniformity, grain contrast, and any unusual darkening. Some pieces were treated with ammonia or other reagents that alter the fiber itself. Those reacted surfaces rarely match with standard cans of stain.
Why the topcoat must match
If the original finish is lacquer, shellac, oil varnish, or polyurethane, pick the same family. Different finishes change clarity, sheen, and warmth. Even a perfect color can look off under a mismatched topcoat.
How species and age affect the result
- Maple often skews yellow; cherry leans red and deepens with time.
- The same stain color on different woods can produce different undertones.
- If you suspect dye or a chemical process, plan to visit a specialty supplier — that’s the smart thing to do.
Gather the Right Supplies for a Small-Area Furniture Repair
Collect sample sizes, precise applicators, and a few clear-coat options before you begin. This saves money and helps you build color in thin layers so the patch blends better with the surrounding finish.
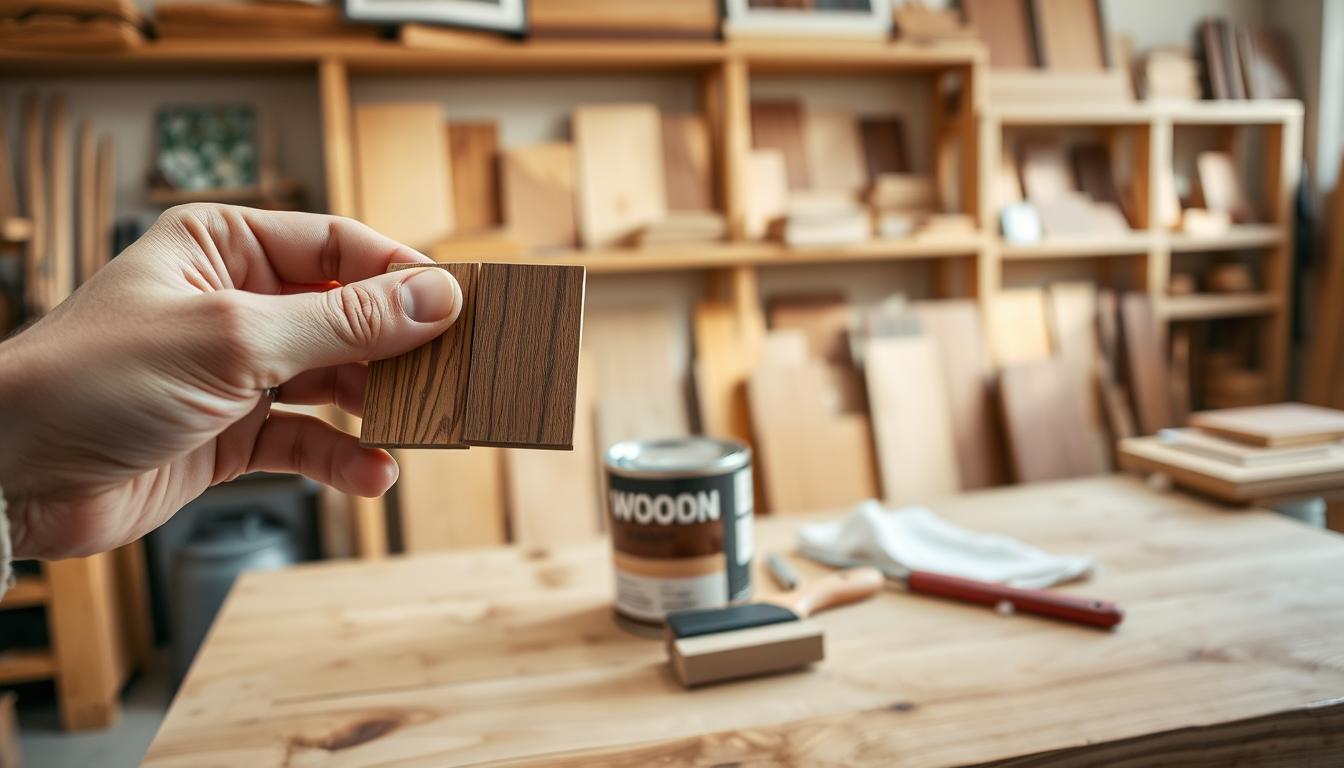
At the store, choose small cans or tester jars rather than full quarts. Pick two or three close colors so you can adjust undertone and depth. Photos and label names are unreliable; real samples in your home light are the only way to know.

- Small supplies: sample cans, tinting drops, and a scrap test board or box for trials.
- Applicators: lint-free cloths, small foam brushes, artist brushes, cotton swabs, and a clean wiping rag.
- Prep and protection: gentle cleaner, fine sandpaper, tack cloth, painter’s tape, gloves, and a drop cloth.
- Topcoat choices: oil or water-based poly, lacquer touch-up, shellac, and wipe-on finishes—each shifts warmth and sheen slightly.
Tip: If retail options fall short, visit a woodworking specialty store for dyes and toners. Always test samples on scrap or an inconspicuous underside before you work on visible furniture.
Matching wood stains Starts with Undertones, Not Just “Brown”
The real secret to a seamless repair is noticing whether the piece leans toward red, yellow, or a cool green-blue. Look at the area next to a neutral reference — white paper or a gray card works well — to reveal hidden hues.
How to spot warm vs cool undertones
Separate three things: depth (light vs dark), tone (saturation), and undertone (the hue beneath). Warm undertones push red, pink, yellow, or orange. Cool undertones push blue, purple, or green.
Use comparison to reveal hidden hues
Place several stain colors next to the piece in your home light. Side-by-side samples force pinks, greens, and violets to show. Evaluate at different times of day.
Common species tendencies and a simple rule
- Red oak often reads pink; maple tends toward yellow or yellow-pink.
- Cherry carries red/pink and deepens with age; walnut may show violet hints.
- Example rule: if the finish reads pinkish, pick a sample with red/pink undertone, not a yellow-green option.
When to coordinate rather than chase an exact match: for a tiny repair, choose a stain color in the same undertone family and adjust lightness. That often looks more natural than trying to duplicate a label name exactly.
Account for Grain and Sheen So the Patch Doesn’t Give Itself Away
Pay attention to grain and sheen early—those two make or break an invisible patch. Busy grain patterns will call attention to any repair, even if the color matches well.
Open-pore surfaces soak pigment into the grooves. Tight-grain panels hold color more evenly. That difference can make a small patch read as a different pattern.
On flat tabletops and cabinet faces, interrupting the grain rhythm makes a repair pop. Feather sanding the edges and applying thin coats helps the patch blend into the surrounding woods.
- Keep stain thin so you don’t fill pores and change texture.
- Feather sand edges to avoid a hard line in the grain.
- Match the topcoat sheen—satin vs gloss will change the final look.
Clear coats age and warm color. If the original finish has ambered, choose a finish with similar clarity so reflections don’t betray your work. As an example workflow: lock in the color first, then test the correct sheen so the repair disappears at normal viewing distance.
Create and Test Stain Samples in Your Home Lighting
Bring test pieces home and watch how a stain shifts under your morning sun and evening lamps. Request or make small sample jars and try them where the furniture sits. Store lighting often hides undertones that show up at home.
Why request or make samples before you commit
Always treat sampling as non-optional. A close color at the store can turn wrong once it soaks into your wood and sits under your lamps.
How lighting changes stain and paint the same way
Daylight, warm bulbs, and cool LEDs reveal different undertones. What looks neutral in a bright store may read red or green in your room.
Best testing method: layer, label, and view over time
Apply several thin swatches on scrap or an inconspicuous area. Build layers as you would on the repair so depth and sheen match.
- Label each sample with brand, stain, number of coats, wipe time, and topcoat.
- View samples in the morning, afternoon, and evening to see which holds up best over time.
- Include the intended topcoat on each sample—clear finishes can warm or darken the final look.
Why photos and product names mislead
Cameras and screens auto-correct color and exposure. Marketing names vary by brand, so rely on real-world samples, not pictures or label names, to make the final call.
Apply the Stain to the Repair Area and Blend Into the Surrounding Finish
Good repairs begin with careful prep that protects the surrounding finish and gives new color a place to hold.
Clean oils and residue from the spot. Lightly sand only what’s needed and feather the edges so you avoid a hard outline.
Prep the spot
Less sanding keeps the original boundary intact while creating just enough tooth for a new coat. Use fine grit and test with your sample.
Build color gradually
Apply stain in thin, controlled passes. Wipe with the grain, follow the same sit time you used on your sample, and let each layer dry fully before the next.
Blend technique tips
Soften the perimeter with a barely damp rag and extend the color slightly beyond the repair. Don’t flood the spot—excess will darken pores and exaggerate grain differences.
- Repeat wiping direction and dry times from your sample.
- Use a light glaze or toner if undertone needs micro-adjustment.
- Step back and view the repair under normal room light before sealing.
Seal and protect
Match the existing finish family and gloss so reflections don’t outline the patch. A compatible seal will help the repair age like the rest of your furniture.
Conclusion
Close the job with a routine that favors undertone, grain, and testing over guesswork.
Winning formula: confirm what sits on the surface, match undertone first, test small samples in your home light, then build the color slowly and seal with the correct sheen.
Remember: calling a finish “brown” won’t hide a mismatch—undertone is what makes a repair disappear or stand out.
If your piece shows bold grain, as many oak panels do, work with the grain and avoid heavy pigment that highlights the patch.
Always try samples at home, not just at the store, and give them time under your lamps. This saves sanding and chasing the wrong stain later.
Gather a simple repair kit box with your chosen stain, labeled notes, and the matching finish so future touch-ups stay quick and consistent.


