Maintenance cleaning kit here means a simple, reliable set you can use at home to get consistent, pro-like results without specialty shop chemicals.
You’ll learn how to choose the right cleaner, tools, and consumables for routine upkeep today. The guide focuses on compatibility with common finishes, controlled technique, and having the right items on hand so you don’t improvise.
Expect clear categories: everyday cleaning, degreasing and spot removal, dusting tools and brushes, protective finish options, and scratch-safe aids. I’ll show you how to balance value and repeatability so you buy core tools once and replenish consumables as needed.
You’ll also get tips on smart shopping—reading reviews, comparing prices, and checking shipping and returns—and simple storage steps to prevent cross-contamination. This guide stays focused on safe, finish-friendly home care, not major repairs.
What a “Professional” Home Kit Means for Wood Furniture Cleaning Today
Think of a “professional” home set as repeatable steps and gentle tools. That approach keeps your finish safe and reduces the chance you buy an overly aggressive product.

Routine maintenance removes dust, fingerprints, and light grime. Restoration tackles finish correction, stripping, or refinishing. You only need the former for most homes, so avoid buying heavy-duty refinish items unless you plan full repair work.
What “safe for finishes” should mean
- Look for pH-neutral or mild claims and explicit finish names (lacquer, polyurethane, varnish, shellac, oil finishes).
- Avoid broad promises without direction; treat vague language as marketing.
- Professional-level assortments include several purpose-specific products, not one “do-it-all” bottle.
When uncertain, test any product in an unseen spot and start with the gentlest method using a soft brush or cloth.
Why You Want a Dedicated Maintenance Cleaning Kit Instead of Random Cleaners
A purpose-built collection of products makes weekly wipe-downs fast and predictable.

Random household sprays can conflict. Glass cleaners, degreasers, and disinfectants often leave haze, streaks, or damage on wood finishes.
With a dedicated set you keep the right cleaner and the right tools at hand. That reduces risk and saves time when you wipe tables, dressers, or trim.
- Impulse buys at a store often create duplicates and gaps: many sprays but few microfiber cloths or detail tools.
- Random products lead to wasted bottles, uneven results, and a higher chance you’ll need pro repairs later.
- Labeled bottles and separate cloth types improve safety and keep mystery chemicals out from under the sink.
Using the same items and technique produces consistent results across rooms. When you know what works, weekly care is quick and monthly tasks are targeted.
What to Look for When You Shop: Variety, Value, and Real-World Reviews
A smart approach to shopping trims the noise from huge assortments and focuses on value, compatibility, and verified results.
Start with filters: sort by purpose, finish compatibility, tool quality, and long-term replenishment cost. That narrows choices fast when many products claim to do everything.
Premium brands often give clearer directions, better sprayers, and more consistent formulas. Those benefits can deliver steadier results and fewer surprises in use.
- Use review volume and averages: a 4+ rating matters more when hundreds or thousands of buyers back it.
- Read recent content to spot formula or packaging changes that affect performance.
- Track one-time tools vs. replenishables (wipes, cloths) so you can compare true long-term price per session.
Big catalogs show how sale pricing shifts your total cost. For example, large retailers list hundreds of related items and offer steep promos—bundles on a sale can lower effective cost per use.
Last check: watch for shipping restrictions on liquids and aerosols before checkout to avoid delays or surprise fees.
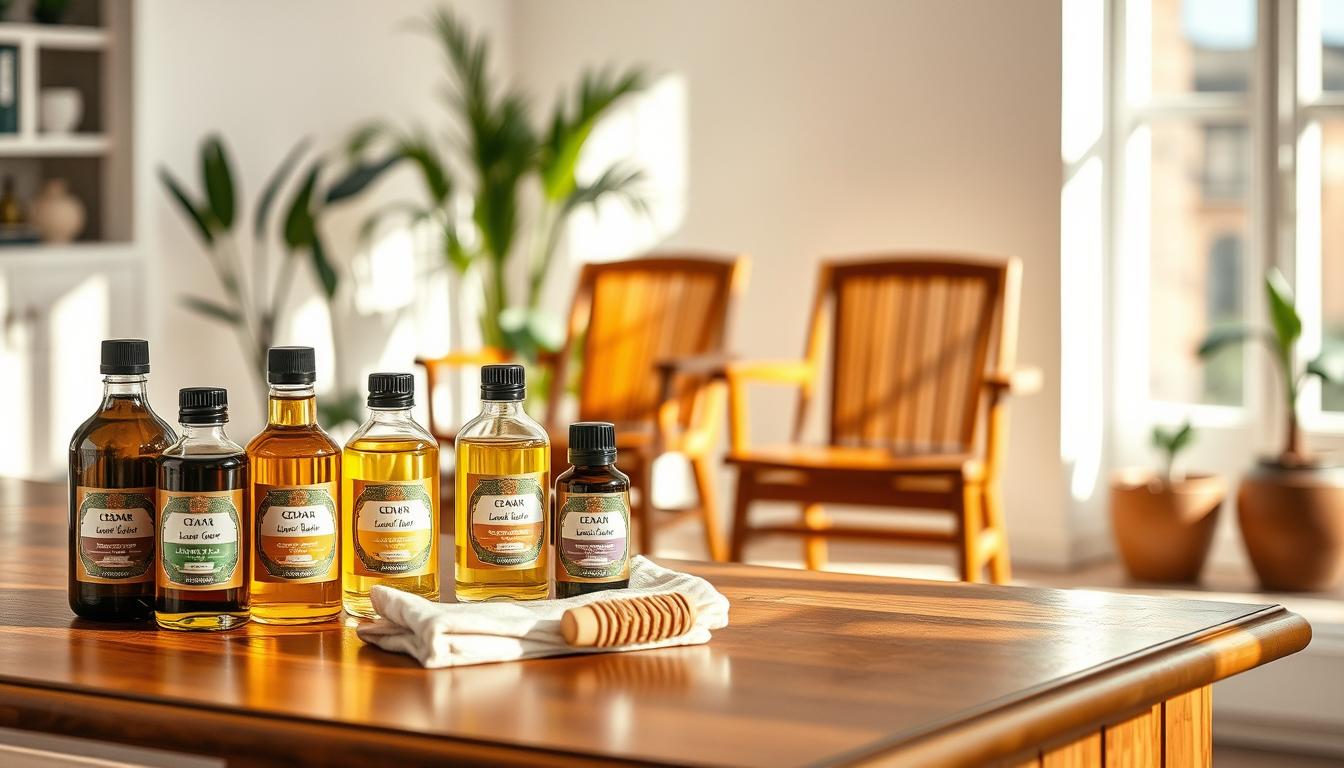
Core Cleaner Options for Wood Furniture
Pick one gentle spray, one controlled degreaser, and one targeted spot remover to cover most household needs. Each serves a clear role so you avoid over-treating finishes or buying redundant bottles.
Everyday cleaner for fingerprints and light soil
Choose a pH-neutral, residue-free spray that lifts fingerprints and light grime without softening or adding shine. Use a soft microfiber and wipe with the grain. Test in a hidden area first.
Degreasing cleaner for kitchen grime buildup
For cabinets and surfaces near cooking, pick a controlled degreaser that cuts oil film but lists finish compatibility. Apply sparingly, rinse or follow with a damp cloth if directions allow.
Spot cleaner for adhesive, crayon, or mystery marks
Identify the mark type, start with the mildest solvent, and limit dwell time. If a product label references specialty uses—examples like bore cleaner or gun cleaner—treat those as cautionary examples. They’re not automatically safe on wood finishes.
- Quick test: hidden-area trial, white-cloth transfer check, then a second pass with a damp cloth.
- Note: oil in a formula can smear or attract dust unless it’s explicitly safe for sealed furniture.
- A maintenance set won’t strip varnish or remove deep stains—those require restoration work.
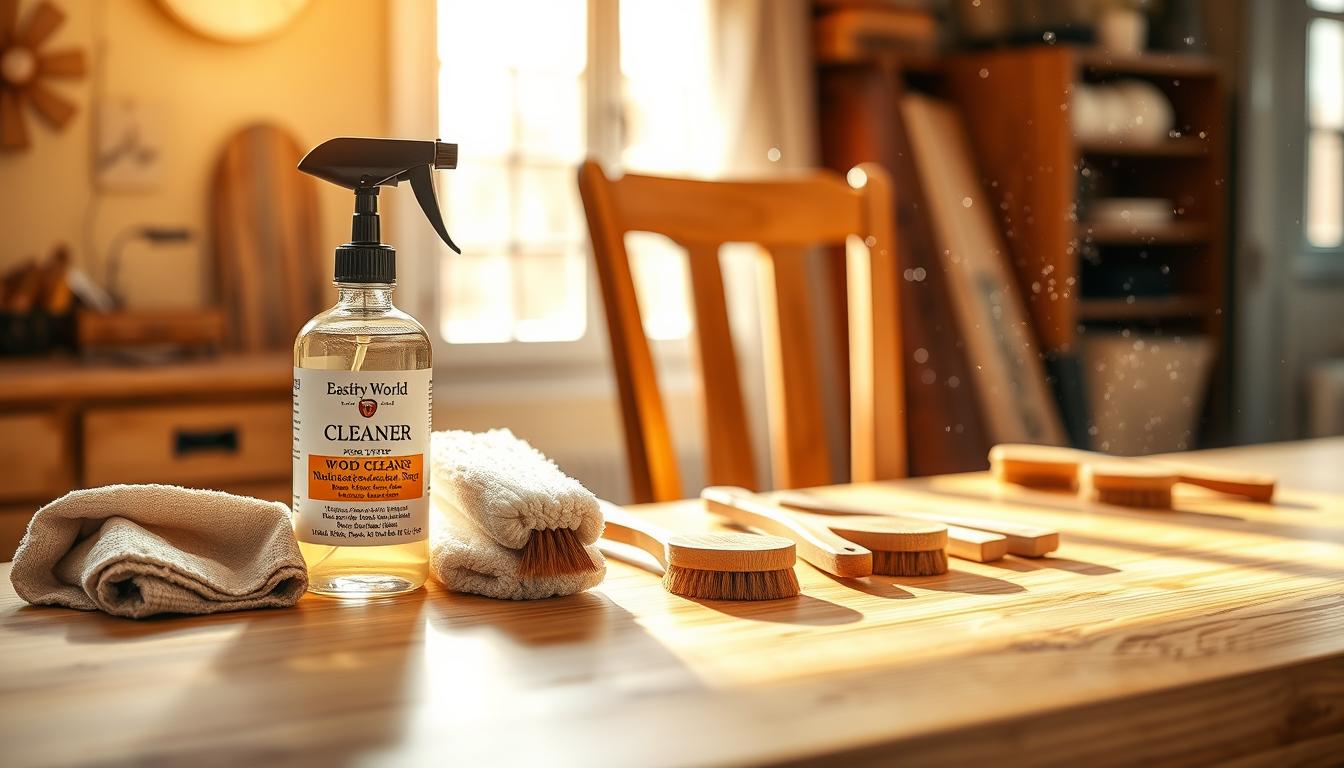
Dusting and Wipe-Down Tools That Prevent Micro-Scratches
Good dusting begins with tools designed to trap grit, not push it across the surface.
Using the wrong cloth is a major cause of micro-scratches. Thin, abrasive fabrics drag particles and abrade finishes. Choose materials that lift and hold grit instead.
Microfiber cloths: weave types and why they matter
Plush weaves work best for dust pickup; the high pile traps particles away from the surface.
Flat weaves give a streak-free wipe-down on sealed finishes. Waffle weaves excel at gentle buffing and quick drying.
Disposable vs. washable wipes for quick maintenance
Disposable wipes are handy for quick jobs but can leave residue if fragranced or oil-based. Use them sparingly for spills.
Washable microfiber wins for regular use. Follow proper laundering—no fabric softener—so fibers keep gripping dust.
- Gauge in practice: thicker, higher-pile cloths trap grit better than thin fabric that drags particles.
- Patches: fold a cloth into small patches for tight edges and hardware to avoid over-wetting surrounding finish.
- Analogy: like universal gun cleaning sets, a universal approach succeeds when you match material type to each task, not expect one wipe to do everything.
Weekly workflow: dry dust first, then a lightly damp wipe if needed, then immediate dry buff. This three-step flow helps protect finishes during normal cleaning.
Brushes and Detail Tools for Crevices, Carving, and Hardware
Small detail tools let you reach carved grooves and tight hardware without flooding the surface or overworking the finish. They remove grit from recesses so you avoid dragging particles with a cloth.
Soft versus medium brush: where each works best
Use a soft brush on delicate veneers and fine carvings. It lifts dust without abrading the finish or snagging carved edges.
A medium brush suits textured or painted trim where soil clings. It can dislodge grime, but use it sparingly to avoid wear.
Swabs and patches for tight joints and corners
Turn to cotton swabs and cleaning patches for narrow channels and around pulls where microfiber is too bulky. Like a bore, a tight channel needs a correctly sized tool; choose a swab or patch that fits so you don’t force or widen the gap.
- Work with light pressure and short strokes.
- Clean the brush often so trapped grit doesn’t grind the finish.
- Pair brushing with a small vacuum or a folded cloth to catch loosened dust immediately.
When you clean around metal hardware, avoid soaking and wipe dry at once to reduce oxidation or streaks. If soil won’t lift with gentle agitation, stop and try a different targeted product rather than a stiffer brush or aggressive scrubbing.
Protective Finishing Products: Polish, Wax, or Oil for Maintenance
A light protective layer can make daily upkeep easier, but wrong choices create extra work later.
Protective products aim to improve feel, give short-term surface protection, and make routine cleaning simpler. They are not meant to restore worn or damaged finishes.
When a polish helps and when it just adds buildup
Polish can fill micro-haze and boost low gloss. Use it for small sheen fixes and to reduce friction on drawer faces.
But too much polish leaves residue, attracts dust, and makes surfaces smear. Apply sparingly and buff thoroughly.
Wax for durability on high-touch surfaces
Wax works well on dining rails and other frequent-contact areas. Thin coats and careful buffing cut residue and slipperiness.
Oil products: what they’re for and what to avoid on sealed finishes
Oils suit some penetrating finishes but can sit on sealed surfaces, causing smear or blocking future repairs. Test first in a hidden spot.
- Compatibility check: confirm finish type and existing layers; look for labels that say “finished wood.”
- Brand note: catalogs in other categories — like Real Avid and Birchwood Casey — show how tool makers branch into oils and foils; always pick furniture-specific formulas.
- Application: clean the surface, apply sparingly, buff with a dedicated cloth, and monitor the surface for a week.
- Warning: avoid stacking polish over wax over oil without a plan; it creates uneven sheen and complicates future care.
Abrasives and Scratch Help: What’s Safe and What’s Not
Before you touch a pad, pause and inspect the damage in good light. Abrasives are the fastest way to make a small issue worse. Treat them as controlled, last-resort tools in your maintenance routine.
Ultra-fine pads and touch-up markers for minor flaws
“Ultra-fine” usually means a very low grit or a felt pad rated for finishing. A finer gauge reduces the chance of dulling or cutting through the topcoat.
Use the least aggressive pad first. Work a tiny, hidden area to verify the effect.
For color loss, touch-up markers hide scratches. Match tone carefully. Layer lightly and wipe excess immediately. Remember markers camouflage; they do not repair missing finish.
Red flags: harsh abrasives and “miracle” compounds
Watch for products that feel gritty or promise instant restoration. Instructions that urge heavy rubbing are suspect. “Master” or “master cleaning” claims can be marketing, not a safety guarantee.
- Decision tree: clean first, inspect, pick non-abrasive method, then the gentlest pad.
- Document results and stop early if sheen shifts—changing sheen means you’ve altered the finish.
- Store abrasive pads separately so they aren’t grabbed for routine wipe-downs.
Cleaning Patches, Cotton Rags, and Applicators: Building Your Consumables Stack
A small, organized stack of consumables prevents mistakes and saves time. Start by listing the items you’ll use every week: microfiber cloths, cotton rags, foam or microfiber applicators, and small cleaning patches for detail work.
How many cloths and patches you actually need
Plan by room and task. A practical no. approach: keep 6 microfiber cloths, 4 cotton rags, 6 applicator pads, and 20 small patches for spot work.
That count gives rotation while laundering so you never reuse dirty material.
Separating cloths by task
Designate cloths for soil removal and different cloths for polish or wax buffing. Reusing a soiled rag is a top cause of micro-scratching and streaking.
- Storage: use zip bags or small pouches to keep clean patches dust-free and to isolate used rags.
- Applicators: foam or microfiber for wax/polish; cotton rags for solvent-style spot work.
- Labeling: mark by task—dust, damp wipe, wax buff—to avoid cross-contamination.
Track how quickly you use patches and replace before you’re tempted to reuse them. This simple system keeps finishes safer and your sessions faster.
Optional Upgrades That Make Your Kit Feel Like a Pro Setup
Adding a few pro-style accessories transforms a basic set into a more precise, repeatable workspace. These upgrades speed tasks and lower the risk of accidental damage when you detail many pieces.
Portable vacuum attachments for dust control
Soft brush heads and crevice tools remove loose grit before you wipe. Use a portable vacuum with gentle attachments to pull dust from carvings and joints so particles don’t scratch the finish.
Gloves and eye protection for stronger products
Wear nitrile gloves when you use stronger spot products. They protect your skin and keep oils off finishes.
Also use eye protection if you spray in tight spots or under tables. A quick splash can damage eyes and cause cleanup delays.
A small vise or padded clamps for stable work
When you remove knobs, feet, or trim, a small vise or padded clamps hold parts steady while you work. Think of bench control the way hobbyists approach rifle and pistol cleaning: stabilizing the piece improves accuracy and reduces slips.
Pad clamp jaws with soft material to avoid marring. Tighten only until the part is secure—over-tightening can dent or deform wood.
- Use a small work mat to protect both the part and your tabletop.
- Keep these upgrades optional; your core maintenance and cleaning set works well without a bench setup.
- For detailed projects, the extra control can mirror the care used in gun cleaning and hobby benches.
Universal Kit vs. Room-Specific Kits: The Best Approach for Your Home
Deciding between one all-purpose bin and several room-specific packs starts with how much traffic each space gets.
A universal cleaning kit works well if you want a single go-to set for most furniture. Include an everyday spray, several microfiber cloths, a soft brush, small patches, and a safe protectant that fits sealed finishes.
Room add-ons keep the main bin light and focused. For kitchens add a controlled degreaser and extra cloths. For nurseries pick low-fragrance options. For entryways add heavier soil tools and spare patches.
- Why one bin helps: it reduces decisions and lets anyone in your household follow the same steps.
- Why satellites help: targeted pouches prevent cross-contamination and cut task time.
- Practical setup: one main tote plus small labeled pouches near high-use rooms.
Think of the naming like a universal gun standard: “universal” works only when items truly cover many tasks. A sensible mix and clear labels keep you consistent across rooms while tailoring tools to grime and traffic levels.
How to Choose Products Like a Buyer: Materials, Compatibility, and Claims
Make finish and wood species your first filter when comparing any product label. Identify whether the surface is sealed, oiled, shellac, lacquer, or an older finish before you shop.
Soft or porous woods and open-grain pieces absorb moisture and solvents differently than dense hardwoods. That affects which liquids are safe to use and how long they may sit on the surface.
Fragrance, VOCs, and ventilation
Pick low-odor or low-VOC options if you or your household have sensitivities. Even mild sprays benefit from good airflow during use.
Reading labels: “safe on wood” vs “safe on finished wood”
Look for explicit lists: names of finishes, avoid ammonia and harsh solvents, and check for a “test first” instruction. Treat vague claims as marketing and prioritize directions and limitations.
- Checklist: finish names listed, no ammonia, test patch advised, and clear dwell-time guidance.
- Concentrate vs ready-to-use: concentrates save money but increase mixing risk; choose ready-to-use for consistent strength.
- Buyer mindset: you’re building a system, not collecting bottles—prioritize compatibility and repeatable results.
Brand, Store, and Shop Considerations in the United States
When you shop for supplies in the U.S., where you buy has a big effect on selection and post-purchase support. Your shopping channel determines product breadth, staff expertise, and return flexibility.
Where you’ll typically buy: big-box stores for basics and competitive price points, local hardware for quick advice, specialty woodworking retailers for finish-specific products, and large online catalogs for deep selection and reviews.
Large catalog vs. curated store selection
Catalogs give breadth and often better sticker discounts. They’re good when you compare formulations and read many reviews.
Curated stores reduce overload. Staff can point you to proven items and warn about incompatible combos.
- Buy premium brands when you need reliable nozzles, consistent formulas, and clear compatibility guidance.
- Consider specialty tools as long-term investments; high-quality microfiber and detail brushes protect finishes and speed work.
- Compare by cost per ounce and cost per use, not only the sticker price.
Start in phases: buy essentials first, then add premium items and tools as you confirm what your finishes tolerate. That approach saves time, cuts risk, and lowers repeat purchases.
Shipping, Returns, and Orders: What to Check Before You Buy Liquids and Sprays
Before you click buy, check packaging and policies so liquids and sprays reach you intact.
Shipping matters more here because you’re buying bottles, sprays, and sometimes aerosols that can leak or arrive damaged.
Before placing orders, confirm how liquids are packed, whether caps are taped, and if the retailer or shop has a history of leak-free fulfillment.
- On delivery day: inspect for leaks, isolate any damaged goods, and photograph packaging before you discard it.
- Return policies: many retailers restrict returns on opened chemical products—verify the rules before checkout.
- Risk reduction: buy one small bottle first to test compatibility before ordering multiple items or full-size bottles.
When consolidating shipments, avoid packing incompatible items together so a single leak won’t ruin cloths or tools in the same box.
Keep invoices and lot numbers for any product that causes unexpected residue or finish reaction. Also factor shipping and hazardous handling fees into the deal math so a low price isn’t offset by extra costs.
How to Organize and Store Your Kit for Fast Maintenance
A tidy, labeled storage plan turns a pile of supplies into a tool you’ll actually reach for. Make grabbing what you need as simple as lifting a tote: that makes routine work happen.
Bin system: keep one main tote for bottles and wet items, a clean bag for microfiber and patches, and a used-bag for dirty cloths. This prevents cross-contamination and speeds your process.
Bags, bins, and labels so you don’t cross-contaminate products
- Label sprays by purpose: everyday, degrease, spot.
- Label cloth bags: dust, damp, buff.
- Date any mixed concentrates so you track freshness and strength.
Keeping “wet” products separate from cloths and patches
Isolate wet items in a sealed compartment. A minor leak should never reach clean cloths or patches; that contamination causes streaking and transfer later.
Analogy: think of a Real Avid Bore Boss or Bore Boss — compact tools stored as a self-contained unit. Your setup should be equally modular: each bag or pouch holds a single task group so nothing migrates.
- Keep caps tight and store away from heat.
- Store out of reach of children and pets and avoid storing reactive chemicals together.
- Include a checklist card in the bin lid so you can confirm basics before a pass through the house.
Your speed goal: start a session in under one minute with no searching and no mixing of incompatible cloths. With labeled bags and simple tools, that’s easy to hit.
Conclusion
Start with basics, confirm compatibility, then expand so every product has a clear role.
Build a purpose-driven set and you’ll get steadier cleaning results: a gentle everyday spray, quality microfiber, small detail tools, and a safe protectant that suits your finish.
Always begin gentle and test in an unseen spot. Treat stronger methods as exceptions, not defaults.
Shop with intent: compare reviews, check finish compatibility, and focus on total kit cost rather than one bottle price.
Next steps: buy your everyday cleaner and microfiber first. Add a degreaser, spot tools, and a protectant after you confirm compatibility.
Keep wet bottles separate from cloths, label bags, and store the tote where you’ll use it easily. Note: mentions of gun, bore, rifle, handgun, pistol cleaning, Real Avid, and Birchwood Casey are analogies for organization and not recommendations to use firearm chemicals on wood.
With a simple, tested system and consistent technique, you can keep wood furniture looking cared for year‑round without guesswork.