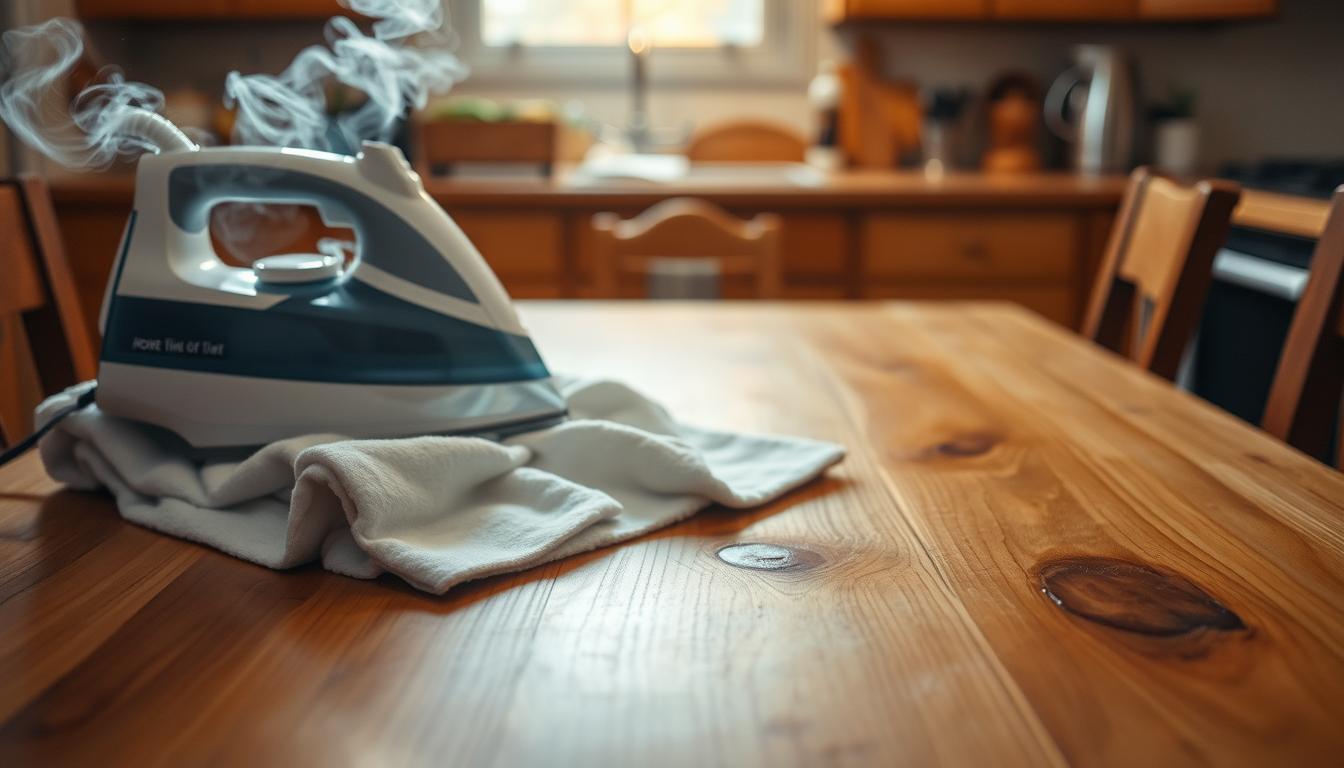
This simple steam method uses a household iron and a damp towel to lift compressed wood fibers and often restore flat furniture surfaces quickly.
Commenters like Steve Carey and Eric R Kuehne say the trick works on many hardwoods, and Jeff Jewitt frames it as a practical DIY way to level a dent on flat pieces. You heat the area briefly, add moisture, then repeat in short cycles.
Expect realistic results: the damaged spot usually rises close to level and may need only light touch-up depending on the finish. This works when fibers are compressed, not when material is missing.
Before you start, remember safety: you are combining heat, water, and possibly delicate finishes, so work in short, controlled bursts. The rest of this blog guide will help you spot the right damage, follow the steam steps safely, and pick other repair options for deeper problems.
Before You Start: Identify the Dent and Protect the Finish
A careful inspection of the damaged surface will tell you whether steam is the right approach.

First, decide if you have a dent, a scratch, or a gouge. A dent is compressed fibers. A scratch usually only affects the finish. A gouge means fibers are torn or missing.
Dent vs. scratch vs. gouge
Check the area up close. If the fibers look intact and the mark feels smooth, swelling may lift the spot. If you see torn edges or missing chunks, do not rely on steam alone.
Inspect for splinters and debris
Remove dirt and loose bits from the surface. Run your fingernail gently over the spot to sense broken fibers.
How finish type affects results
Some finishes react to water and heat. Test a hidden edge first. Gloss or thin lacquer can blush or change tone temporarily.
When heat and moisture are the right method
- Use steam on intact dents on flat or gently curved surfaces.
- Avoid it on deep dents, sharp craters, or exposed raw wood.
- If fibers are missing, plan for filler or replacement instead of steam steps.
Next, you’ll follow short, controlled steps using a damp cloth and brief heat cycles to lift the mark while protecting surrounding surfaces.
Fixing wood dents with the Iron and Towel Steam Method
You can often restore a shallow dent using controlled steam and brief iron passes. This method swells compressed fibers so the mark lifts without filler.
What you’ll need at home
- Iron — delivers steady heat.
- Moistened towel or cloth — creates steam without soaking the finish.
- Water — to re-moisten between passes.
- Dry cloth — for immediate aftercare and cleanup.

Prep and safe application
Clean the spot so water can penetrate evenly. Moisten the towel; it should be damp, not dripping.
Use short heat cycles. Jay Simmons recommends multiple brief passes rather than one long press to cut the risk of scorching.
Timing, repeat checks, and tips
Expect visible movement in a few minutes; guides often cite about 3–5 minutes total depending on species and depth.
Lift the towel between passes, re-moisten, and inspect. Stop when the area is level or slightly proud.
For stubborn marks, Kevin L Schroeder suggests a small foil patch over the damp cloth to concentrate heat.
Aftercare: Wipe dry, let the area fully air-dry, and wait before any light touch-up. Steve Carey notes a moistened kitchen towel works well for most diy repairs.
If the Dent Is Deep or the Damage Is Severe: Other Repair Paths
If the mark runs deep or the surface looks torn, you’ll need to move beyond steam and choose a sturdier repair route.
Water-only swelling for finished pieces
Add tiny amounts of water directly into the dent to swell compressed fibers before you use the iron. Use a pipette or the tip of a matchstick to dose water precisely.
Wipe any excess immediately with a dry cloth so the surrounding finish stays safe.
When the finish blanches or blushes
If color shifts or a blue tint appears, stop and dry the area. Blushing can be temporary; let the piece air for a few hours and reassess before more heat or moisture.
Other repair options
- Light abrasion: use fine steel wool on surface-only marks, then recoat to match sheen.
- Fillers/putty: choose filler when fibers are missing; color-match, sand, then recoat.
- Replacement: if deep dents or split boards won’t level, replacing one or two boards may be the best long-term solution for the project.
Conclusion
A clear, repeatable routine usually delivers the best results: identify the mark, add a bit of controlled moisture, and apply brief heat cycles while you check progress.
Use steam when the fibers are only compressed. If material is missing or torn, switch to abrasion, filler, or part replacement for a lasting repair.
Safety and quality notes: protect nearby finish, avoid long presses to stop scorching, and allow the area to dry fully before you judge the final level.
What to do next: let a slightly raised spot dry and lightly level it; if nothing changes, re-moisten and repeat; if the damage is severe, move to alternative repairs. Document steps with photos and notes—this helps you repeat success and makes a great blog record for future projects.


