You likely found a board that cuped, bowed, or twisted as it tried to match room humidity. This is normal: the board changes as moisture moves through its faces and edges. In real shop terms, fixing warped wood usually means reducing the cup or twist enough for your project, not returning the piece to factory-flat.
Expect limits. Some DIY ways work for fresh cases and small bends, but the same warp can return if moisture shifts again. Acting quickly often cuts the time and effort you need.
This guide previews five practical paths: controlled moisture and time, heat or steam, sun exposure, clamping and pressure, and tool-based flattening. You’ll learn to diagnose cup vs. twist vs. bow first, because each responds to a different method.
Focus on slow, repeatable steps. The safe process is to change moisture gently, test, and protect the board afterward with proper storage, acclimation, and even finishing to slow future warping.
Warped wood basics and what you can realistically fix today
Uneven humidity and one-sided airflow are the usual suspects when a board bends or cups. You need a simple mental model: either you rebalance moisture across faces or you remove material to give the piece a flat reference.

Why boards change: moisture, airflow, and uneven swelling
Your board absorbs moisture in high humidity and releases it in dry air. That movement makes fibers swell or shrink, and the board shifts its shape.
If one face sits open to moving air while the other is blocked, the faces change moisture at different speeds. That unequal change causes cupping and twisting.
Is kiln-dried lumber stable?
Kiln drying reduces moisture to a target level and improves stability, but it does not stop lifetime changes. Seasonal humidity swings in your shop can still cause slow warping over years.
Common warp types and a practical fixability baseline
- Cup – across the width; often responds to controlled moisture and time.
- Bow – along the length; small bows can relax with weight or moisture balance.
- Twist – corners out of plane; twists usually need removal of material or replacement.
- “C” shapes – a form of cupping that follows the same moisture mechanics.
Thin stock warps faster because it resists uneven swelling less. Minor cup and slight bow are the easiest to correct; complex bends and severe twists are harder and sometimes not worth salvaging.
Diagnose your warped board before you try to flatten it
Before you touch water or clamps, take a clear look at the board to learn what kind of bend you’re dealing with.

Find the concave face and the dry side
Look for the inside of the “C” — the concave face has usually shrunk and is the drier side. Mark that face and the opposite surface so you don’t apply moisture to the wrong side.
Check length and twist with simple tools
Lay a known-straight board or straightedge along the length to see where daylight appears. That shows high and low areas you must address.
Use winding sticks at each end and sight across them. If the sticks form an “X,” you have twist and must correct it before flattening faces.
Know when to stop
Stop and reassess if the piece shows strong internal tension, an “S” bend, or lumber that springs back after a test. Those are signs that moisture tricks may fail and tools or replacement are smarter choices.
- Quick diagnosis: mark faces, note dry side, measure gaps.
- Classify severity: slight, moderate, or extreme.
- Tie the result to your next step: moisture, clamps, or machines.
Fixing warped wood with moisture, heat, and time
Moisture, gentle heat, and patient timing are the simplest tools you have to pull a cupped board back toward flat.
Dampen-and-wait for cupped boards
Step 1: Lightly dampen the dry (concave) side evenly, like applying a thin coat of stain. Avoid puddles or standing water that can stain or lift fibers.
Step 2: Set the wet face down on a flat, rigid surface (bench or countertop) and leave overnight. Add moderate weight if needed.
Timing and when to repeat
Minor cups can relax in a few hours to about 24 hours. Thicker stock or deeper cups often need multiple 24‑hour cycles rather than more water at once.
Iron, steam, and sunlight options
For stubborn spots, wrap the area in a damp towel and apply a steam iron on high for 5–10 seconds per pass. Keep the iron moving to avoid scorching.
If you can’t iron, wrap the board in moist towels, place concave side down in sunlight, keep towels moist, and bring it inside at night for 2–4 days.
Pressure method and warm storage
Lay damp paper towels on the concave side, wrap tightly in plastic, clamp slightly past straight, and keep warm for about a week. Unwrap, let dry, and re-clamp if needed.
Safety and damage prevention
- Avoid standing water; it can stain or raise the grain.
- Never leave an iron unattended; watch for scorch marks.
- Don’t over-clamp—too much pressure can split short grain or knots.
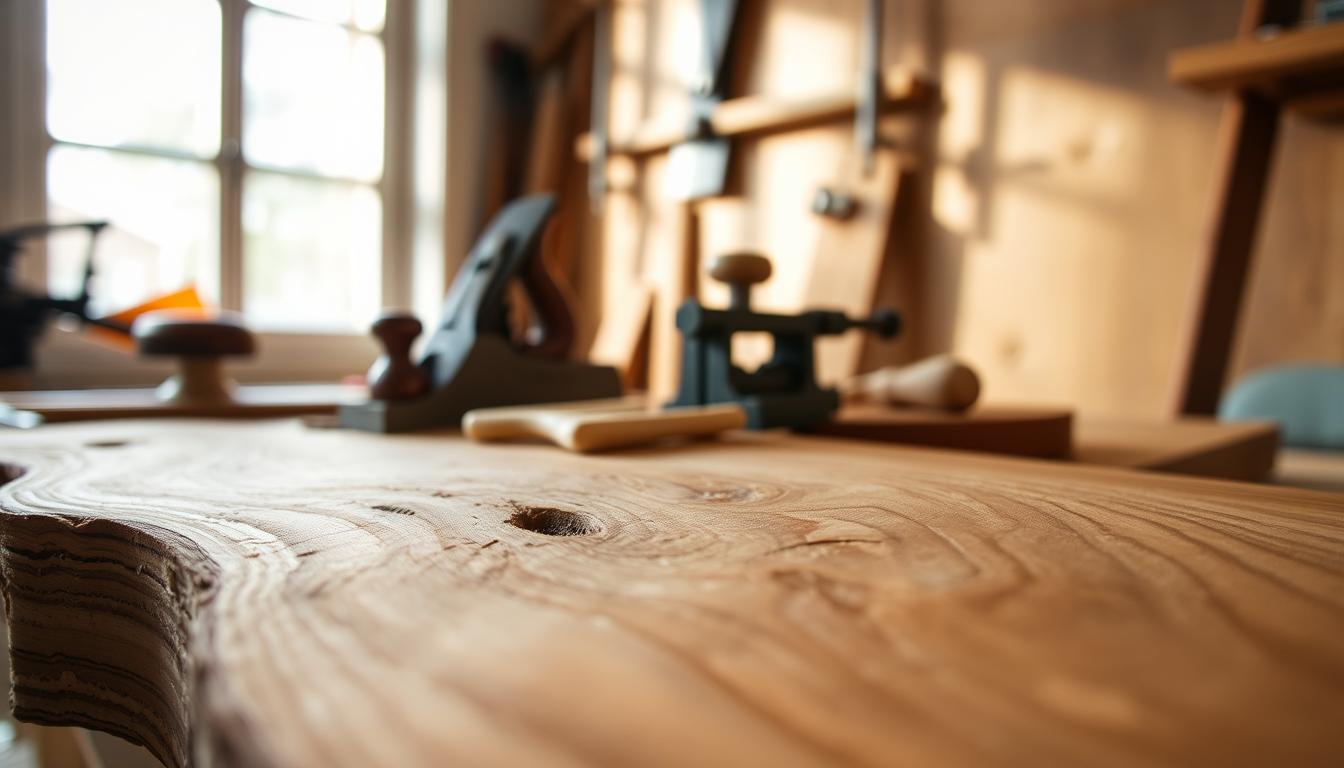
Flatten warped lumber with tools when DIY tricks aren’t enough
If the board keeps returning to the same shape, you’ll need tools to remove material and create a flat reference face. This is the point where the simple moisture method fails and a measured tool approach wins.
When to switch: stop moisture work and move to tools for persistent twist, a bow that won’t relax, or a board that springs back due to internal stress.
Hand-plane workflow
Use winding sticks to locate twist. Sight across them, mark the high diagonal, then jack‑plane diagonally along that high line.
Re-check with the sticks and repeat until they read level instead of forming an “X.” Only then address cup and bow.
Planing directions for each warp
- For cup: take cross‑grain passes to knock down high edges.
- For bow: plane along the length at the center to create a low center, then remove the remaining edge high spots.
- Work in controlled, light passes and re‑check often to avoid new tapers.
Thickness planer step: once one true face is flat, reference that face down and plane the opposite face to parallel. This is faster and gives a consistent surface.
Note practical limits: very thin material may become too thin after milling. Decide early if the piece still meets your project needs.
Keep boards flat after you straighten them: storage, acclimation, and finishing
After you straighten a board, the next challenge is keeping it that way while it waits for your project. Good storage and even sealing are the practical steps that stop a return to shape.
Store with stickers for airflow
Use ~1/4″ stickers across the grain between each board so air reaches all faces. That airflow evens moisture changes through the stack and cuts the chance a piece warps again.
When a tight stack is better
For very thin boards, a single tight stack with a flat plywood sheet on top limits rapid moisture swings. This compresses thin surfaces and often keeps them flatter than open sticker stacks.
Weight, acclimation, and finishing
Weight on top can stop boards from shifting, but it won’t fix a moisture imbalance by itself. Make sure you give new wood a few weeks in your shop to equalize to local humidity before final milling.
- Even storage: avoid one-face exposure that caused the original problem.
- Even acclimation: plan time so panels settle before joinery.
- Even finishing: seal all faces and edges to slow moisture movement and protect the surface wood.
Conclusion
Start by deciding whether the board’s curve is mild enough for humidity tricks or needs tools to correct it.
Diagnose the shape, then follow a simple decision tree: try controlled moisture, gentle heat, or light pressure for cups and slight bows. Move to planing or jointing when twist or stubborn bends persist.
Most warped wood comes from uneven airflow and moisture change, so your best repairs rebalance faces rather than brute force. Expect some pieces to respond quickly overnight; others need days or weeks under pressure and acclimation.
Some boards carry internal stress or complex “S” bends that never become reliably flat. The best defense against repeat warping is storage with stickers or a tight stack, letting lumber acclimate, and sealing all faces evenly.
Choose one approach from this guide based on your board type and thickness, then store the corrected board properly so the result holds.


