If your fingernail catches the cut, it’s deeper than the top layer. That quick test helps you decide if a burn-in stick is the right tool for the job. Work under bright light while you inspect the wood so you can see the true extent of the damage and the grain pattern.
In this short guide you’ll learn why burn-in sticks are a strong option when you’re Fixing deep gouges that are too large for a simple touch-up but small enough to avoid full refinishing. The goal is clear: fill and level the void, blend color and grain, then protect the surface with a compatible topcoat.
You’ll get a simple workflow overview: assess the finish, prep the area, melt and pack the filler, level the patch, recreate grain and color, then topcoat for protection. Learn the main risks to avoid—overheating nearby finish, trapping air, sanding against the grain, and rushing cure time—so your repair reads as an improvement, not a patch.
This approach fits common household furniture and trim, and shows when to stop and choose another method if the substrate is compromised or the damage spans large areas.
Assess the Gouge and Identify Your Wood Surface and Finish
Begin with a careful inspection under bright light to decide whether the mark is just a surface scratch or a repair that needs filling. Run your fingernail along the line: if it catches, you’re looking at deep scratches that go below the finish. This test tells you whether you need a fill-and-level approach or a light touch-up.
Locate the start and stop of the area and note edge condition. Are the edges crushed, lifted, or splintered? Those details guide how you prep and sand before using a burn-in stick.
Determine whether the wood is prefinished or site-finished. Prefinished boards usually look smooth and may have visible bevels between planks. Site-finished surfaces often show a rolled or brushed film that bridges seams and fills cracks. Knowing the finish matters because it affects color blending and topcoat choices.
- Study grain direction so sanding and blending follow the wood and don’t leave cross-grain marks.
- Compare stain and color from different angles under the light and match the lightest nearby shade first.
- Check sheen by moving the light; mismatched sheen makes an otherwise good repair obvious.

Tools and Materials You’ll Need for Burn-In Stick Repair
A careful selection of tools, steady heat control, and matched colors makes the repair blend into the surrounding wood. Gather everything before you start so you work confidently and cleanly.

Core kit and heat control
Pick burn-in sticks (wax-based filler) in several tones. Use a controlled heat source rated for the product; steady heat helps the filler flow without scorching the finish.
Leveling, sanding, and cleanup
- Leveling tools: a purpose-made scraper or a solid blunt edge like a credit card-style scraper for clean leveling.
- Sandpaper: 180-grit or finer for feathering the repair and avoiding new scratches.
- Cleanup: microfiber cloths and a barely damp cloth with mineral spirits to remove waxy residue that stops adhesion.
Color match and topcoat
Assemble light and dark colors so you can layer tones for a realistic grain effect. Keep fine picks or small edge tools for grain recreation.
Plan your final coat—polyurethane or varnish-type sealants usually work best. Match the existing finish and sheen to make the repair disappear.
Prep the Damaged Area for a Seamless Burn-In
Prepare the damaged area so the burn-in filler bonds and the repair reads as part of the wood. Good prep keeps the repair small and prevents a wider refinish job.
Start by stabilizing the spot. Check for lifted edges, crushed fibers, or loose finish so the filler sits on firm support.
- Feather and flatten raised edges with 180-grit or higher sandpaper, always moving with the grain. Controlled sanding levels the rim without widening the scratch.
- Clean dust and grime using warm water and a microfiber cloth, then dry the area thoroughly so moisture won’t interfere with adhesion.
- If wax or oily polish is present, wipe the spot with mineral spirits on a barely damp cloth to remove residue that blocks bonding.
- Mask nearby surfaces with painter’s tape so heat and melt stay confined to the repair area and don’t dull the surrounding sheen.
Finish by checking the edges under strong light. The perimeter should feel smooth to the touch and the surface ready for controlled filling.
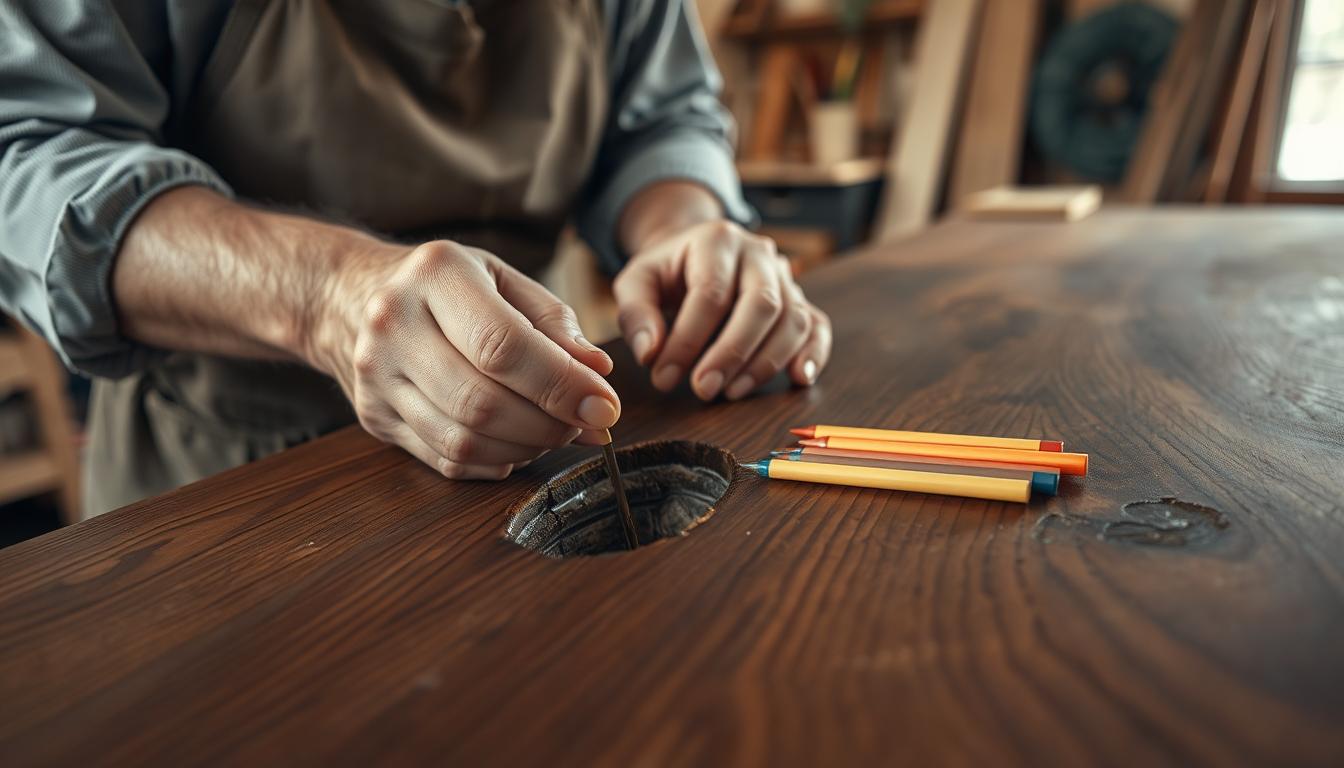
Fixing deep gouges with Burn-In Sticks
Warm the filler slowly and work with control so the melted material wets the bottom and sides of the cut. That wetting prevents air pockets that collapse into low spots later. Use steady heat and short bursts to avoid burning the surrounding finish.
Apply and level
Heat the filler and feed a steady bead into the scratch, keeping the flow slow and continuous. Intentionally overfill slightly; wax shrinks as it cools, and a low patch is harder to hide than a proud one.
Flatten and blend
- Use a solid blunt edge—like a credit card-style scraper—to level across the grain with even pressure.
- Lightly sand the edges with 180-grit or finer, always moving with the grain.
- Build color in layers: match the lightest nearby shade first, then add darker streaks to recreate grain.
- Wipe excess before it sets; mineral spirits can remove set residue but use it sparingly.
Work under strong light and revisit color and sheen until the repair reads as part of the wood. Small, local realism beats an overworked patch every time.
Seal, Protect, and Make the Repair Disappear
Now you protect the filled area with a matching topcoat so the repair fades from sight and holds up over time.
Choose a topcoat that matches the finish already on the piece. Polyurethane or varnish-type sealants are common. Using the same product family reduces the chance of sheen mismatch, wrinkling, or adhesion issues.
Apply thin, even coats rather than one heavy coat. Thin coats level better and cut down on brush marks. Allow proper dry time between each coat so solvents don’t cloud the layer or soften the filler edge.
- Pick a compatible finish so the repaired area accepts the coat and cures consistently.
- Use a clean microfiber cloth to wipe dust between coats and keep the surface tidy.
- Build up thin layers until the sheen matches surrounding wood; this is faster than sanding and redoing a single thick coat.
Do a final inspection under strong light, move around the piece, and look for edge lines or color shifts. If you see a halo, do a small touch-up and add one more thin coat. Stop once the repair reads as part of the surface from normal viewing distance.
Conclusion
A successful repair looks like it was never there: level fill, matched tone, and a consistent sheen under everyday lighting.
Recap the method: assess with a fingernail test, note prefinished vs site-finished cues, prep edges, fill and level with burn-in material, then layer color and seal with thin topcoats.
Quick quality checklist: the fill sits flush with the surrounding wood, the color reads correctly in room light, and the sheen matches from different angles on your furniture.
Most visible patches come from rushing the project—skipping prep, ignoring contamination, or not letting layers rest long enough.
Small tone differences are normal. A walnut rubbed into a light mark can help, but true repair requires the full fill-and-finish approach for lasting improvement.
If multiple areas show damage, repeat the controlled steps on each spot rather than moving straight to full refinishing unless widespread wear requires it.


