You brought a thrifted dresser or Craigslist find into your home and noticed a lingering smell inside drawers and cabinets. That scent is common in enclosed storage because limited airflow traps moisture, dust, and past spills against the finish.
First, you’ll identify the type of smell so you choose the right approach. You want to get rid of odors without harming the finish, so the plan moves from gentle to more thorough steps only if needed.
In this guide you’ll follow a clear process: identify the source, try mild fixes, escalate to deeper cleaning, and reseal the piece if the scent stays. Expect some fixes to help in 24 hours and others to need several days in a closed room.
Common DIY options include fresh air, a vinegar-and-water wipe, and baking soda. If those don’t work, activated charcoal or refinishing can be the next step. These tips are tailored for typical U.S. situations so your furniture and room feel fresh again quickly.
Identify What’s Causing the Smell in Your Old Furniture
Start by sniffing each compartment to locate where the smell is strongest. Open every drawer and the cabinet box. Compare the inside air to the outside surface so you know if the odor lives in the interior or on the surface.

Musty smell and mildew in drawers and cabinets
A musty smell usually points to mildew and trapped moisture. This happens when a piece sat in a basement, garage, or storage unit. Look for discolored patches, fuzzy growth, or soft spots in corners and along seams.
Smoke, pet urine, and chemical odors
Smoke and pet urine cling to porous surfaces and may be concentrated in one drawer or corner of a dresser. Chemical odors can come from finishes or off-gassing and often need ventilation more than a wipe-down.
Find the problem area
- Remove all contents and check which drawer or panel smells worst.
- Inspect for stains, soft wood, and visible mildew in corners and along joints.
- Note whether the odor is localized or fills the entire piece; this decides your next step.
Identifying the problem saves time and prevents over-wetting or using the wrong chemicals on a sensitive surface. If the smell is local, treat that drawer first. If it’s everywhere, plan a methodical cleaning for the whole dresser or cabinet interior.
Deodorizing old wood with gentle, DIY cleaning methods that won’t ruin the finish
Start with low-risk steps: fresh air, controlled sun, and light cleaning to lift lingering scents. Move the furniture near an open window or outside on a calm day so air can circulate through drawers and the cabinet box.

Fresh air and brief sun to dry and reduce musty smells
Sunlight and air help dry damp spots and reduce mildew that creates a musty smell. Limit direct sun to a few hours to avoid fading or warping the finish.
Light vinegar solution for safe surface cleaning
Mix a 1:1 vinegar solution (vinegar + water) in a spray bottle. Lightly spray—do not soak—and wipe with a soft cloth so the surface is only barely damp.
Baking soda to absorb odors in drawers
Place baking soda in a bowl or a breathable sock inside each drawer. Let it sit about 24 hours; stubborn odors may need several days and repeated cycles.
Timing, routine, and what to avoid
- Day 1: Air and sun for a few hours, then a light vinegar wipe in the evening.
- Night: Baking soda in drawers overnight; recheck the smell the next day.
- Avoid over-saturating with water or harsh chemicals that only mask odor and can damage the surface or push the odor deeper into the wood.
If these gentle cleaning steps help but don’t fully remove the odor, plan for deeper methods in the next step. Repeat the routine before escalating.
Deep deodorizing for drawers and cabinets when odors keep coming back
If the smell leaks out every time you open a drawer, you need more powerful solutions that work over days. These options pull odors from the air and fabric instead of just masking them. Use them when the scent returns right after closing drawers or the room smells when cabinet doors open.
Activated charcoal sachets and bowls
Activated charcoal is porous and very effective for persistent odors. Place small sachets in each drawer or a shallow bowl on cabinet shelves. Let them sit for several days and replace as needed for steady odor removal.
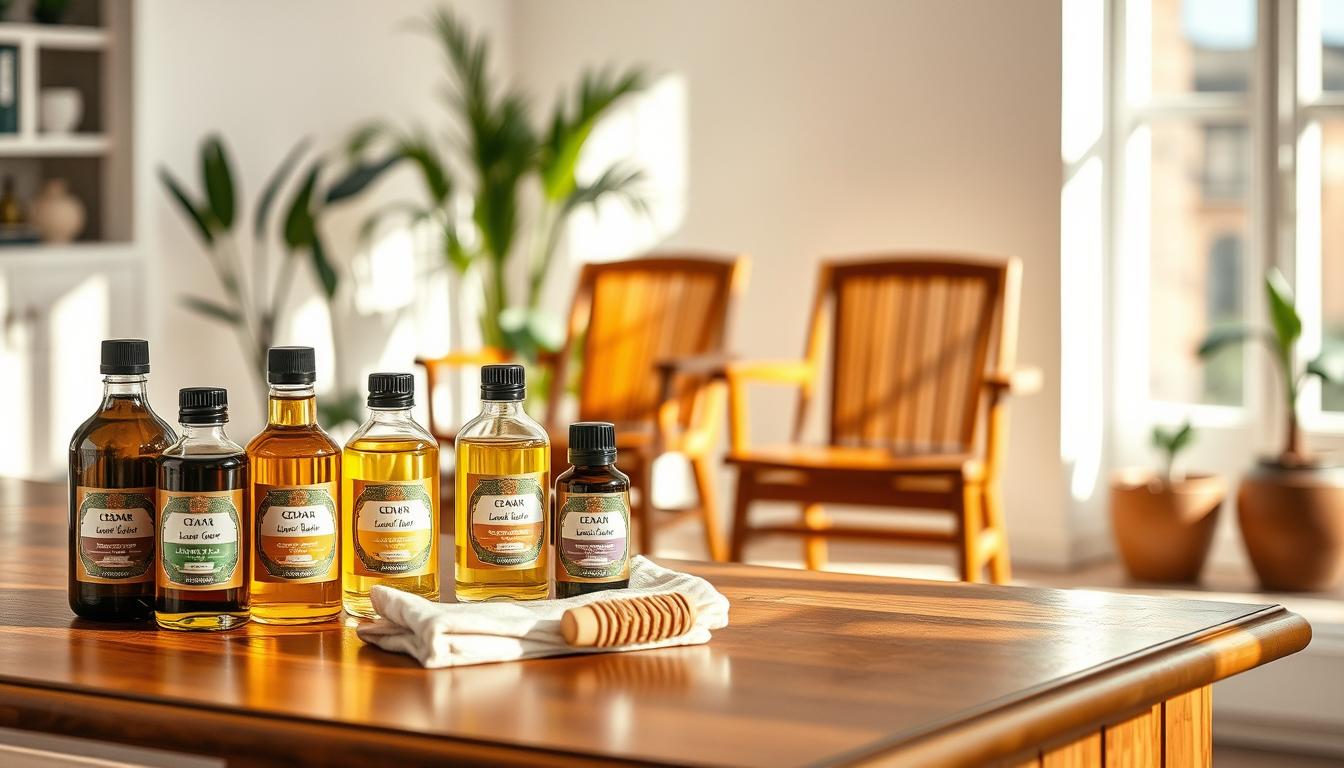
Cedar rings, blocks, or chips
Cedar fights mildew and musty smells without mess. Tuck cedar rings or chips into corners and swap them out when the scent fades. They’re a practical product choice for a dresser or closet piece.
Combo: baking soda plus lavender oil
Boost results by combining a bowl of baking soda with a few drops of lavender oil. The soda absorbs odors while the oil adds a fresh scent. Many people notice improvement after 24 hours, and deeper smells need several days with materials left in place.
When the odor is in the air
If the scent hangs in the air, ventilation matters. Run a HEPA air purifier in the same room while drawers are open to clear airborne particles. Reassess after the set period and repeat the charcoal/cedar cycle before sanding or refinishing.
- Quick tips: Use sachets per drawer, cedar in corners, baking soda + oil in a bowl, and a HEPA purifier for airborne odor.
Restore the wood and seal out stubborn smells from an old dresser or cabinet
When regular airing and absorbers fail, restoration and sealing become the next practical move. This step removes the layer that traps odors and lets you lock in a fresh surface.
When it’s time to sand and reseal a smelly surface
If you’ve ventilated, wiped, and used absorbers and the smell still returns, the contaminated top layer may need removal. Sanding strips the finish that holds odors and exposes a clean surface to coat.
- Last-resort threshold: smell persists after airing, vinegar wipe, and charcoal or baking soda cycles.
- What sanding does: removes the odor-holding layer and prepares the surface for a new coat.
- Safe approach: test a hidden spot first, sand gently, vacuum dust, and wipe before sealing.
Coconut oil polish with lemon or lavender oil
If refinishing isn’t needed, try a conditioning polish. Mix unrefined coconut oil with a few drops of lemon or lavender essential oil. Rub it on with a cloth, let sit overnight, then wipe away excess.
Reapply a second coat to drawers that still carry a scent after a day. The goal is to refresh and condition the furniture without leaving a greasy residue.
Compatibility notes: paint, varnish, and future coatings
Be aware that oil treatments can affect adhesion. If you plan to paint or varnish, decide on paint first. Oil can prevent coats from sticking, so avoid oiling if you will repaint soon.
Final step: sanding and sealing are how you lock in results after cleaning. Use the right sealant for your piece and you’ll stop odors from returning to drawers and the dresser.
Conclusion
End with a clear, repeatable routine: identify the source, start with gentle fixes like airing out, controlled sun, a light vinegar wipe, and baking soda, then move to absorbers such as activated charcoal or cedar for persistent problems.
If scent still lingers after several cycles, plan restoration steps: sand the affected surface, clean dust, and reseal to lock in a fresh finish. That removes trapped residues rather than masking them.
Maintenance matters. Keep drawers dry, avoid storing damp items, and refresh absorbers periodically so you prevent return of the smell. Follow this flow and you’ll restore and maintain fresh, usable storage every time.