We may receive a commission on purchases, which does not impact our recommendations.
You want a practical way to deep-clean grimy, heavily used pieces without stripping finishes. This guide defines “cleaning wood with soap” as removing grime, musty odor, and sticky residue while protecting the finish.
The problem is buildup from years of dust, oils, old polish, and harsh cleaners. Expect to work in careful passes rather than blasting a surface in one go. Gentle products like Murphy Oil Soap or a mild Castile often clear grime and keep finishes safe.
In this workflow you will: assess the finish, choose a gentle solution, wipe with the grain, rinse and dry, then spot-treat sticky areas. You can restore the look afterward by adding polish, oil, or a Scandinavian soap-flake finish for a low-sheen, in-the-grain effect.
Safety basics: always spot-test, limit water exposure, ventilate when using mineral spirits, and keep timing tight so surfaces dry quickly. Follow these steps and your wood furniture will look cleaner and feel cared for without risky damage.
Assess Your Wood Furniture Before You Clean
Before you touch a rag, take a few minutes to inspect the piece and its surface. That quick check guides your method and protects finishes that vary across items.
Identify the finish
Look for cues that tell you the finish type. An oil or wax finish shows a softer sheen and can smudge under your finger. Polyurethane or varnish looks like a hard film that resists moisture. Bare wood soaks up water fast.
Spot-test any solution
Always test on an out-of-sight area—an underside lip or back edge. Apply your diluted solution on a cotton rag, wait a few minutes, then wipe. Check for dulling, tackiness, or color change before you proceed.
Gather basics
- Bucket and warm water
- A soft cloth for wiping and a secondary cloth for rinsing
- Cotton rags for detail work and drying towels to remove moisture
Damp, not soaking: wring the cloth until it barely releases water. That prevents liquid from running into joints or under veneer, which can swell edges on veneered pieces.

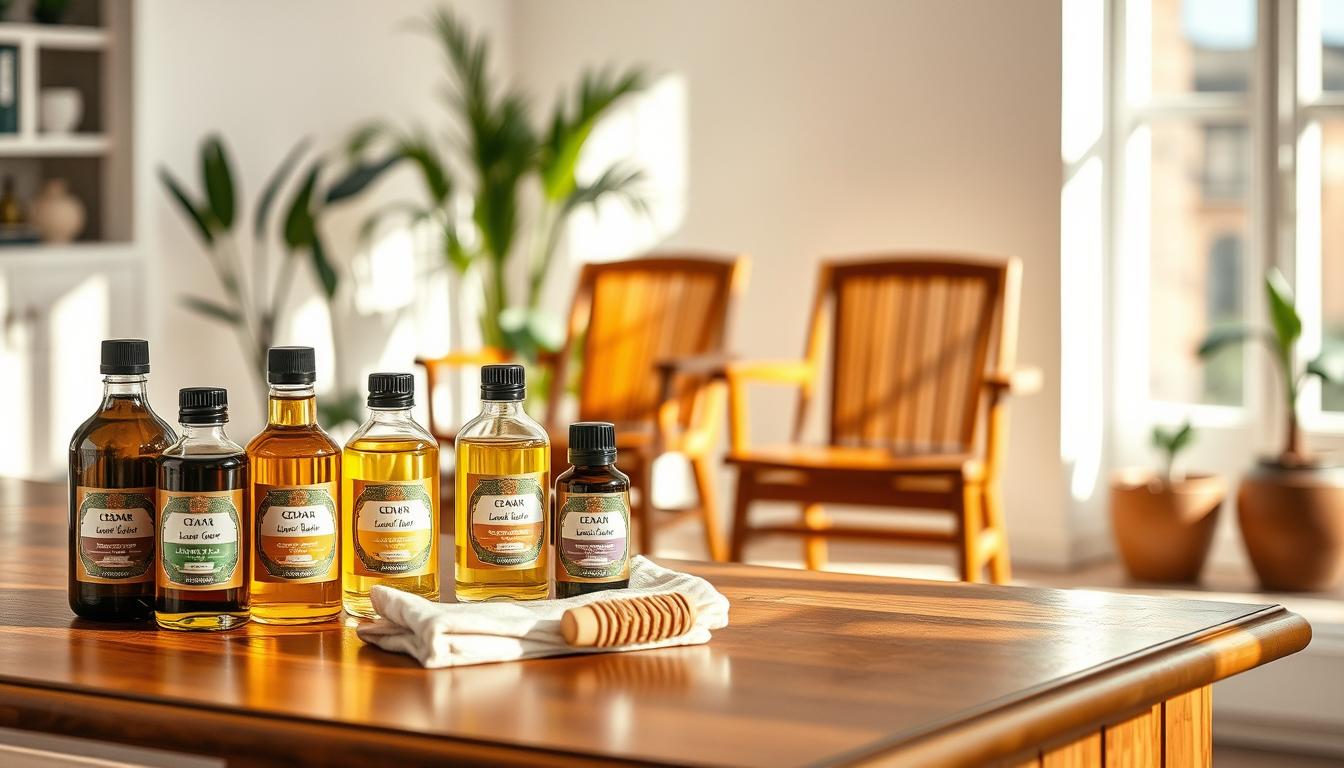
Choose a Wood-Safe Soap That Matches the Job
Pick a cleaner that does the job without adding residue or masked fragrances.
Why “pure” matters: choose soaps and products that lack detergents, heavy fragrances, or harsh additives. Pure options leave less film and reduce the chance of finish interaction. That makes rinsing easier and helps preserve the surface.
Everyday option: Murphy Oil Soap
For daily grime and stubborn dirt, dilute Murphy Oil Soap in warm water: mix 1/2 cup per gallon. This solution handles fingerprints, spills, and dust on most finished furniture.
Murphy Oil Soap contains citronella oil, which can help cut musty smells while you clean.
Gentler paths: Castile and soap flakes
Use Castile when you want minimal ingredients. You can shred Castile into flakes or buy natural soap flakes. Mix flakes into hot or warm water for a very mild solution.
Soap flakes also serve as a traditional Scandinavian finish on light or bare pieces; they won’t affect a hard film finish.
- Tip: stronger mixes don’t work better — excess product can leave a sticky film and demand extra rinsing.
- Quick rule: test any solution on an unseen spot before you proceed.

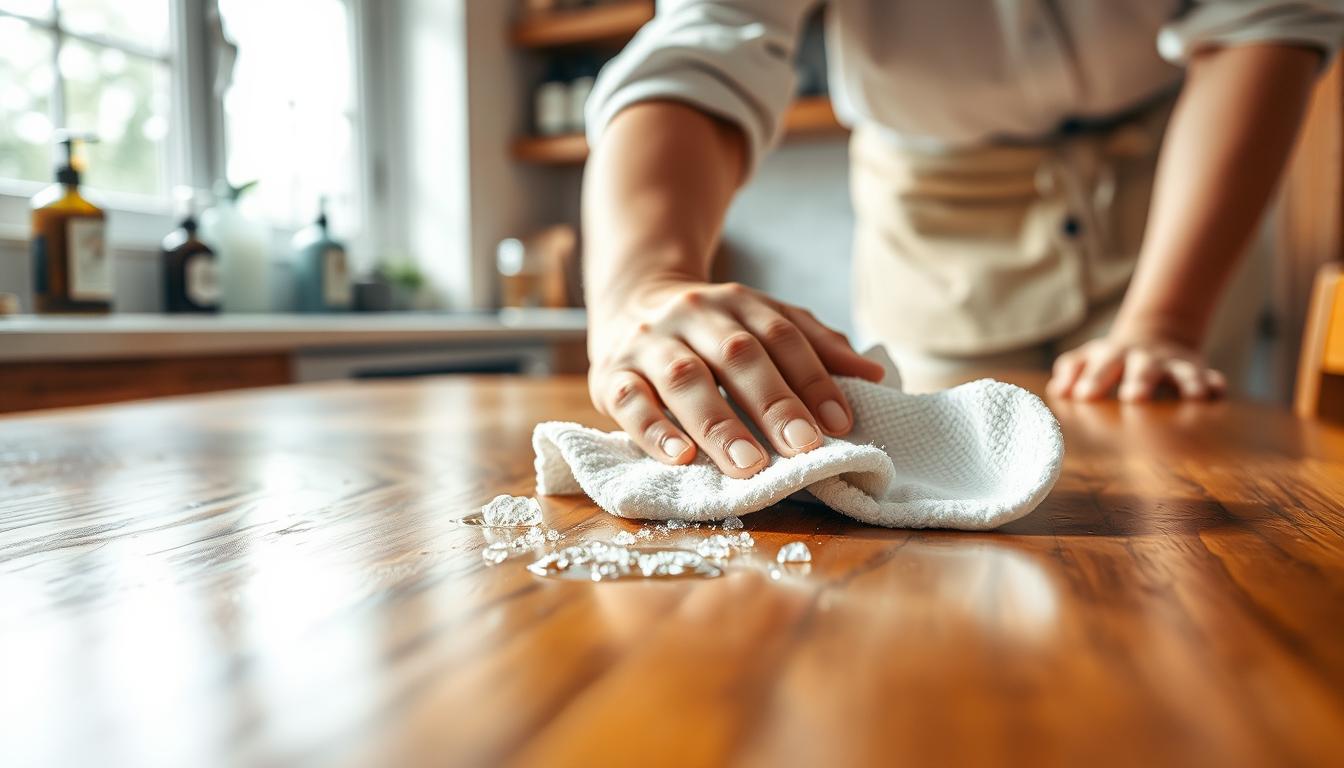
Cleaning wood with soap: Step-by-Step Deep Clean for Heavily Used Surfaces
Start by mixing a correct dilution so you remove dirt without softening the finish. For example, use Murphy’s recommendation of 1/2 cup per gallon of warm water. Prepare a second bucket of clean water for rinsing.
Mix the right dilution
Combine the measured cleaner in warm water and wring your soft cloth until it barely releases liquid. That controlled water prevents seams or veneer from swelling.
Wipe with the grain
Work in small zones—one tabletop quadrant, a drawer front, or a single armrest—so you can rinse and dry before moisture sits. Always move the cloth along the grain, using light pressure.
Detail work
Use a rag corner or a soft-bristled brush for carvings, crevices, edges, and hardware areas where dust and old polish gather. Clean those spots gently and then blend the area back into the surrounding surface.
Remove residue and timing
After the soap pass, wipe the same zone with clean water to lift any film, then immediately dry with a towel. Spend a few minutes per area and pause if the surface looks overly wet. If the top still feels tacky after drying, resist adding more cleaner; that tackiness is a clue to buildup removal steps rather than extra soap.
Lift Sticky Buildup, Old Polish, and Residue Without Stripping the Finish
If a surface still grabs your cloth after a proper wash, it’s time for a spot treatment. Start by confirming the problem: tacky feel, smeared areas, or uneven shine from layered wax and polish are the usual clues.
When to escalate
Least aggressive first: re-clean the zone using the correct dilution and dry it. Only move on if the tacky residue or wax layer remains.
Safe mineral spirits spot process
In a well-ventilated spot, dampen a microfiber cloth with a small amount of mineral spirits—never pour it onto the finish. Rub the stubborn area lightly for a couple minutes until tackiness releases.
- Use light pressure to avoid scratches or finish damage.
- Stop as soon as the tackiness lifts; don’t soak joints or corners.
- If the cleaned spot looks dull, that effect is often temporary; you’ll restore sheen with a small amount of oil or polish later.
Blend and protect
Feather outward from the treated spot and then wipe the whole section lightly so the sheen stays even. If color lifts, bare wood appears, or dull patches grow, pause and reassess before continuing. This prevents lasting damage and keeps your finish intact.
Treat Water Rings, Stains, and Dull Color After Cleaning
After a full wash you may still notice pale rings or a lifeless finish where moisture sat. These common water stains show as white halos, cloudy marks, or a dull patch on the top of a piece.
Rehydrate the mark
Apply a small amount of petroleum jelly or mayonnaise over the affected area. Use a soft cloth to spread a moderate layer that fully covers the stain.
Let it work
Leave the treatment overnight and up to 24 hours. The oil will soften the trapped moisture and help lift the mark into the surface.
Wipe and finish
Wipe the area clean, then re-clean lightly using a mild Murphy Oil Soap solution to remove any oily residue. This step ensures polish can bond and prevents dust from sticking to the oily film.
- Repeat the process if the stain improves but is not gone.
- Stop and reassess if the finish appears disrupted or the color looks uneven—this suggests deeper damage below the finish.
- If results are good, restore sheen with a small amount of polish or oil on a clean cloth.
Restore Sheen Safely: Oil, Polish, Wax, and Soap-Finish Options
Decide whether you want a revived sheen, a soft oiled feel, or a low-sheen, natural finish. That choice guides product selection and how often you’ll renew the surface.
For quick restoration on worn furniture, consider Howard Restore-A-Finish or Old English. Apply either product with a soft cotton cloth in circular motions, concentrate on scratches and dings, then wipe away excess after about 2–3 minutes.
When a soap finish makes sense
Use a soap finish on bare or previously soaped pieces, especially light species like white oak, ash, maple, or beech. It gives an in-the-grain, low-sheen look and keeps the tone bright rather than ambering as some oils do.
Mixing targets and application
Make a watery solution (more water, less flakes) for a matte result. Mix equal parts soap flakes and hot water for a waxier, semi-gloss sheen that offers mild protection.
- Rag on, let sit a couple minutes, then wipe off excess.
- Let dry about an hour, then lightly sand (start 220 for early coats, finish around 320–600 as you build).
- Repeat until the sheen matches your taste.
Tradeoffs and DIY sprays
Know the tradeoffs: a soap finish is easy to renew but less durable than a polyurethane film. It won’t improve an existing film finish and needs more frequent upkeep—monthly for heavy-use tables, several times a year for others.
If you try a DIY spray made from vinegar and olive oil, treat it as an occasional freshener and always spot-test. Different finishes react differently to such mixes, so test before you treat entire pieces.
Drying, Damage Prevention, and Odor Control for Older Pieces
A few simple routines stop everyday moisture from becoming costly damage over the years. Keep this mindset during every care session to protect the finish and joinery on your older furniture.
Limit water exposure
Always wring cloths so they barely release water. Standing water can swell joints, raise grain, and cause dull patches, especially on vintage pieces.
Quick, practical habits
Keep a dry towel in your free hand. Rotate to dry cloths often and never leave a wet rag on the surface. These small steps cut the time moisture touches a piece.
Sunlight and odors
For stubborn smells, give the item brief direct sun—about an hour—then return it indoors. Longer exposure risks uneven fading and loss of color.
De-must enclosed areas
Place charcoal bags or open boxes of baking soda in drawers or cabinets for a few days to absorb stale scents. These options deodorize without risking the finish.
- Finish note: polyurethane resists brief moisture better than soap or oil finishes, but seams and edges still need care.
- Over the years, keep dust down and avoid heavy spray use. Spot-test any vinegar-based spray before treating full surfaces.
Conclusion
End your care session with a clear sequence: gentle wash, targeted spot work, and a measured finish boost.
Assess the finish, then deep-clean using a properly diluted Murphy Oil solution. Rinse and dry each small area immediately to protect the surface of your table or top.
Only escalate when needed: use mineral spirits sparingly on stubborn, sticky buildup and stop if the finish reacts. For water rings, apply Vaseline or mayonnaise overnight, then re-clean lightly to remove residue.
Finally, choose how to revive sheen. Use Howard or Old English to blend scratches and boost color, or try a soap-flake finish on bare, light pieces for a low-sheen, easy-to-renew option.
Sustainable routine: work in small sections, keep moisture controlled, and refresh periodically so your furniture stays protected without aggressive stripping.