You often find that raw boards and unsealed furniture need gentle care. Start with a dust-first plan so you limit moisture and avoid marks. This approach reduces the risk of stains and surface damage.
In this guide you will learn a repeatable, low-water routine. Use soft brushes, a vacuum with a brush tool, and dry microfiber before touching the surface with a barely damp cloth.
Understand what unfinished wood means: it is porous and soaks up liquids fast. That is why you must work in small sections and test in an unseen spot first.
Expect to remove dust, dirt, and light marks safely. You should limit friction and stop if moisture sits in the grain, since that can cause warping or mold.
This method fits homeowners, renters, and DIYers working on raw lumber, floors, and furniture. Keep the rules simple: dust first, wipe gently, spot-treat, and dry immediately.
Why Unfinished Wood Gets Dirty So Fast and Why Stains Happen
Open grain acts like a sponge. When you work with unfinished wood, the grain is exposed and pores pull in dust particles and dirt instead of letting them sit on the surface.

Porous grain and embedded dust particles
Airborne dust sinks into the tiny channels of the grain. Over time, normal household dust becomes abrasive. If you wipe too hard, that abrasion sands the surface and dulls the look.
Moisture risks: warping, mold, and permanent discoloration
Even plain water can penetrate unevenly and leave tide marks or cloudy patches. Lingering moisture invites warping and mold growth, and those effects can cause permanent stains and damage that won’t wipe away.
- Remove dust first to avoid turning it into muddy streaks.
- Wipe with the grain to lift debris instead of pushing it deeper.
- Work in small sections so water and moisture never sit in the pores.
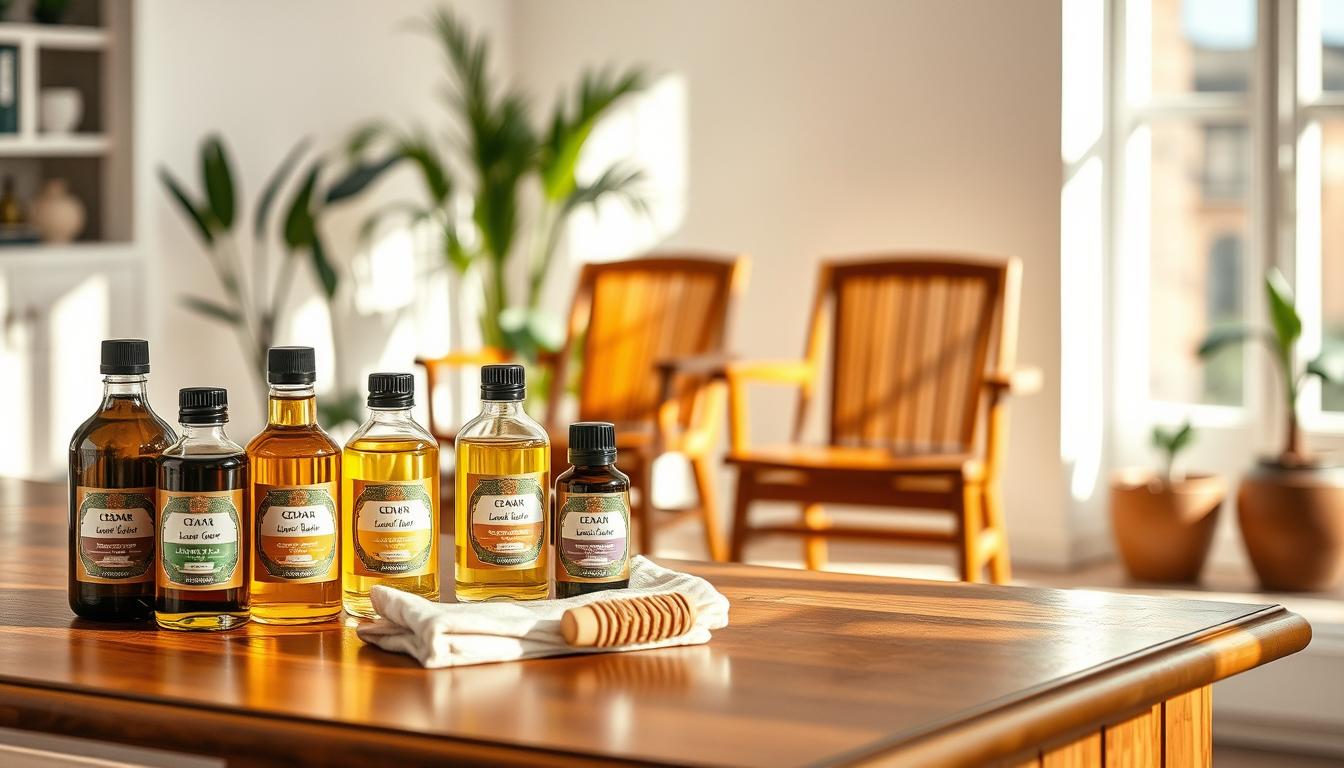
What to Gather Before You Clean: Tools and Cleaning Products That Won’t Damage Wood
A small kit of soft tools and mild products makes safe maintenance fast and repeatable. Gather these items before you start so you can work steadily and avoid mistakes.

- Soft brush and a vacuum with brush attachment to lift dust from crevices without scratching.
- Several microfiber cloths and a few dry towels for fast blotting and finishing.
- An extra cloth or mesh to cover the nozzle if you use vacuum cleaner suction directly on trim.
Safe liquid options: Mix a tiny amount of mild dish soap with lukewarm water to make a gentle cleaning solution. Keep the cloth barely damp—never soak the surface.
For stubborn grime, use a mild vinegar water mix (no stronger than 50:50, often 1:3 vinegar:water). Use adhesive rubber to lift embedded dirt, a gum eraser for scuffs, and a baking soda paste for sticky residue.
Reserve mineral spirits for grease or wax only. Test any product in a hidden spot first. Consider an oil later for conditioning, but separate cleaning from finishing so you don’t alter the tone.
Cleaning Unfinished Wood the Safe Way: A Low-Moisture Routine You Can Repeat
A gentle, low-moisture routine keeps raw surfaces tidy without risking marks. Follow a fixed sequence so you remove loose grit before any damp step.
Remove loose dust and grit first
Use a soft brush to loosen dirt and dust debris. Then use vacuum suction to lift particles from pores and crevices.
Finish with a dry microfiber pass
Wipe with a dry microfiber cloth to pick up leftover dust debris. This step helps you clean unfinished surfaces without adding moisture.
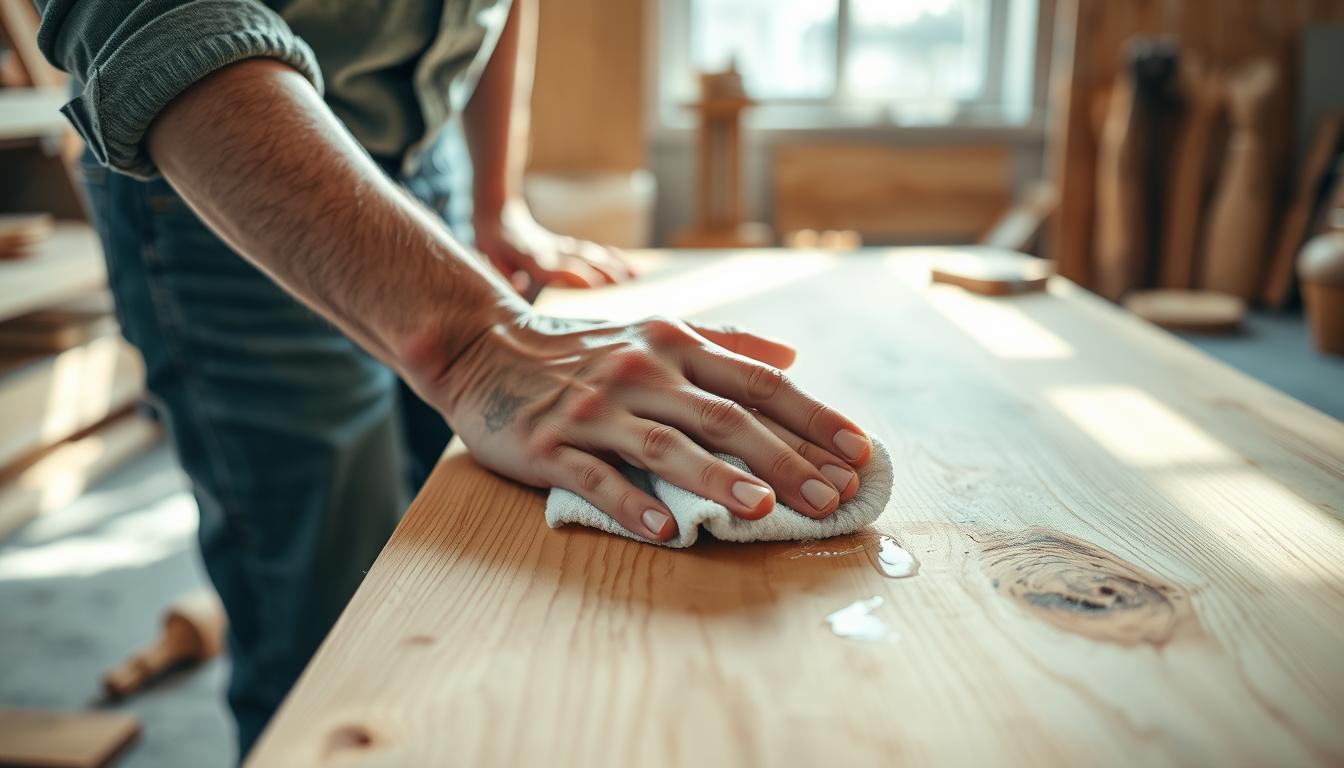
Only use a barely damp cloth when needed
If spots remain, wring the cloth until it is barely damp with plain water. Work a small area, then dry immediately.
- Brush then vacuum: agitate gently, then use vacuum cleaner suction to remove grit.
- Dry microfiber wipe: lift remaining dust without scratching the grain.
- Damp only if required: use a barely damp cloth, never soak an area.
- Work small areas: make sure one area never stays wet long.
- Dry at once: blot with clean towels to protect the grain from moisture damage.
Repeat this cleaning routine weekly or more often on high-traffic items to prevent dirt from becoming ingrained.
How to Remove Dust, Dirt, and Debris Without Grinding It In
Lift loose particles before you touch them with moisture to avoid embedding grime in the grain. Dry removal is your first defense because it stops dust dirt from turning into muddy streaks that sink into the surface.
Vacuuming raw surfaces safely
Use a vacuum cleaner with brush attachment for weekly maintenance. The soft bristles pull dirt debris from pores and crevices without sanding the grain.
Cover hard plastic edges with a thin cloth or mesh to prevent scratches. Move the nozzle in short strokes and lift often instead of pushing grit across the surface.
Use a soft brush or paintbrush for trim and corners
A clean paintbrush reaches carved details and joins. Sweep particles outward, then use the vacuum to capture them.
- Work dry first to avoid muddy marks.
- Apply light pressure and short strokes to avoid grinding grit in.
- Dust often and vacuum weekly to stop shadow lines and long-term staining.
Mixing a Gentle Cleaning Solution That Won’t Stain or Cloud Raw Wood
Mix mild, easy-to-control solutions so you remove grime without long contact time or soaking. Prepare small batches and use them right away to avoid leftover residue that can alter the tone of the material.
Soapy water recipe for routine grime
Make a quick soapy water solution: stir 1 teaspoon of mild dish soap into a bowl of lukewarm water. Lukewarm water helps loosen dirt while avoiding the extra swelling hot water can cause.
Vinegar water option for deeper dirt
For tougher grime, mix white vinegar with water at 1 part vinegar to 3 parts water. Never exceed a 50:50 ratio; harsher mixes raise the risk of clouding or slight discoloration.
How to apply and test any cleaner
Always put the solution on a cloth—not directly on the surface. Wring the cloth thoroughly so it is barely damp, then wipe a small area and dry it immediately.
- Test first: pick an inconspicuous spot (underside or back), apply a dab, wait a few minutes, and check for darkening, clouding, or raised grain.
- Short contact time: keep solutions mild and limit how long they touch the surface to prevent stains and tone change.
- Expect subtle change: even safe products can alter appearance if overused; repeat gentle applications rather than one strong treatment.
Wiping Technique Matters: How to Clean Without Raising the Grain
How you move a cloth matters more than which product you use. Good technique prevents raised grain and keeps the surface smooth. A careful approach avoids marks and long-term damage.
Make sure you wipe with the grain
Always wipe in the direction of the grain. This reduces visible scratch patterns and helps lift debris instead of pushing it into pores.
How damp is “damp” for a microfiber towel
Dip and wring until the microfiber feels barely moist. There should be no dripping and no standing water left behind.
When a soft-bristle brush beats a cloth
Use a soft brush when dirt stains hide in texture. The bristles loosen trapped particles without over-wetting or abrasive rubbing.
- Controlled wipe pattern: light pressure, overlapping strokes, and a quick follow-up with a dry cloth to remove moisture.
- Common error to avoid: scrubbing hard with a wet cloth — this raises the grain and can leave a rough, dulled patch.
- Damage prevention: technique is your best defense, even when you use the right supplies.
Targeted Stain and Mark Removal for Raw, Unvarnished Surfaces
When a single mark stands out, treat only that area to avoid excess moisture. Spot work limits risk and often saves time compared with re-treating the whole surface.
Lift grime with adhesive rubber
Use a kneadable adhesive rubber to pull out trapped debris. Press and lift—do not rub—to avoid burnishing the grain.
Repeat pressing until you remove dirt stains. Vacuum crumbs immediately to prevent re-depositing particles.
Erase scuffs with a gum eraser
A solid gum eraser removes scuffs and light dirt stains with gentle strokes. Work in one direction, then brush or vacuum the crumbs away.
Baking soda paste and mineral spirit rules
Mix a thin baking soda paste (about 1 part soda to 3 parts water). Apply briefly, wipe, and dry at once to remove sticky residue.
Reserve mineral spirits only for grease or wax buildup. Apply to a cloth—never pour—test in an unseen spot, ventilate, and use sparingly.
- Spot vs full clean: try targeted fixes first to minimize moisture exposure on unfinished wood.
- Stop point: if stains don’t improve after gentle attempts, pause and consider professional restoration rather than harsher products.
Cleaning Unfinished Wood Floors vs. Furniture: What You Should Do Differently
Your approach should change: broad, quick passes work for floors, while tight, careful work fits furniture. Floors handle a little more coverage. Furniture has joints and edges that trap moisture and show damage faster.
Unfinished wood floors: light damp mopping and fast air-dry time
Start by sweeping or using a vacuum with a soft brush attachment to lift grit. Then damp-mop with a partial bucket and a drop or two of mild soap in lukewarm water.
Wipe with the grain and keep the mop barely moist. Promote airflow so the floor air-dries in about 10–20 minutes before foot traffic resumes.
Unfinished wood furniture: control moisture near joints and edges
For tables, chairs, and shelving use a barely damp microfiber or microfiber cloth. Work small areas and dry immediately to avoid swelling at seams.
Apply less pressure and fewer passes than you use on floors. Focus on edges, legs, and joints where moisture causes the most harm.
- Why tactics differ: floors tolerate broader, faster coverage; furniture needs precise, low-contact care.
- Tool guidance: vacuum first, then use microfiber tools for both to reduce abrasive grit and damage.
- Maintenance note: frequent dry dusting on floors prevents grit buildup that causes scratches and long-term stains.
What to Avoid So You Don’t Stain, Scratch, or Permanently Damage Unfinished Wood
Some common household cleaners look safe, but they can alter color and texture quickly. Be deliberate about what you do not use so you protect the surface and the natural look.
Top items to avoid:
- Harsh commercial cleaners, bleach, and ammonia — these solvents can discolor raw fibers and leave blotches that never fade.
- Steam cleaners and heavy wet mopping — steam forces water deep into the grain and can warp or raise fibers fast.
- Abrasive pads and melamine foam (Magic Eraser-style) — they act like fine sandpaper and shave the top layer, leaving dull spots.
- Overuse of water or long contact times — more water is not more clean; it leads to swelling, tide marks, and mold risk.
Instead, follow safer steps you already know: vacuum and use a soft brush to lift dust first. Then use a barely damp microfiber cloth with a mild solution only when needed.
- Vacuum/brush to remove grit and loose debris.
- Spot-test any cleaner or product in an unseen area before use.
- Limit water and dry immediately to prevent stains and long-term damage.
Conclusion
The simplest rule is to stay light on liquids and heavy on dry dust removal. Keep moisture low because unfinished wood soaks quickly and shows marks fast.
Follow the safe workflow: remove dust first, wipe gently with a microfiber, use mild solutions only when needed, and dry the area immediately. Work in small areas to avoid soaking and to keep the surface consistent.
If the surface looks dull after cleaning, you can condition it once it is fully air-dry. Apply oil intentionally—not as a cleaner—to refresh tone and protect the grain.
Linseed and similar oils are common choices; test and apply sparingly. Maintain frequent light care so you do less aggressive work over time and preserve the natural look of your wood.