Get your garden and deck ready for spring gatherings with a simple, gentle approach to reviving teak and cedar pieces. Proper care can make a big difference: well-looked-after teak can last up to 75 years, so a careful start pays off.
Begin by removing loose grit, then rinse with a hose. Avoid high pressure: too much force can raise grain and open cracks, even on durable woods.
This guide walks you through a clear workflow: prep the area, inspect the surface, sweep away debris, rinse, wash with mild soap and water, rinse again, and let everything dry fully before you apply oil or a finish.
Spring is ideal because you can spot winter moisture issues early and stop small problems from getting worse. The key rule to remember is to let the wood dry completely between steps so cleaners and finishes bond well.
Spring prep for deep-cleaning outdoor furniture after winter
Pick a clear, dry day in spring so each piece can dry completely after washing. Choosing the right time prevents trapped moisture and streaky results on your deck and other surfaces.

Choose the right time and conditions
Work when daytime temps stay between roughly 55–90°F and no rain is forecast. Winter damp and cold can weaken fibers and cause rough areas you’ll want to address before heavy use.
Clear the space and protect nearby surfaces
Move furniture off the deck and remove planters or cushions so you can work all around each piece. Lay down plastic drop cloths or cardboard under and around items to catch drips from cleaners and later from any oil or finish.
Quick inspection by hand
- Check for cracks, splinters, raised grain, soft or blackened moisture spots.
- Look for flaking or old finish that needs attention.
- If the surface is rough, plan a light sand with 150–220 grit and remove dust afterward.
Make sure the area is well ventilated and that you can leave pieces undisturbed long enough to dry completely before you sit, serve food, or replace cushions.
Cleaning outdoor wood with gentle tools, water, and the right cleaner
Start by loosening dust and grit with a soft brush so you don’t grind debris into the surface when you add liquid. A vacuum with a brush attachment works well for slats, corners, and joinery.
Rinse first — then scrub
Use a garden hose with a normal spray pattern to wet and flush away loose dirt. Keep the stream controlled so you avoid opening grain or causing damage with high pressure.

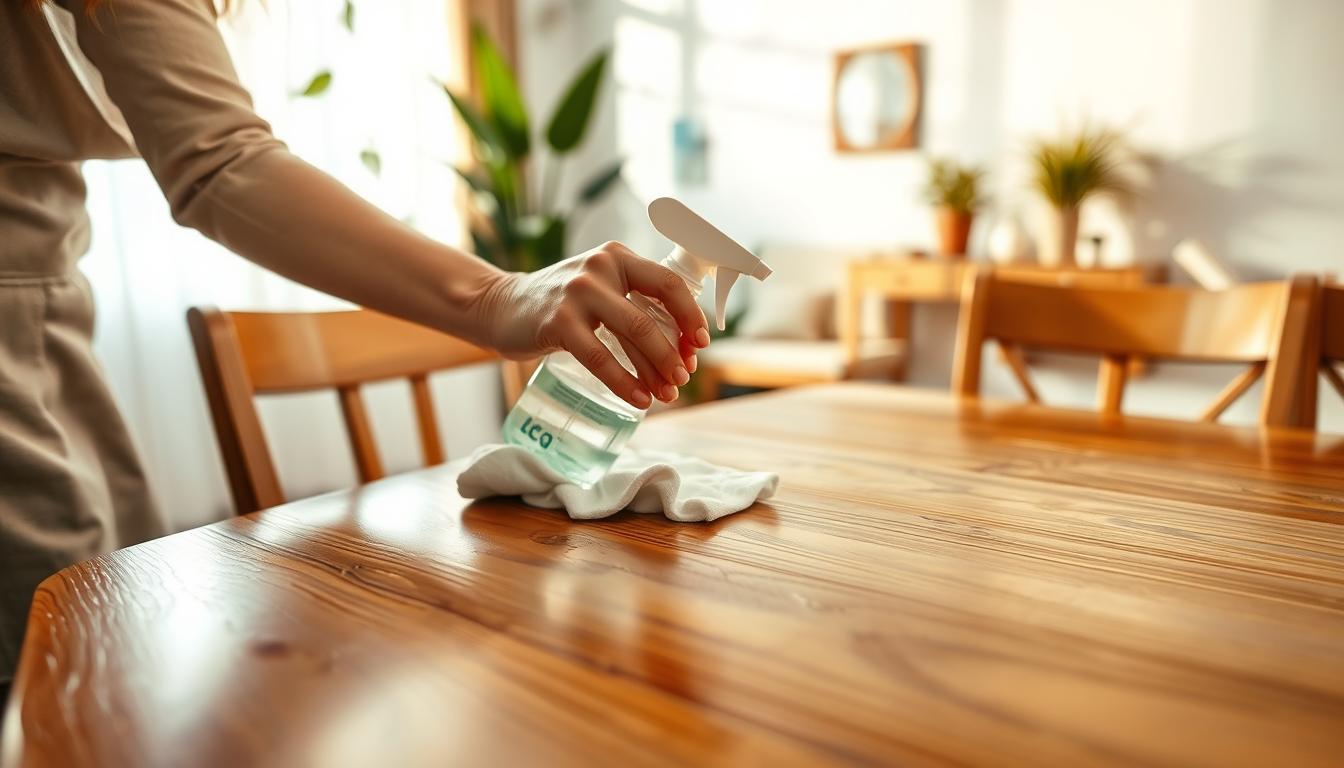
Mix a mild soap-and-water solution
Combine a gentle soap or dish detergent with water, then scrub along the grain with a sponge or soft brush. Work in small sections and rinse with clean water as you go.
- Why order matters: removing grit first prevents it from acting like sandpaper during scrubbing.
- Never use power washers or high-pressure nozzles on most furniture — pressure can raise grain, erode fibers, and shorten life.
- For gray oxidation or stubborn grime, use a purpose-made cleaner or brightener per label instructions and rinse thoroughly.
Final rinse and drying
Rinse until suds and loosened grime are gone. Then let the surface dry completely before you apply oil, sealer, or other maintenance so absorption stays even.
Test first: if you consider stronger pressure or a concentrated cleaner, try it on an inconspicuous spot to confirm it won’t discolor or fuzz the surface.
Deep clean and restore teak furniture without stripping the surface
Restore teak’s warmth and tone using targeted products without stripping the surface. Use mild soap-and-water for routine dirt. Step up to a teak-specific cleaner when you see gray oxidation, uneven tone, or stubborn embedded grime.
When to use specialty products vs. mild detergent
For light soil, a gentle detergent and a soft brush work well. For heavy discoloration, choose a purpose-made teak cleaner or brightener and follow the label.
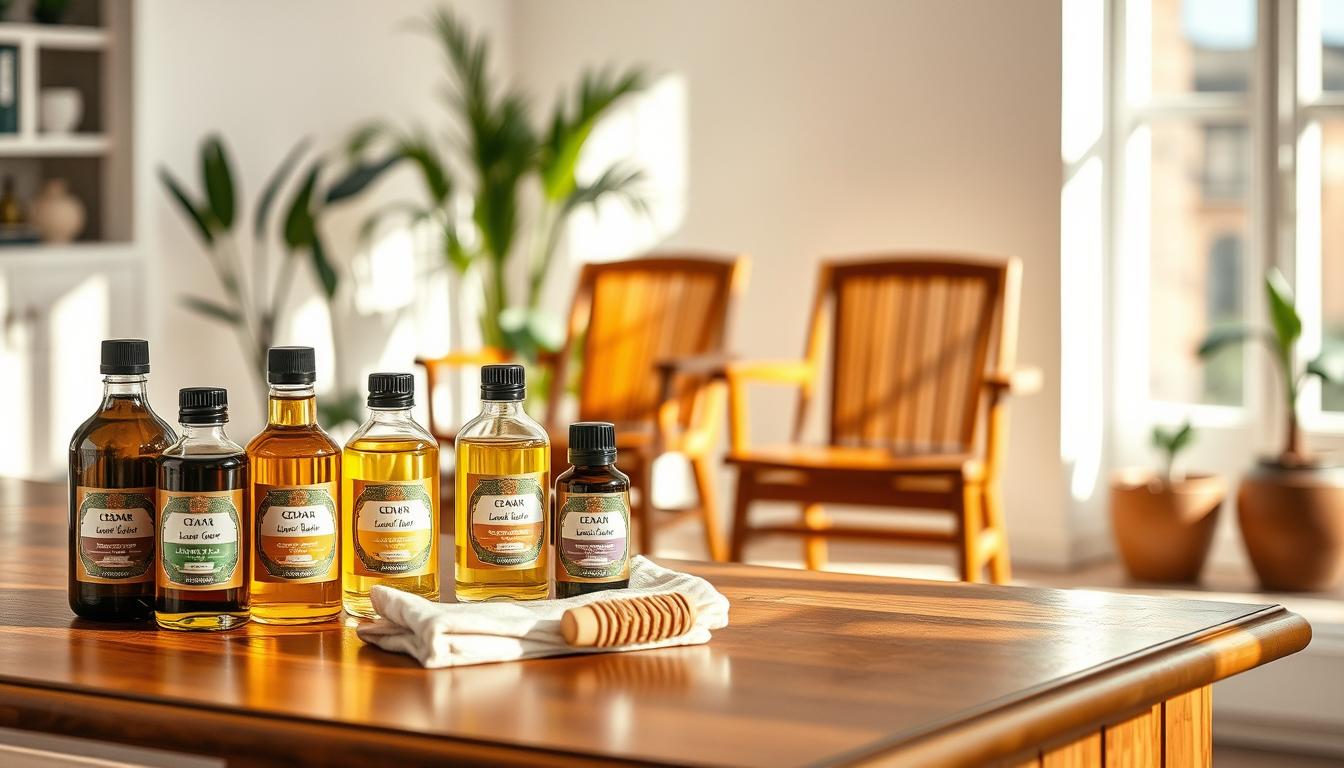
Bring back color and protect the finish with oil once a season
After the surface is clean and fully dry, apply teak or hardwood oil once a season to restore color and add moisture resistance. Over‑oiling can attract dirt and leave a tacky feel.
Application tips and safe handling
- Step sequence: clean → rinse → dry → optional light sanding → re-clean dust → dry again → apply oil.
- How to apply: stir or shake the oil, use a brush made for oil-based products, wipe off excess, and allow proper dry time per label (often 8–10 hours).
- Safe rags: soak used oily rags in a bucket of water, then lay flat to dry before disposal to prevent heat buildup and combustion.
- Want a different look? Consider paint or a new protective finish, but only after proper prep and cleaning.
How to clean and care for cedar outdoor furniture through the season
Start season care for cedar pieces by gently brushing away loose debris so you don’t grind grit into the surface.
Why be gentle: cedar is a softwood. Aggressive scrubbing or high-pressure water can leave marks and accelerate wear. Use a soft brush and mild soap to protect grain and feel.
Follow the same reliable process you use on other material: brush off debris, rinse with a garden hose, wash with a mild cleaner/soap, rinse again, and let dry completely.
- Repeat the wash-and-rinse where dirt stays—check slats, crevices, and carved details rather than jumping to harsh abrasives.
- Do a quick mid-summer rinse to remove garden dust, pollen, and BBQ residue so stains don’t set.
- When bad weather lingers, move cedar furniture under cover or indoors to reduce moisture cycling and swelling.
- Regular, gentle care keeps surfaces smoother and reduces splinters, so your pieces stay comfortable all season.
Practical tip: always let dry before replacing cushions or covers to avoid trapped moisture and mildew.
Conclusion
Finish the season with a brief, regular routine so your deck stays ready for guests and daily use.
You get the best results when you clean gently, rinse thoroughly, and let surfaces dry fully before any follow-up care.
Use the spring checklist: prep the area, inspect for damage, remove loose debris, wash with a mild solution, rinse with clean water, then decide on restoration steps like oil or sealant.
If you use pressure equipment on nearby decking, test an inconspicuous spot first, use a flat spray nozzle, keep about 30 cm distance, and avoid spot‑blasting nozzles that can scar the wood.
Keep a seasonal maintenance rhythm—a basic wash at least twice a year prevents grime buildup and keeps your setup looking sharp for spring and beyond.