Preserve the original finish while you remove dust and grime. Use a damp microfiber cloth with warm water and wipe with the grain. Dry immediately with a clean microfiber to avoid moisture marks.
Avoid dry rags that can spread dust and scratch a vintage finish. Test any product or technique on a hidden spot first. For tricky issues or valuable pieces, consider contacting a restoration shop such as Mod City Madness for tailored guidance.
This short guide focuses on teak and common MCM construction: solid wood, veneer, and mixed-material accents. You will get simple routines that protect beauty and extend the life of each piece.
Expect weekly light care, periodic deeper cleaning, attention to glass and metal details, sun and heat protection, quick spill response, and safe touch-ups. We will avoid harsh chemicals, abrasive pads, and solvent-heavy products that haze or strip finishes.
Your goal is preservation and a comfortable home look that keeps design and value intact for years.
What makes mid-century modern teak furniture different
You’ll notice these pieces mix durable hardwoods with delicate veneers and metal or glass accents. That combination shapes how you care for each surface.
Teak, veneer, and grain direction
Teak is tough but finish-dependent. Its natural oils help resist water, yet the look and protection come from the original surface coat. Veneer construction sits on a substrate, so keep water minimal and pressure light to avoid lifting or sanding through thin layers.
To reduce streaks and tiny scratches, check the grain by rubbing a fingertip lightly; wipe with the grain every time.
Common mixed materials and why they matter
- Wood panels—use gentle, vintage-appropriate products.
- Glass inserts—clean with a lint-free cloth and a mild glass solution.
- Metal legs/handles—wipe separately and protect finishes from abrasive pads.
Craftsmanship, finish, and when to call restoration
Hand-applied lacquers, oil finishes, and past repairs react differently to the same product. If you aren’t sure whether a surface is oil-finished, lacquered, or recently restored, spot-test first and choose the gentlest method.
Valuable or altered pieces often benefit from professional restoration advice before you attempt more aggressive care. Tailor routine choices to how the piece lives in your space—dining tables face different wear than a bedroom dresser.

Cleaning mid-century modern teak furniture with a simple weekly routine
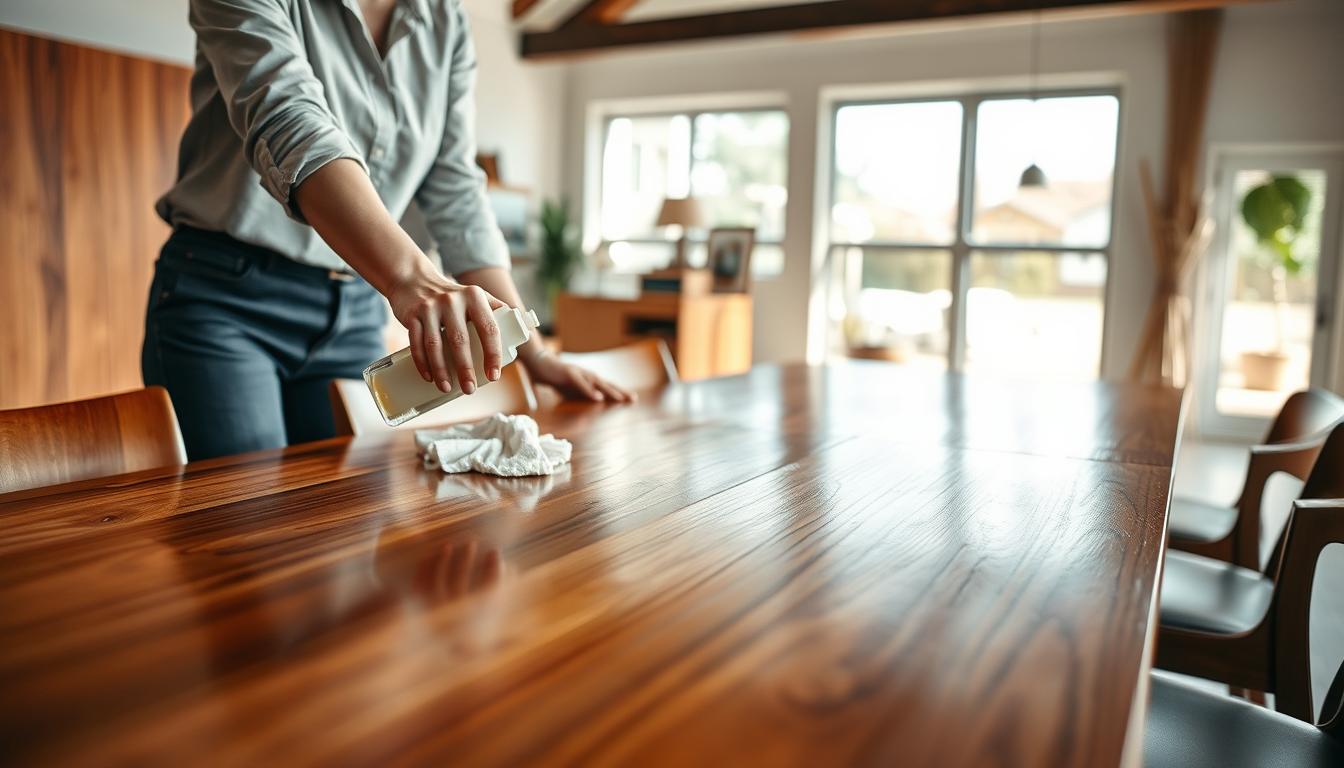
A short weekly routine saves time and prevents buildup on your wood furniture. Spend five to ten minutes and you cut down the need for harsher treatments later. This approach keeps finishes even and lowers risk to thin veneers.
For quick dust pickup, lightly dampen a microfiber cloth with warm water. Wipe gently with the grain so the surface stays uniform and avoids tiny scratches. Immediately follow with a clean, dry microfiber cloth to remove all moisture.
Never use a dry rag for regular upkeep. A dry rag drags grit across the finish and acts like sandpaper over time. That dulls your pieces and can leave micro-scratches you’ll notice under light.
- Clear the table surface first so crumbs don’t grind into the finish.
- Use warm water as your weekly cleaner; save soaps for deeper work.
- Less water is better: pooled moisture can cloud and stain veneers.
- Consistency matters — a little time each week protects value and look.

Deeper cleaning for grime, fingerprints, and kitchen buildup
If your dining table shows sticky smudges or kitchen grease that water won’t lift, move to a careful deeper treatment. Start small and keep control of moisture to protect veneers and joints.
Mix mild soap and warm water safely
Use only a drop of mild soap in warm water. Dampen a soft cloth so it is not dripping. Wring well and work a small patch at a time.
Spot-scrub small areas instead of aggressive swiping
Focus on one stain or fingerprint at a time. Gentle circular motions remove grime without spreading oils across the surface.
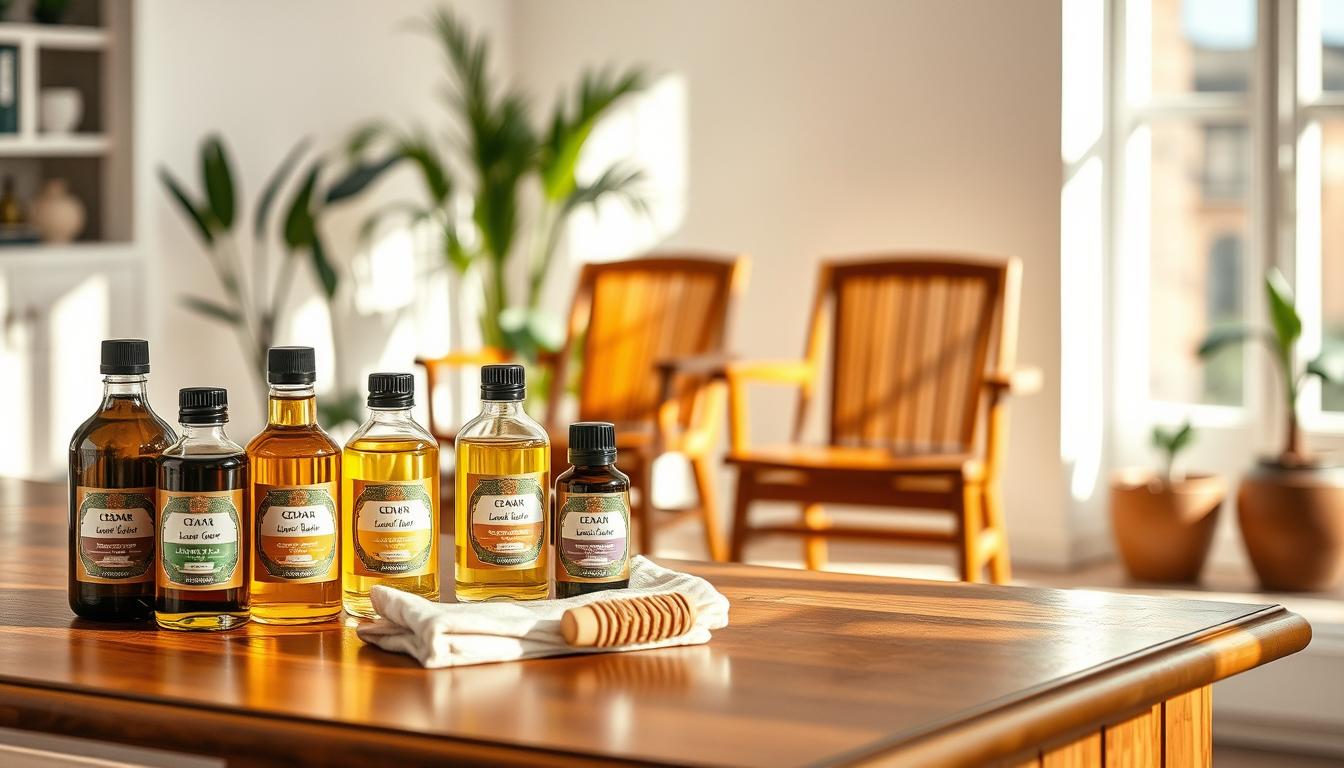
Choose a wood cleaner for delicate finishes
Pick a cleaner formulated for vintage or thin finishes, especially if restoration has been done. Test on an unseen edge first.
- Level up when you see sticky fingerprints, cooking residue near a dining area, or dull patches.
- For kitchen oils, consider Parker & Bailey Kitchen Cabinet Cream and spot-test it first.
- Use a light, non-ammonia glass spray on a cloth only for stubborn residue—keep sprays away from unfinished edges.
- Avoid harsh chemicals, abrasives, and solvent-heavy products that can strip or lift finishes.
Stop point: If discoloration stays after gentle work, pause and evaluate; the issue may need professional restoration rather than stronger cleaners.
Cleaning glass and metal details without damaging nearby wood
Keep liquids off wood edges. Clean glass and metal with a plan so runoff never soaks joints or softens finishes. Treat each surface on its own to protect the whole piece.
Glass care with a lint-free cloth
Spray a gentle glass cleaner onto a lint-free cloth, not the glass. Wipe in one direction to avoid streaks and trapped fibers along trim lines.
Metal upkeep and protecting shine
For metal, wipe grime away with a damp cloth and a drop of mild soap. Rinse the cloth and dry the hardware completely to prevent spots or corrosion.
- Treat glass, metal, and wood as separate surfaces even when they’re joined.
- Always put cleaner on your cloth first to stop overspray from reaching wood.
- Choose a polish that matches the metal type; use it sparingly to keep shine without rubbing through plated finishes.
- Work in this order: wood (minimal moisture), glass, then metal to avoid re-soiling cleaned areas.
Spot-test on hidden areas when in doubt. Your careful technique matters more than strong products, especially with vintage furniture or delicate pieces.
Protecting the finish so your teak keeps its natural beauty
Protecting the surface is as important as cleaning; heat, sun, and abrasion silently ruin finishes. Good protection preserves the wood’s beauty and extends the life of your furniture.
Manage sun exposure near windows
Direct sun can push tabletop temperatures above 140°F and “cook” a finish. Over time that fades color, dries fibers, and causes cracking on broad surfaces.
Move key pieces away from windows when you can. If relocation isn’t possible, use UV-blocking curtains or window film to cut damage.
Keep furniture away from heat sources
Place furniture away from vents, radiators, and forced-air registers. Dry heat shrinks wood and stresses joints, so avoid long-term placement near heaters.
Everyday protection habits and table runners
Use coasters, placemats, and trivets for hot or wet items. Add felt pads under décor so bases cannot grind into the surface.
For a dining table, a table runner is a smart middle ground. It shields high-contact zones while letting the grain show.
- Quick tip: Aim for stable indoor humidity around 40–60% to limit warping and cracking.
- Time-saving care: Consistent protection cuts down on repairs and keeps pieces looking cared-for in your home.
Handling spills and water rings on teak surfaces
A spill on a teak surface demands fast action to stop stains from setting into the finish. In a busy home, accidents happen. Your quick response prevents clouding and rings that occur when moisture soaks into the finish or veneer.
Why you should never let liquid sit on wood furniture
When liquid sits, it can penetrate or cloud the protective coat and leave a visible ring on a table top. Oils and sugars from drinks make the problem worse on daily-use pieces.
How to blot and dry safely without spreading moisture
Use a clean, absorbent cloth — ideally a microfiber — and blot, don’t wipe. Press gently, lift, and repeat so you lift moisture instead of moving it outward.
- Immediate response: Blot the spill with the cloth, switch to a dry section often, and never drag liquid across the surface.
- Drying: After blotting, let the area air for a few minutes before replacing objects. If needed, press with a dry cloth until no dampness transfers.
- Do not: Avoid heat blasts, abrasive rubbing, or strong cleaners right away; these can fix a mark or damage the finish.
Small care, big payoff: Keep coasters and trivets within reach so your spill response and daily care reduce the need for later touch-ups or restoration.
Polish, shine, and the truth about “feeding” wood
Polish and oils mainly change how light plays on the surface, not the wood itself. Advertising talks about “feeding” wood, but that idea is a myth. Most products alter reflection and add temporary gloss.
What dullness often signals: residue buildup, micro-scratches, or a thinning finish. That helps you pick whether a cleaner, a light buff, or professional restoration is needed.
Quick, controlled shine
For a short-term cosmetic boost, put a tiny dab of olive oil on a paper towel and lightly buff the area. Stop if the surface feels tacky or attracts dust.
When wax or coating makes sense
Use an antique-appropriate wax sparingly as a sacrificial layer. Many conservators recommend reapplying about yearly. Always spot-test on an unseen edge first.
- Tip: Don’t over-polish; buildup complicates later care and restoration.
- Match products to finish: lacquered, sealed, or restored surfaces respond differently, so choose the least invasive option.
- Professional help: For collectible pieces, get restoration guidance before adding coatings.
Easy touch-ups for scratches, chips, and worn edges
A quick, careful repair can hide a nick and keep a wood piece from worsening. First, classify the damage so you pick the right method: light surface scuffs, small edge chips, or deep scratches into bare wood.
Using shoe polish for minor nicks
For tiny chips and scuffs—especially on feet—choose a matching-color shoe polish. Apply sparingly, rub in gently, and buff with a soft cloth. This trick blends color and masks contrast without heavy products.
Marker-first technique with touch-up kits
Start with a felt-tip marker that matches the grain tone. Tint the exposed area, then add wax or filler only if needed. The marker-first approach gives a more natural blend before you layer other materials.
When to seek professional restoration
If patches are large, veneer is lifting, or the finish feels soft or sticky, stop and consult a pro. Prompt DIY touch-ups protect beauty and slow worse damage, but some problems need restoration expertise and time to fix correctly.
Fixing wobbly tables and squeaky mid-century modern frames
A wobbly table or a squeaky frame is often a simple fix you can do in minutes. Years of use, wood movement, and loosened hardware are common causes. A quick check saves time and protects the finish from extra wear.
Check joints and tighten loose bolts with an Allen key
Gently test each leg and joint by applying light pressure. If a bolt turns, tighten it with an Allen key—stop when snug to avoid stripping or over-torquing.
Lubricate friction points with beeswax or candle wax
Apply a small amount of beeswax or candle wax where wood meets wood or metal. That quiets squeaks and reduces wear at moving contacts.
Correct uneven floors with discreet padding under legs
Uneven floors often make tables wobble. Add thin felt pads or micro-levelers under the high leg so the table sits flat in your dining area or other space.
- Why it matters: A stable dining table protects the finish and lowers spill risk.
- Re-check tables every few months—small loosening is normal over time.
- Caution: If joints are cracked or dowels fail, pause DIY and consult a pro to protect the furniture and the piece’s value.
Conclusion
<!– Meta: –>
A few careful choices today keep your pieces looking right for years.
Follow a simple checklist: weekly microfiber wipes, controlled deeper cleaning with a mild cleaner, gentle handling of glass and metal, and fast spill response to protect the finish.
Protect priorities: manage sun near windows, avoid heat vents, and use coasters and felt pads so daily life does not wear the surfaces in your home or space.
Accept small wear as normal. Consistent care reduces major restoration needs and preserves craftsmanship and design value over time.
If you see a “page blocked” or “blocked extension” message while researching products, try disabling extensions or open a private window to access manufacturer instructions safely.
Audit your room this week and make one change—move a table, add a runner, or find perfect sources by asking about finish and restoration history before you buy.