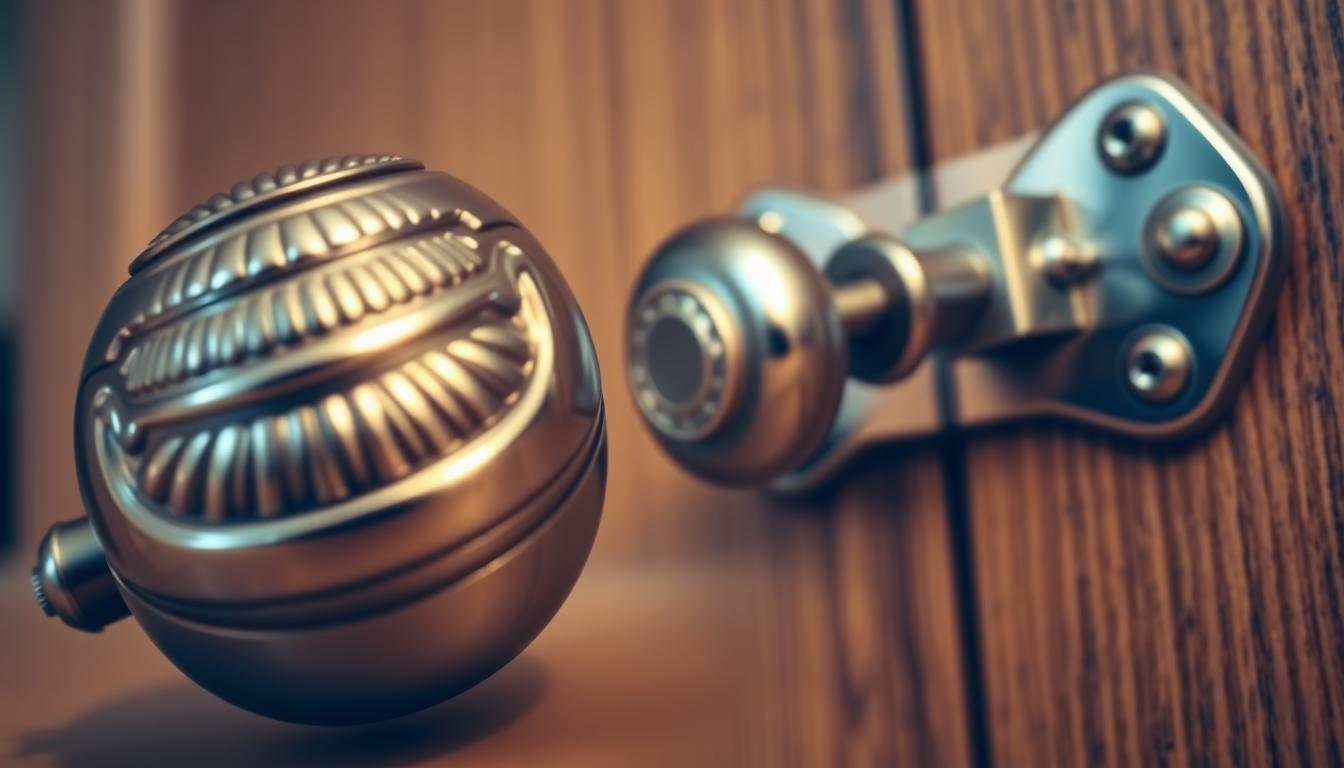
Set the goal up front: you want metal knobs and hinges that function and look right while the surrounding wood stays safe from water, acids, and abrasive residue.
Older metal on furniture and doors differs from modern pieces today. Period finishes, dyes in crevices, and thin platings can vanish if you use the wrong product or tool. Aggressive polishing and harsh chemical strippers often remove metal layers and erase detail.
Start by identifying the metal and checking for lacquer or plating. Match your method to the problem—tarnish, rust, paint buildup, or grime—and choose gentle cleaning and controlled buffing over heavy abrasives.
Expectations matter: decide if you want a bright shine or a period-correct appearance. A high shine means more frequent upkeep; a preserved patina reduces long-term maintenance and the risk of damage to finish and wood.
Assess Your Hardware and Wood Finish Before You Clean
Before you touch a knob or hinge, take a moment to learn what metals and finishes you’re dealing with.
Figure out whether your piece is solid metal or plated
Turn the piece and make a discreet test on the back. A light scrape with a razor shows color beneath the surface: the same color means solid; a different layer means plated.
Use a magnet to confirm ferrous metals like cast iron or stamped steel. That tells you if the item can flash-rust and needs fast drying or sealing.
Test for lacquer and protect original patina
Rub a tiny amount of polish on an out-of-sight spot. If the cloth stays clean, the brass is likely lacquered and needs gentler care. If the cloth darkens, the finish can accept a mild polish.
Spot common problems like tarnish, rust, and paint buildup
- Identify tarnish that dulls appearance versus pitting from rust.
- Look for paint buildup that hides detail or binds moving parts.
- Check for dye in crevices that can be lost with aggressive scrubbing.

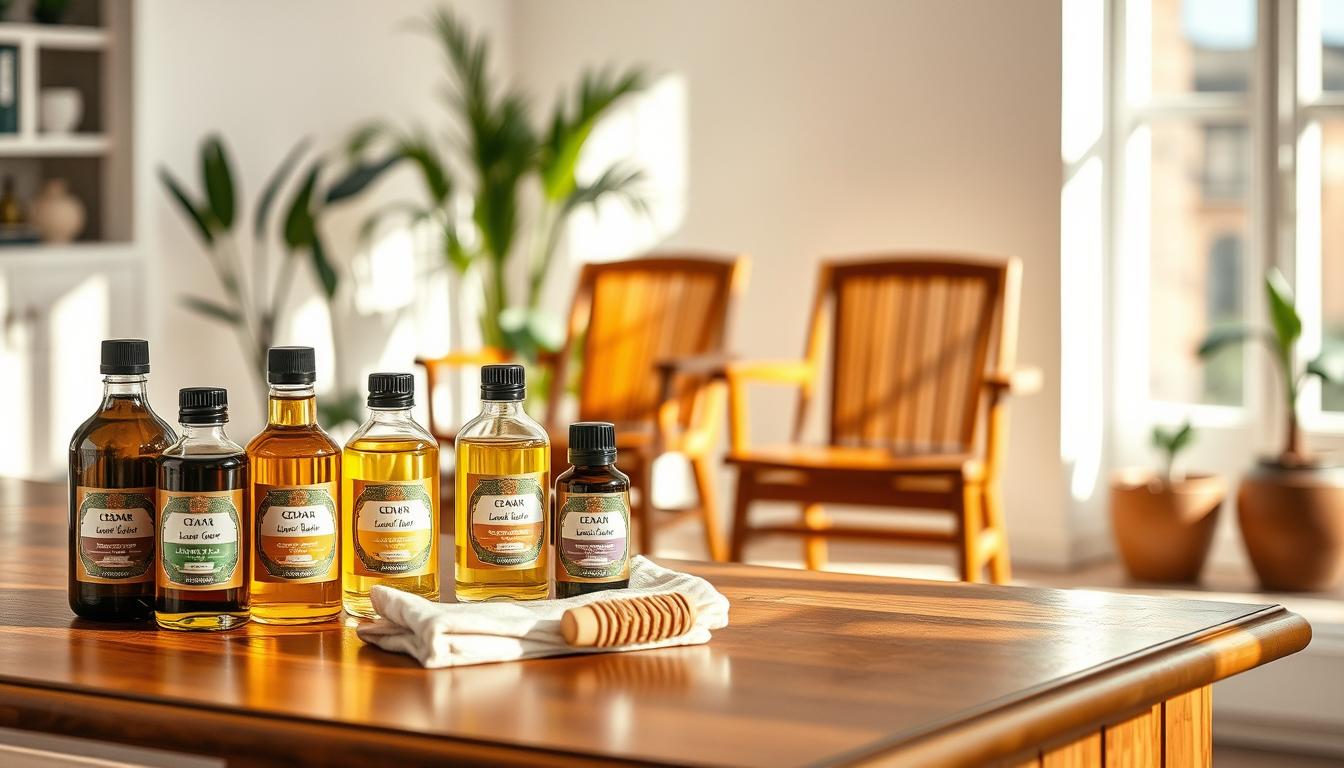
Tools and Materials You’ll Want on Hand for Safe Results
Gathering the right tools before you begin saves time and prevents accidental damage. Start with soft, lint-free materials and a clear plan so you don’t reach for something too abrasive near the wood.
Soft cloths and gentle scrubbers that won’t burnish the surface
Choose chamois, soft cotton, or lintless jewelry cloths to remove tarnish and buff shine without flattening detail. These cloths protect surfaces and keep fine patterns crisp.

When a toothbrush helps more than a paper towel
A soft toothbrush gets into crevices around screw heads, hinge barrels, and knurled edges where wiping fails. Avoid paper towels on detailed pieces; they can burnish and dull contrast.
How to use fine steel wool without leaving rust-prone fibers behind
Reserve #0000 steel wool for stubborn spots only. Work gently, then rinse and wipe thoroughly to remove stray fibers that could later rust. Pair steel with a final wax to protect the finish.
Cleaning products to consider
- Plain mild soap and water for a first pass.
- Bar Keepers Friend made into a paste for targeted work.
- Soft non-scratching pads and a toothbrush for crevices.
Gather these tools and materials ahead of time and follow a simple workflow: dust, mild wash, spot treatment, then buff and protect. That reduces risk to both metal and wood.
Cleaning antique hardware Without Damaging Surrounding Wood
Start by planning how you’ll keep wood dry while you treat metal fittings.
Whenever you can, remove knobs and hinges so you can work on the piece off the cabinet or furniture. Keep each screw with its matching part so reassembly is exact and you avoid stripped holes in older joinery.
When removal isn’t possible, mask the surface and shield the area from drips or paste smears. Use painter’s tape and thin cardboard to create a barrier between the metal and the finish.
Control moisture by using a barely damp cloth rather than soaking the surface. Wet baths can disturb patina or cloud lacquer, so avoid flooding the area.
Choose a “clean and buff” process on detailed pieces. Use chamois, soft cotton, or lintless cloth to lift grime and brighten the look without erasing dark contrast in recesses.
- Avoid chemical strippers near wood; they splash and cause lasting damage.
- Skip aggressive polishing when a gentle buff will restore function and appearance.
- Handle painted pieces cautiously and plan safer paint-removal steps away from the furniture surface.
Step-by-Step Cleaning Methods for Knobs and Hinges
Work from least to most aggressive so you protect metal detail and the surrounding wood. Start with the gentlest options and progress only if grime or paint will not release.
Warm soap and water: Use a soft cloth dampened with warm water and a mild soap. Wipe the piece and use a toothbrush for crevices. Rinse with clean water and dry quickly so moisture does not sit on the metal.
Bar Keepers Friend paste: Mix a small amount of water into the powder to form a paste. Brush on, then let sit 15–30 seconds. Scrub gently with a soft pad or #0000 steel wool only if needed. Use a toothbrush for tight areas and rinse thoroughly.
Vinegar rinse and natural pastes: A quick vinegar dip helps remove residue, but never exceed 30 minutes to avoid stripping finish. For brass, try a lemon and baking soda paste or flour + salt + vinegar. For heavy tarnish, let pastes sit 30–60 minutes, then rinse and dry.
Heat and chelation options: For paint, a hot-water bath or a dedicated slow cooker with water and a little linseed-oil soap can loosen layers over a few hours. For rust, use a chelation soak like Metal Rescue and follow product directions until iron oxide releases. Work in batches so each piece and its screws stay together for reassembly.
- Always rinse with clean water after treatment.
- Keep soak times conservative when plating or lacquer is possible.
- Dry each piece promptly to prevent new rust or spots.
Drying, Protecting, and Restoring the Look You Want
Promptly drying each piece keeps finishes intact and stops flash rust. After any wet treatment, dry immediately with a soft cloth and use compressed air for hinge barrels and screw holes.
Cast iron needs extra care. Once dry, coat it with a light sealer such as linseed oil to inhibit rust. For other metals, thin wax layers lock in the cleaned appearance without building up.
Protective options and maintenance
- Apply wax or microcrystalline polish in thin layers and buff to the desired shine.
- Use oil sealers on ferrous pieces; avoid heavy films that attract dust.
- Decide if you want a bright gloss or a softer period-correct look and plan maintenance accordingly.
When to get professional help
If plating is worn through or heavy corrosion remains, consider a pro. Specialists can use gentle glass bead techniques and replate pieces to match the original finish.
Pro tip: Bag each piece with its screws and include a written parts list before sending anything out. That way your set returns complete and ready to reinstall.
Conclusion
The safest results come when you choose the right method for each metal and finish.
Work in stages: assess the piece, pick gentle tools, shield the wood, treat spots, rinse, and dry promptly. Test a small area first and scale up only if the result matches your goal.
Preserving patina often keeps the original look of your furniture and reduces maintenance time. Avoid long vinegar soaks, harsh chemical strippers near finishes, and over-polishing that removes metal and detail.
When in doubt, opt for mild approaches like warm soap, brief chelation soaks, or a slow-cooker bath for painted layers. These techniques protect both metal and wood for many years.
Takeaway: match method to metal, protect the surrounding wood, and you’ll keep your hardware functional and your furniture looking right.