You want consistent, pro-level results when you care for wood. This short guide shows a simple, repeatable process that mirrors what restorers use. It explains how a protective product works and why thin, even coats beat heavy layers.
You will follow clear steps for surface prep, timed application, and clean removal. Use thin coats, work in shade or cool conditions, and set short time windows to avoid streaks. These steps help control set, haze, and flash so you avoid sticky buildup.
Expect even finish, steady shine, and thin protection that resists dust and moisture. The approach saves time and keeps each piece consistent from start to finish. Read on for the full step-by-step process and tool tips that make the results repeatable.
Key takeaways: 1) Thin, even coats give better results than heavy application. 2) Prep and timing control the final finish and shine. 3) A proper workflow protects the surface and reduces cleanup.
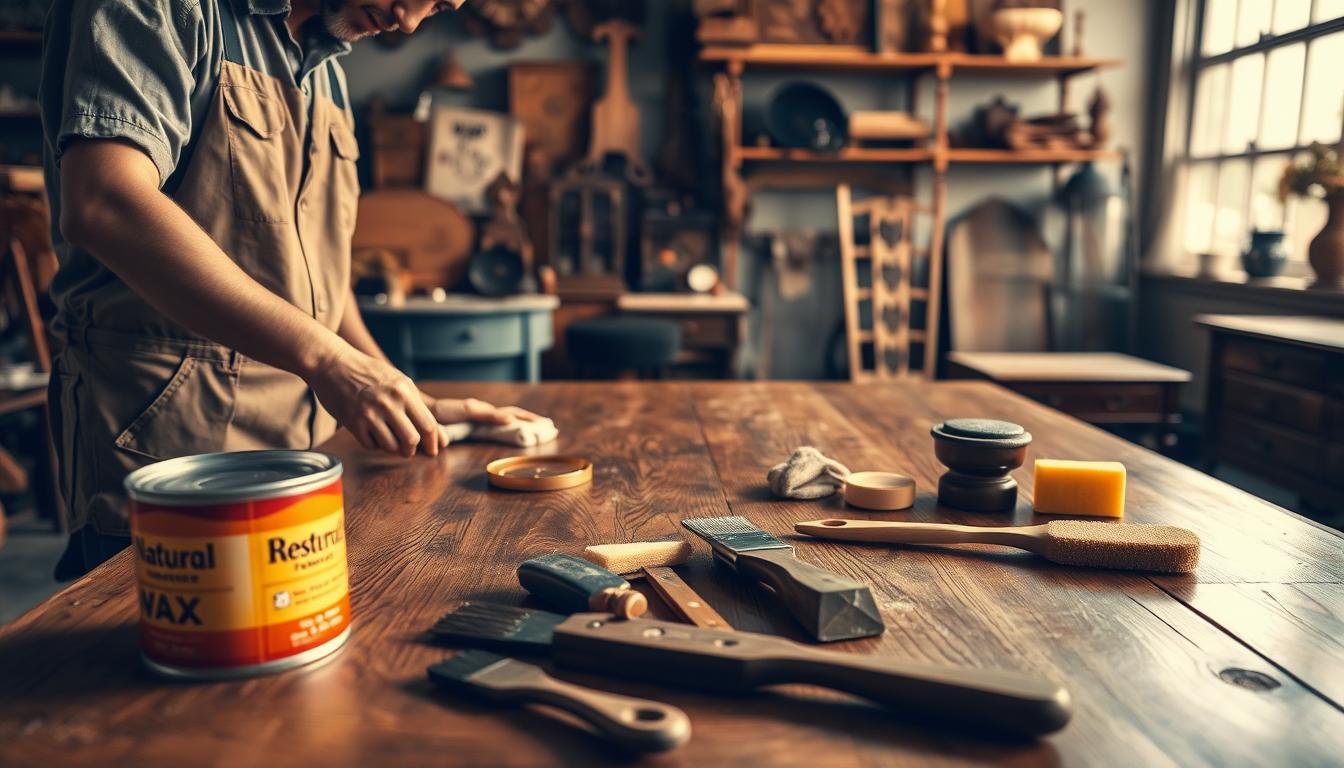
Tools and materials that make waxing look professional
The right tools make the difference between a home job and a professional finish. Pick an applicator and cloth that match the size and detail of the piece you’re working on. Small changes in gear change how thin and even the application goes.

Choosing the right applicator
Choose between a foam pad and a microfiber applicator based on control. A foam pad lays product down thinner and more uniform. A microfiber applicator holds more product and needs discipline to keep coats thin.
Microfiber towel essentials for a swirl-free finish
Stock several clean microfiber towels and rotate them. A saturated towel redeposits residue and dulls the finish instead of polishing it.
Prioritize soft, plush edges to reduce micro-marring. Replace towels that show grit or loose fibers.
Optional machines: when an orbital polisher helps more than it hurts
An orbital machine can speed even spreading on broad, flat areas. Use a very soft finishing pad — not a cutting pad — so the pad spreads product rather than scrubbing the surface.
Keep a simple kit: a foam pad, a microfiber applicator, several towels, and one soft finishing pad for the machine. This way you avoid improvising mid-job and maintain consistent application and removal.
- Tip: For delicate profiles, prefer hand work to prevent overworking.
- Tip: Match pad softness to the finish to avoid marring under angled light.
- Tip: Clean or replace towels often to keep the finish clear and even.
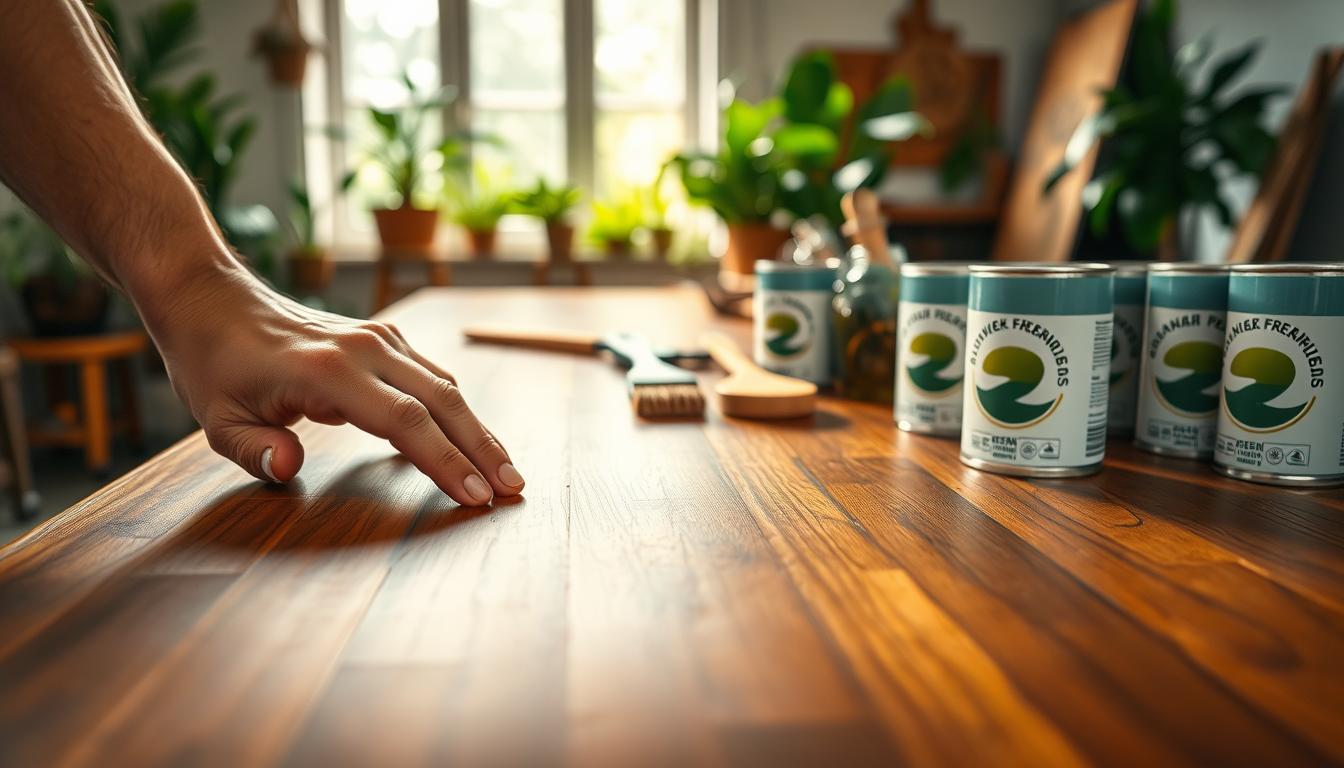
Set yourself up for success with the right conditions
Set up a controlled workspace so your finish behaves the same way every time. Work out of direct sun and away from heat so the product does not set too fast and leave stuck-on residue. A cool-to-the-touch surface gives you more time to work and reduces streak risk.
Why shade and a cool surface prevent streaks and stuck-on residue
When the surface is warm, the product flashes quickly and becomes hard to remove. That shortens your working time and increases smear and haze.
Keep the temperature steady and you’ll get cleaner removal and more consistent results.

How dust, airborne contaminants, and humidity affect your finish
Control dust by cleaning the area first and minimizing airflow that stirs particles onto the finish as it cures. Small dirt specks and airborne contamination will show up as defects later.
Humidity and even a bit of water vapor can slow flashing and cause hazing. Use raking light to spot high spots and film before it cures. Treat environment control as part of the method—not an optional extra.
- Work out of direct sun and away from heat sources.
- Aim for a cool surface to extend your working time.
- Reduce airflow and clean dust to avoid contaminants settling.
- Watch humidity; moisture changes how the finish flashes and removes.
- Use angled light to inspect for film and uneven gloss early.
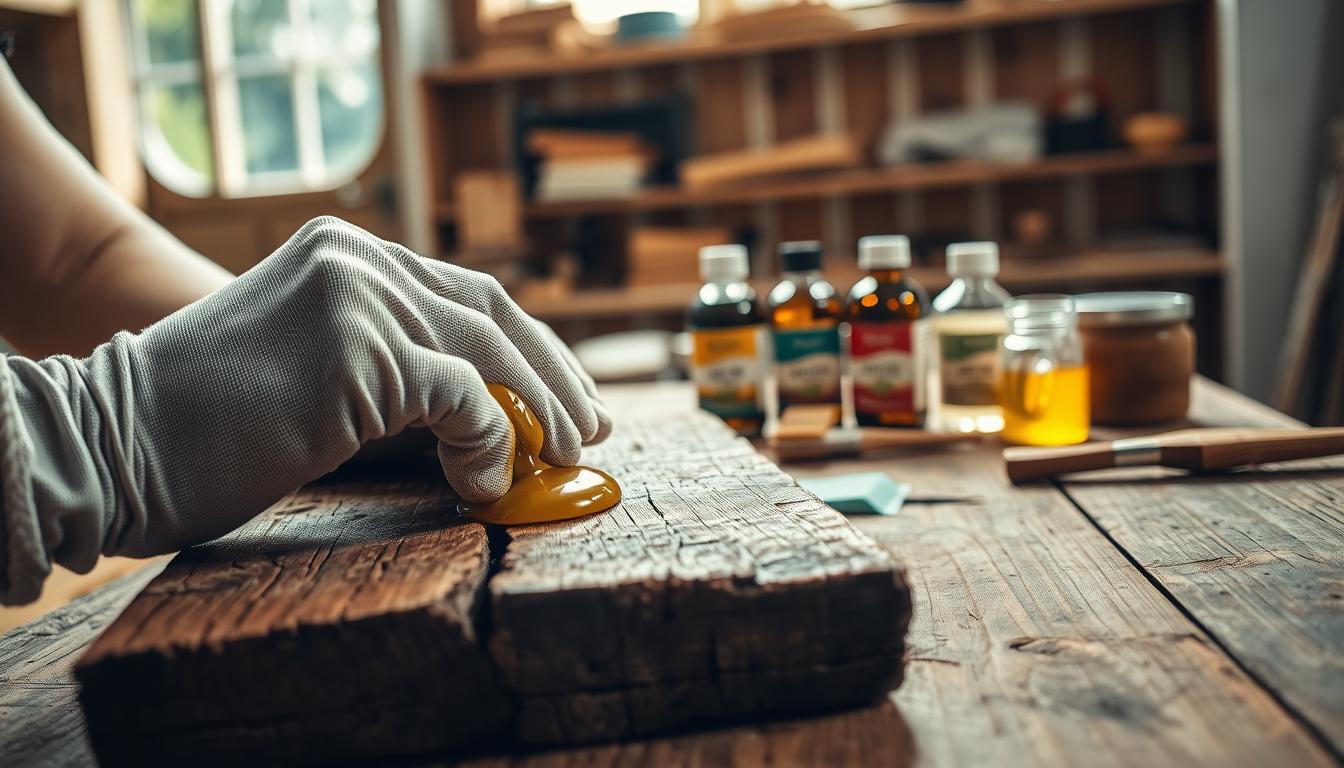
Surface prep that lets wax bond evenly
Start prep by creating a clean, stable surface so the finish bonds, not slips. Clean work up front prevents dragging grit and stops contamination from being sealed under the new layer. Proper prep is the step that most shapes final results.
Remove dirt, dust, and grime before you apply product
Begin with a light wash to lift loose dirt and dust. Rinse with clean water and dry fully so you don’t trap moisture under the next layer.
Decontaminate: tackle sap, grease, and old residue
Use a gentle solvent or a dedicated cleaner to remove bonded contaminants and old residue. These spots cause the product to skip or clump instead of spreading smooth.
Address defects first: light scratches, haze, and dull spots
Correct visible defects before you add protection. Small scratches and haze show up more after polishing and will remain if you skip correction.
Final wipe-down and dry time so the layer won’t smear
- Remove loose dirt and dust so you don’t create new scratches.
- Decontaminate sap, grease, or old residue for even spread.
- Fix light scratches and haze first; polish only as needed.
- Do a final wipe and let the surface dry to avoid streaks.
Choosing the right wax for the look and protection you want
Picking the right finishing product shapes the look and life of the piece. Match your goal—depth, durability, or fast upkeep—to the product type you choose. The right choice saves time and avoids sticky buildup later.
Paste: longer-lasting protection with more effort
Paste products give a deep, traditional feel and tend to last longer. Expect more application and buffing time, but a richer depth on display pieces.
Liquid: balanced speed and wet-look shine
Liquid formulas sit between paste and spray. They apply faster than paste and give a slightly wetter shine with moderate durability.
Spray: fastest for touch-ups and maintenance
Spray options are the quickest to apply. Use them for quick maintenance or high-touch items, not as the only long-term protection for prized pieces.
Carnauba vs synthetic/hybrid formulas
Carnauba adds warmth and depth. Synthetics and hybrids and sealants focus on durability and weather resistance. Hybrids aim to balance both looks and longevity.
- Pick paste for maximum depth; choose liquid for a balanced workflow.
- Use spray for fast touch-ups, not long-term sealing.
- Plan your coat and layer approach to match the product — some formulas resist over-application.
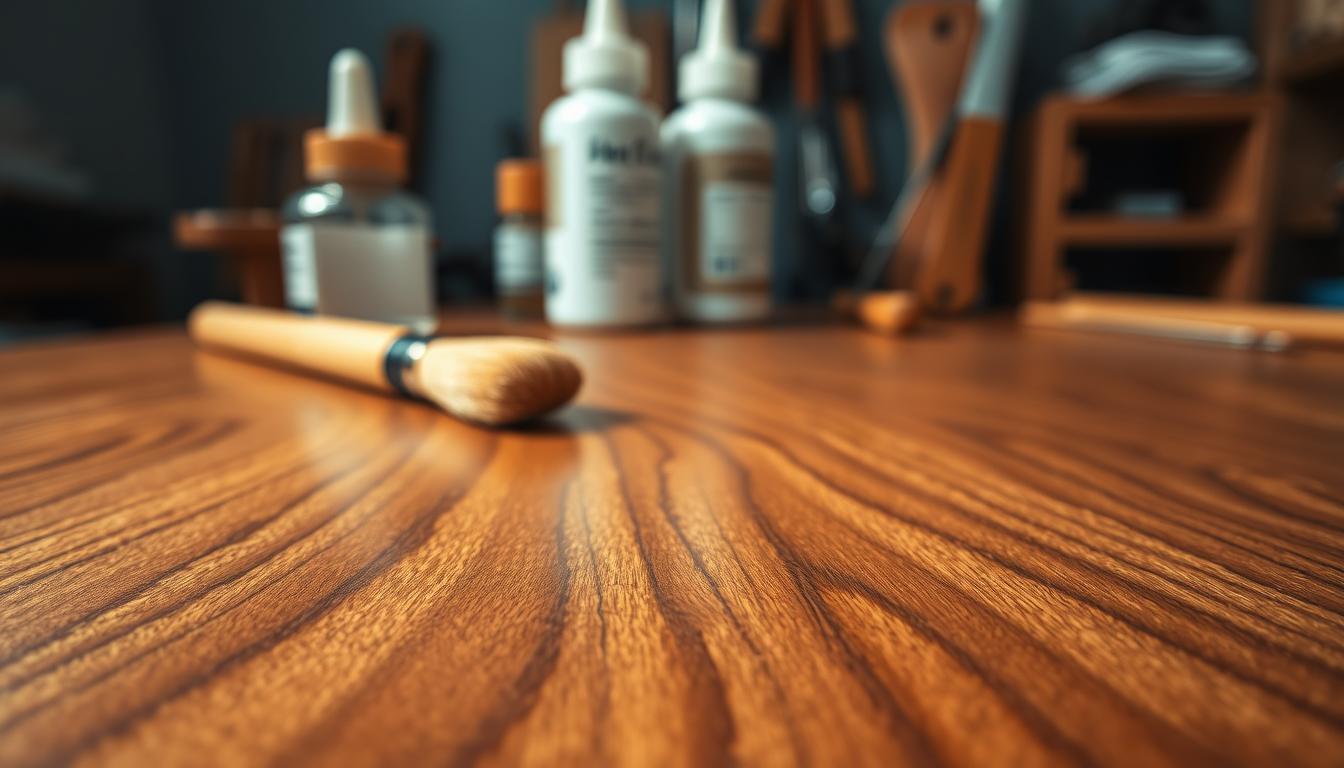
Buffing wax techniques that deliver a flawless finish
The final wipe defines the look: watch the surface and remove product at the right moment to avoid haze or flash. Thin, even layers are easier to lift and give steadier results than heavy coats that trap residue.
Apply thin, even layers for better results than thick coats
Keep each layer thin. A thin layer protects as well as a thick one but comes off cleanly.
Thick buildup wastes time and can leave stubborn residue that dulls the finish.
Haze vs flash: timing your buff so wax removes cleanly
Read the surface. Haze looks chalky and needs more time before removal.
Flash is a quick, iridescent shift on thinner products. When you see flash, start your buff pass.
Use light pressure and let the towel do the work
Apply very light pressure so the microfiber lifts product rather than grinds it. Heavy pressure creates swirls and uneven gloss.
Switch towels and sides often to avoid re-depositing residue
Flip or change your towel when it loads. A dirty towel redeposits product and makes streaks.
Rotate clean microfiber towels section by section for predictable time and consistent results.
Long, smooth strokes to reduce swirl marks and uneven gloss
Use long, straight strokes and avoid tight circles. This preserves uniform shine in reflected light.
Work small areas and repeat the same motion across the piece so curing time stays consistent and your finish stays flawless.
- Apply thin layers; avoid excess product.
- Time removal by watching for haze or flash.
- Buff with light pressure using clean microfiber towels.
- Use long, smooth strokes and change towel sides often.
How to apply wax by hand without overworking the surface
Work in tight, controlled zones so each area cures the same way and you avoid uneven gloss. Hand application is a careful, deliberate method that gives you control over cure time and final finish.
Work small sections for consistent cure time and even coverage
You’ll apply wax by hand in small sections so cure time stays consistent and you don’t end up with one area over-dried while another is still wet. Pick an area roughly the size of a small placemat and finish it before moving on.
Best motion for application: controlled passes vs aggressive circles
Load your pad lightly — a little goes far. Use controlled, overlapping passes rather than aggressive circles to reduce swirl marks and keep sheen uniform.
How to spot missed spots, high spots, and leftover film
Inspect from multiple angles under a light. Shift your viewing angle to find high spots or thin coverage. Feel for tacky areas that mean leftover film and address them right away.
- Spread a thin coat with a light-loaded pad.
- Wait for the correct haze or flash time.
- Remove gently and do a final clean buff with a fresh cloth.
- If you see a stubborn patch, re-emulsify it with a tiny amount of product and a clean towel instead of scrubbing hard.
- Check edges and tight spots carefully to avoid buildup in crevices.
How to apply wax with a buffer for speed and consistency
A light, controlled machine pass speeds the job without risking heat or swirl marks. Use the buffer to spread product evenly, then finish by removing haze at the right time.
Why orbital buffers are safer than rotary tools
Choose an orbital buffer because it builds far less heat than a rotary. That reduced heat lowers the risk of burning the surface or creating visible swirl marks on a vehicle or car finish.
Pad selection and seasoning
Select very soft, clean finishing pads only. Season a new pad by working a thin film into the face first.
Use just 3–4 pea-sized drops of product per pad to avoid sling and overload.
Speed, pressure, movement, and removal
Run low speed and keep the tool gliding with minimal pressure. Work in small 2′ x 2′ sections so cure time stays consistent.
- Pressure: let the pad do the spreading, not your hand.
- Movement: steady passes, avoid stopping in one spot.
- Removal: wipe with a clean microfiber towel for most liquids; for some paste car waxes, you can buff off mechanically after hazing.
Getting the coat right: layers, cure time, and when to reapply
A smart layering strategy prevents buildup and keeps maintenance simple over time. Only a limited amount of product will adhere to the surface, so piling on more coats rarely improves protection. Multiple coats often sit loosely and can trap residue instead of bonding.
Why “more is not more” with layers
Keep each coat thin and intentional. Thin layers give steady results and remove cleanly. Thick buildup risks haze and uneven gloss.
How long protection typically lasts and what changes it
Longevity depends on formula and exposure. Heat, frequent cleaning, and sunlight shorten the time between maintenance. Expect different waxes to last weeks to months, not forever.
Signs it’s time to apply another coat
- Surface feels less slick to the touch.
- Water beads poorly or forms sheets instead of droplets.
- Reflections look dull and the finish loses depth.
Tip: Reapply light layers as routine upkeep. Treat cure time as quality control: remove too soon and you smear; wait too long and removal gets harder. Follow this guide’s process to keep protection consistent.
Details that separate amateurs from pros
Small details decide whether a finish reads amateur or expert. Treat edges, carvings, and seams as high-risk zones; residue loves to pack in and dry white if you flood crevices.
Edges, carvings, and tight areas: preventing buildup in crevices
Use less product on detailing areas. Swap to a small applicator so you place product precisely instead of flooding tight profiles.
Work in short steps and inspect as you go. Clean these spots first to avoid trapping contaminants that cause contamination later.
Preventing and removing residue on adjacent trim or non-finished areas
Mask or “cut in” around mixed-material trim to protect adjacent surfaces. Follow product instructions and the method for safe coverage.
If stray residue appears, act quickly. Apply a targeted restorer or cleaner, allow a short dwell, then wipe gently with a clean microfiber.
- Final pass: do an inspection for details under raking light.
- Keep control: small applicator, minimal product, steady steps.
- Result: cleaner finish and stronger shine on the car or vehicle surfaces you care for.
Common waxing mistakes that cause haze, streaks, and wasted effort
A few predictable mistakes account for most streaks, haze, and wasted effort. Watch the following items as a quick troubleshooting checklist so your application and removal deliver clean results every time.
Avoid working in direct sun or on a warm surface
Direct sun and warm surfaces speed drying and shorten the time you have to remove product. That fast flash often leaves uneven film and visible haze.
Don’t use too much product
Thick application does not add protection. Heavy buildup becomes hard to lift and creates streaks during removal. Use thin layers and repeat if needed for better results.
Prep every surface to prevent sealed contamination
Skipping prep seals dirt and dust into the finish. That trapped contamination feels gritty and shows under reflected light. Clean and decontaminate before you apply.
Keep towels and pads clean
Dirty towels and pads carry grit that causes fine scratches. Use dedicated microfiber towels and fresh pad faces for final passes to protect the surface.
Work in small sections to control timing
Trying to cover too large an area makes you lose track of haze time. Work zone by zone so you remove product at the right time and avoid patchy results.
- Tip: If the finish looks cloudy or smeary, run through this checklist before reworking the piece.
- Tip: Treat each step as part of the process — prep, thin application, clean tools, and controlled time keep results consistent.
Conclusion
Conclusion
This short guide gives you repeatable steps to protect painted surfaces and car bodies. Prep well, apply thin coats, watch set and haze, and remove gently for clean, consistent results.
You’ll choose hand work when you need precision and a machine when you want speed across a large panel. For car paint and other finishes, low pressure, clean microfiber, and cool conditions keep the surface safe and the shine steady.
Use a proper product, keep regular upkeep, and treat polishing as correction first so the final layer focuses on protection and shine. Follow this process and your results will stay predictable from one vehicle or piece to the next.