Natural beeswax offers a simple, non-toxic way to refresh and protect your wood surfaces at home. It forms a thin, water-repellent shield that keeps dust and light moisture out while enhancing grain with a warm, soft shine.
You should expect a satin finish rather than a plastic film. This method is ideal when you want routine maintenance and a cozy look, not a thick coating.
Sealing here means adding a dust- and water-resistant layer that reduces everyday wear and improves feel and appearance. Key choices include a food-safe or non-food-safe blend, the right wax match to the surface, and an oil that won’t spoil.
At a glance: prep the surface, apply a small amount, let it set, then buff to a clean sheen. The biggest success factor is using less product than you think and buffing well to avoid a greasy finish.
This guide is written for homeowners, renters, and DIYers who want to treat tables, trim, and small furnishings safely and simply.
Why Natural Beeswax Works as a Protective Wood Finish
A thin wax layer gives wood a simple, reliable shield against everyday moisture and dust. It beads light spills and slows dust buildup so routine handling causes less visible wear.
Water-repellent protection
The wax surface repels small amounts of water and keeps moisture from sitting on the grain. That reduces the chance of stains and helps surfaces stay cleaner between treatments.
Locks in moisture
When you apply a natural wax, it penetrates tiny pores and helps hold internal moisture in place. This conditioning effect supports stability and can cut down on seasonal drying and cracking.
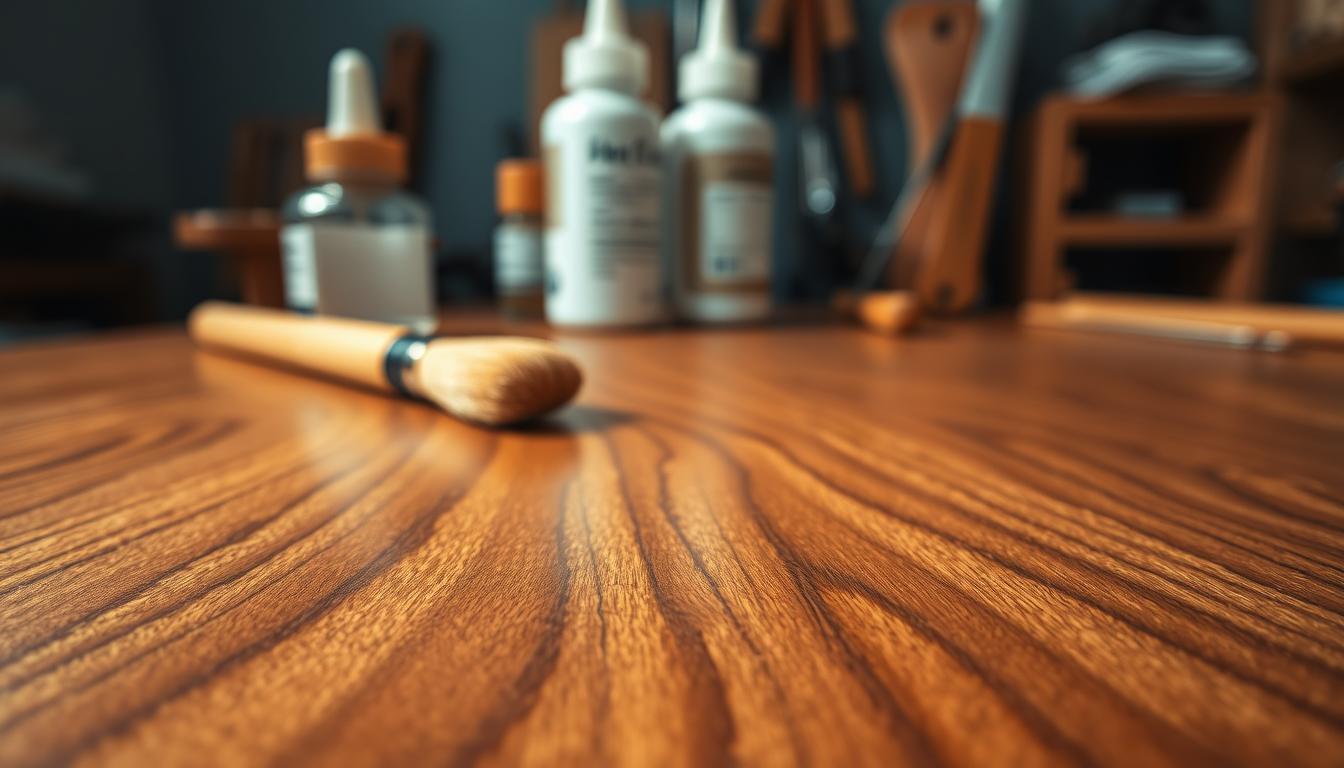
Look and feel
Expect a warmer tone and a soft, tactile sheen that highlights grain detail without a plastic shine. The finish looks natural and emphasizes the beauty of the surface.
Non-toxic, eco-friendly choice
This option is biodegradable and renewable, and it avoids the heavier chemicals found in many conventional furniture polish products. That makes it an effective solution for low-impact maintenance.
- Practical protection: the wax layer takes light scuffs so the surface fares better.
- Maintenance scope: great for regular upkeep, not a substitute for hard-film varnishes used in heavy water exposure.
- Environmental benefit: a lower-impact route to preserving your home’s natural beauty.

Choosing the Right Beeswax Product for Your Surface and Use
Pick a formula that matches how you use the piece. A softer wood polish works well for frequent conditioning. A firmer furniture polish gives a buffed glow on tables, cabinets, and high-touch items.

Beeswax furniture polish vs. wood polish: what each is best at
Use a creamy blend when you want quick, regular maintenance. Choose a harder paste when you want longer protection and shine after buffing.
Food-safe vs. not food-safe
If a formula lists turpentine, treat it as not food-safe and keep it away from kitchen items. For cutting boards and bowls, pick a food-grade mix like a wax plus a stable edible oil or mineral oil.
Picking oils and vegan alternatives
To avoid rancid smells, prefer fractionated coconut oil or jojoba; mineral oil will not go rancid but is petroleum-derived. If you want a beeswax-free solution, try candelilla, rice bran, coconut wax, or carnauba for a similar protective finish.
- Match texture: creamier blends = touch-ups; firmer blends = durable shine.
- Scent & family: essential oils add aroma; turpentine adds a strong woodsy odor—consider household comfort.
Beeswax for wood care: Best Uses Around Your Home
A light wax finish is ideal for restoring the warmth and feel of indoor furniture that sees daily use. It revives dull grain, smooths the touch, and helps reduce tiny scuffs so pieces look cared-for without a glossy film.
Wood furniture and high-touch surfaces
Use a soft paste on dining tables, coffee tables, end tables, and cabinet fronts. These high-contact spots benefit most because a small layer hides handling marks and keeps dust from settling into pores.
Kitchen wood care
For cutting boards, salad bowls, and wooden spoons, pick a food-safe mix—typically a wax blended with mineral oil. Apply, let it soak, then wipe and buff to remove excess; this is especially handy in winter when air dries out hardwood.
When to choose another finish
If a surface faces standing water, outdoor exposure, or high heat, a hard film finish (varnish or marine oil) is a better long-term seal. For routine upkeep and easy touch-ups, beeswax polish is a great fit; for heavy-duty protection, choose a different product.
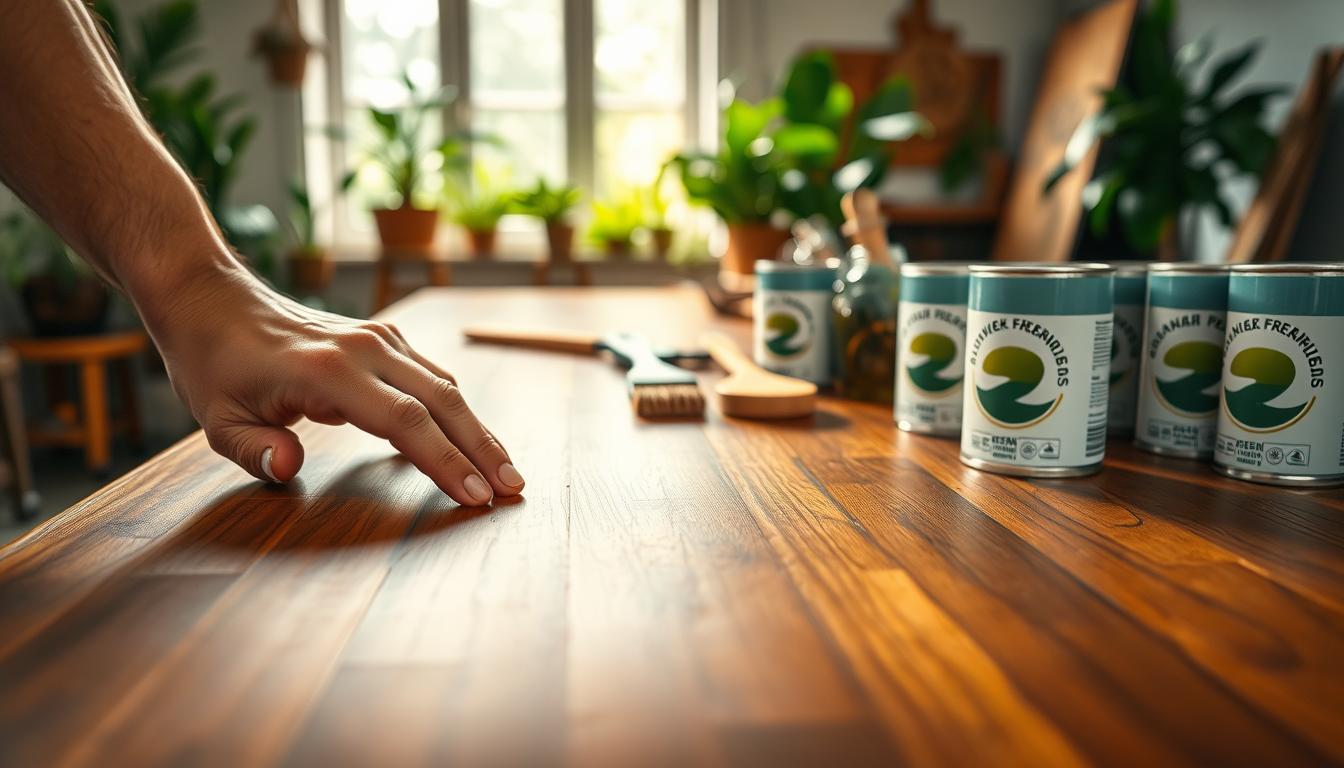
Tools and Materials You’ll Want Before You Start
Before you begin, collect a modest kit that keeps the finish neat and consistent. A few items cut prep time and help you avoid heavy-handed application.
Cloths, buffing rags, and why less works
Use two clean cloths: one to apply and one to buff. A small amount of product goes a long way; it spreads thin and makes buffing easy.
Tip: soft cotton or microfiber works best for buffing. Keep a separate rag to load polish so you don’t redeposit residue.
Optional ingredients, scents, and kitchen safety
If you mix or buy blends, choose stable oils for conditioning and add essential oils sparingly for a light scent. Avoid solvent-based blends such as turpentine on anything that touches food.
Store your polish in a tin or glass jar with a tight lid to keep dust out and extend shelf life. Ventilate enclosed spaces to protect your family when strong scents are present.
- Two clean cloths (apply + buff)
- Paper towels for wiping excess on oilier blends
- Tin or glass container with tight lid
How to Apply Beeswax to Seal and Polish Wood
Start by clearing dust and old residues so the finish bonds evenly and looks natural. Wipe the surface with a clean, dry cloth. If grime remains, use a mild cleaner, then let the piece dry completely.
Test an inconspicuous spot to confirm the sheen and color change before treating larger surfaces.
Prep the surface so wax can bond and penetrate the grain
Remove dust, oils, and old polish. A clean, dry surface lets the product reach pores and prevents trapped dirt from dulling the finish.
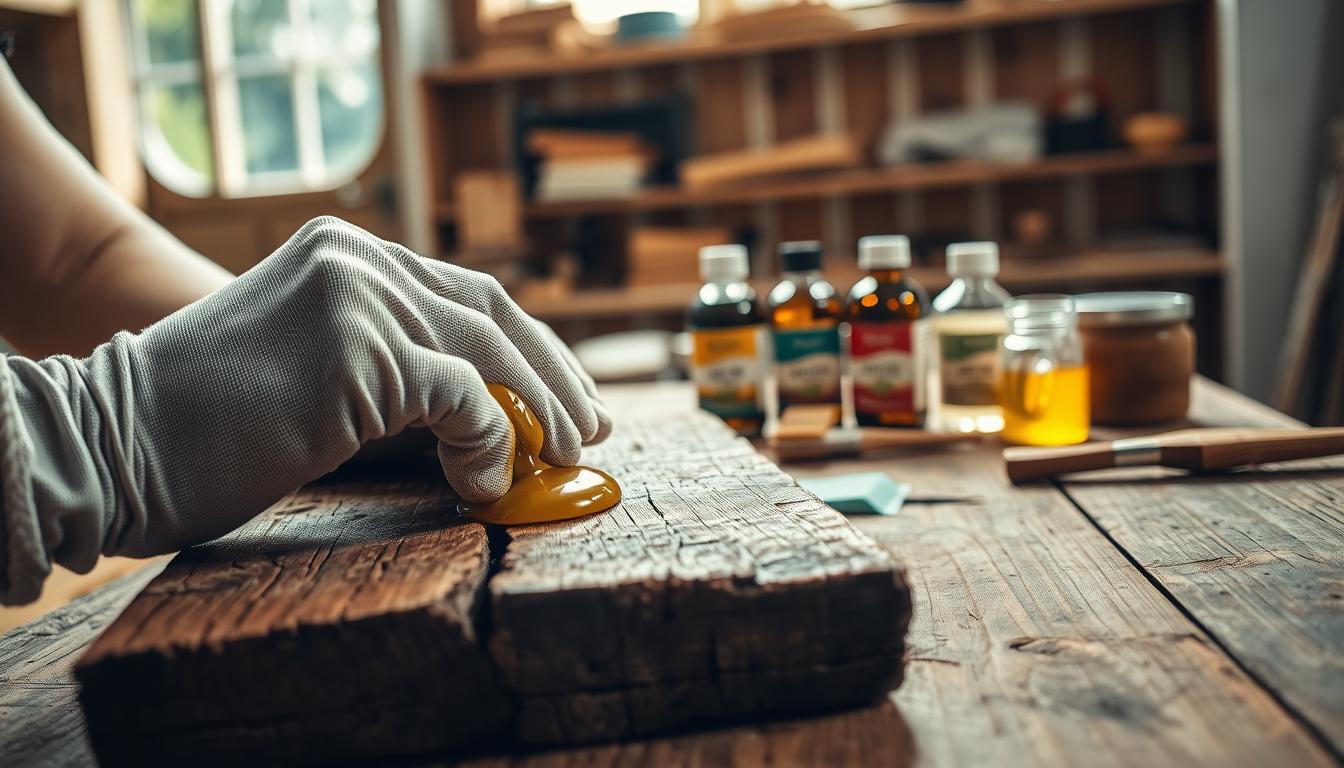
Application method: rub in a small amount in the direction of the wood grain
Load a small amount onto a soft cloth and rub with the grain. Work a few square feet at a time so the layer spreads evenly.
Set time: letting the wax soak in before buffing
Allow the wax to sit for several minutes—longer on dry pieces—so it sinks into pores and conditions the surface.
Buffing technique to bring out shine without a greasy finish
Use a clean cloth and brisk circular motions to buff. Stop when the surface feels smooth and not tacky to the touch to avoid a greasy film.
Layering and touch-ups for more protection on frequently used furniture
For high-wear items like tables and cabinets, apply a second light coat after the first has been buffed. Spot-treat scuffed areas between full applications to keep maintenance quick.
- Tip: food-safe blends (wax plus mineral oil) can be used on kitchen pieces; apply, wipe excess, then buff.
- Tip: always work in small sections and use two cloths—one to apply, one to buff.
Maintenance Tips to Keep Your Beeswax Finish Looking Great
A little regular attention makes your finish last longer and look fresher. Follow simple steps so you can keep surfaces attractive without heavy sanding or stripping.
How often to reapply based on use and season
High-touch furniture (tables, chair arms, cabinet fronts) typically needs a refresh every 3–6 months. Decorative pieces can wait about six months to a year.
In dry winter months, check more often: cold, dry air can dull and dry a finish faster. In humid seasons you may lengthen the interval.
Quick refresh method for dull or dry surfaces
Wipe the surface with a clean, dry cloth to remove dust. Apply a very thin coat, let it sit a few minutes, then buff briskly until the shine returns.
If the finish feels sticky or hazy after buffing, you used too much product. Use less next time and buff longer with a fresh cloth.
Storage and care so your polish stays effective over time
Keep tins sealed, labeled (food-safe vs. non-food-safe), and stored away from heat and sunlight. Avoid mixes that smell off—oils can go rancid and spoil the product.
- Store in a cool, dark spot with the lid tight.
- Label products clearly and keep solvent blends out of children’s reach.
- When in doubt, test a small area before full application.
Goal: simple, repeatable maintenance that preserves shine and protection with minimal time and effort. This routine keeps your furniture polish effective and your home surfaces looking cared for.
Conclusion
A quick, mindful application protects surfaces while keeping their natural look intact.
Natural beeswax creates a thin, water‑resistant layer that improves durability and highlights grain on daily pieces. Match the product to the job: choose food‑safe blends for kitchen tools and non‑food mixes only on non-contact items.
Prep the surface, apply a light coat, let it set a few minutes, then buff thoroughly to avoid a greasy finish. Using less product and good buffing delivers the best shine and feel.
Maintenance is simple—refresh small areas as needed to keep items looking warm and well kept. Store polish in sealed tins or glass and label each jar so you always grab the right product.
Result: a practical, low‑chemical way to protect and beautify your wooden pieces while keeping upkeep easy.