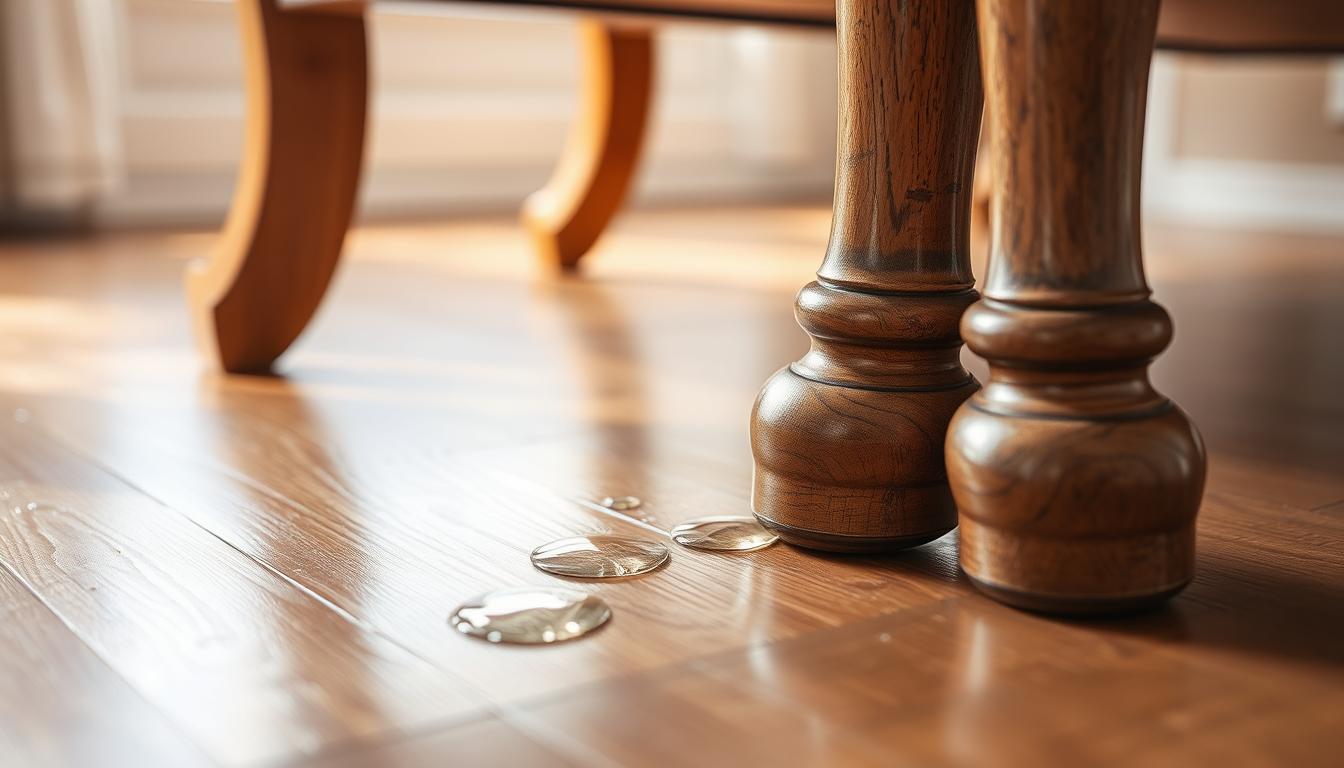
The base of furniture legs is where moisture and water collect first. That damp pocket is the most common spot for wood rot to begin, even when the rest of the piece looks fine. You can prevent serious damage by spotting risk early and treating the end grain correctly.
This short guide shows you how to identify risk, prep the surface, apply a moisture-blocking finish, and add simple barriers that lift the leg off damp floors. It applies to tables, chairs, cabinets and bed frames, especially in basements, entryways, near patio doors and kitchens.
Focus on controlling moisture in your home, not only adding a coat of finish. Good ventilation, tight seals, and proper pads or glides at the contact point give the best prevention and protection.
Follow the step-by-step workflow: inspect → dry and clean → sand → seal/paint the end grain → add pads/glides → monitor as part of routine maintenance. Small decay can often be stabilized with removal, hardener and epoxy, but sometimes replacement is safer to preserve the furniture’s life.
Why moisture attacks furniture legs first
Water collects low and slow, so the bottoms of legs see the most persistent damp. That steady contact gives mold spores the conditions they need to start work.

How damp conditions let fungus break down fibers
When spores land on slightly damp surfaces with enough air, they germinate. Thin threads of fungal growth push into the material and feed on the fibers, weakening the structure before you notice surface signs.
Why damage often starts near the ground and in low-airflow spots
Leg bottoms sit close to the ground where puddles, wet shoes, and mopping gather. Tight corners and under-furniture areas trap humid air, so drying slows and moisture lingers longer.
How repeated wetting over time harms structural integrity
Wet–dry cycles cause swelling and shrinking. Micro-cracks form in finishes and let moisture reach deeper with each event.
- Result: the load-bearing end softens.
- Consequence: joints may loosen, the piece can wobble or split.
Understanding this “why” helps you pick the right barrier, finish, and placement changes for your specific areas.
Wood rot basics you need to know before you start
Learn the biological causes of decay so your fixes target the real problem, not just the surface.

What it is: Wood rot is a biological decay caused by fungi that digest cellulose and lignin. This is not simply old or worn material — the fungi change the internal structure and weaken load-bearing parts.
How fungi feed and what that means
Fungi release enzymes that break down the structural sugars and polymers in the leg. When those compounds are eaten, the timber loses strength and can crumble under load.
Dry decay vs wet decay
Dry decay can start at about 20% moisture. It often leaves wood cracked and brittle with white growth or fruiting bodies.
Wet decay needs more water (often over 50%). It makes wood dark, soft, spongy, and gives a musty smell.
- Visual cues: fine cracking, brittleness, dark patches, unusual surface growth.
- Common causes: tracked-in rain, mopping, plant pots, and pet bowls that keep leg bottoms damp.
Key action: Interrupt the process — remove moisture sources, speed drying, and seal the vulnerable end grain. Once you understand these signs, you can inspect early and avoid major repairs.
Signs your furniture legs are already absorbing water
Begin with a quick visual and tactile check of all leg bottoms to spot early water entry. Tilt or lift the piece safely and inspect the lowest few inches of each leg and nearby boards for visible change.
Soft or spongy spots when pressed with a firm tool
Use a screwdriver or similar tool to press the end grain. If the tip sinks in or feels sponge-like, that suggests internal decay rather than a surface scuff.
Splitting, crumbling edges, and weakened corners
Look for flaking corners or edges that crumble under light pressure. These are structural issues that can spread once moisture enters the core.
Discoloration, black streaks, and gray patches on the surface
Dark streaks, gray patches, or local darkening often track where water sits. Stains usually mark the path of repeated wetting and growth of fungi.
Musty odor and paint bubbling, cracking, or peeling
A musty smell in low-airflow spots is a red flag for hidden decay. Also watch for paint that bubbles, cracks, or peels—this often signals moisture moving from inside the wood outward.
- Quick routine: flip or tilt safely, check all legs, test for soft spots, note discoloration and paint failure.
- Inspect neighbors: even one affected leg means the same floor conditions may affect the rest and nearby baseboards or boards.
Risk factors in your home that keep wood damp
Map the spots in your home where moisture and water repeatedly collect so you can stop problems early. Focus on entryways, basements, and areas near exterior doors or windows.
Leaks, drips, and poor drainage near the house
Small plumbing leaks, window condensation, wet mats, and slow drips are the most common indoor sources that keep furniture legs damp. Check under sinks and by doors after rain.
Stale air and poor ventilation
Poor ventilation traps humid air at floor level and slows drying. That condition gives fungi the environment they need over months and years.
When a dehumidifier helps
Use a dehumidifier if humidity stays high, your basement smells musty, or seasonal swings leave floors damp. Improvement looks like faster drying after spills and less visible moisture on lower structures.
- Repair roof and window leaks and keep gutters and drainage working to move rain away from the foundation.
- Map “wet zones” and treat them with more frequent checks, better pads, and quick spill cleanup.
- Remember: controlling moisture sources protects furniture and other wood structures such as trim and baseboards.
Key point:Even the best finish fails if you keep feeding the problem with ongoing leaks or trapped air. Address the source first, then protect the leg bottoms.
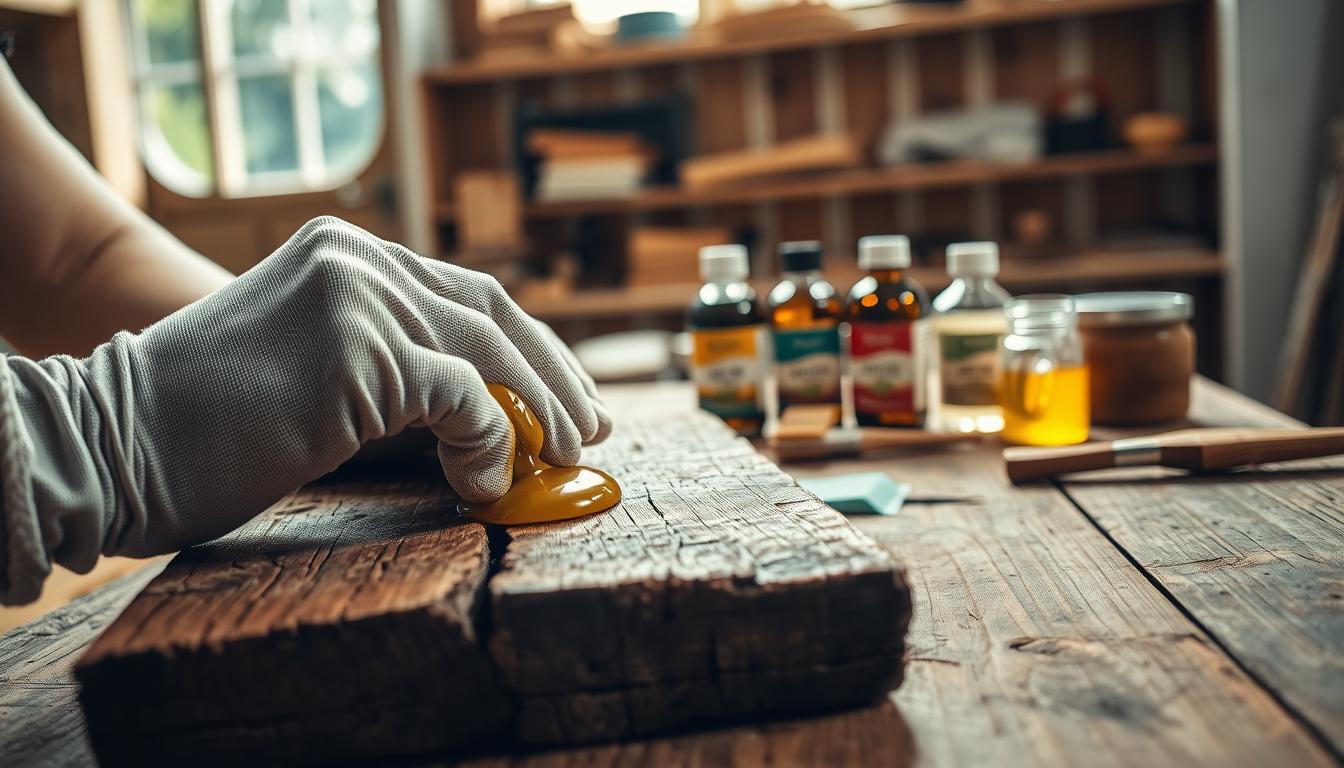
Preparing the legs for moisture protection
Begin by moving the piece to a dry, well-ventilated area so the leg ends can fully dry before you sand or coat them. Sealing damp material traps moisture and speeds damage.
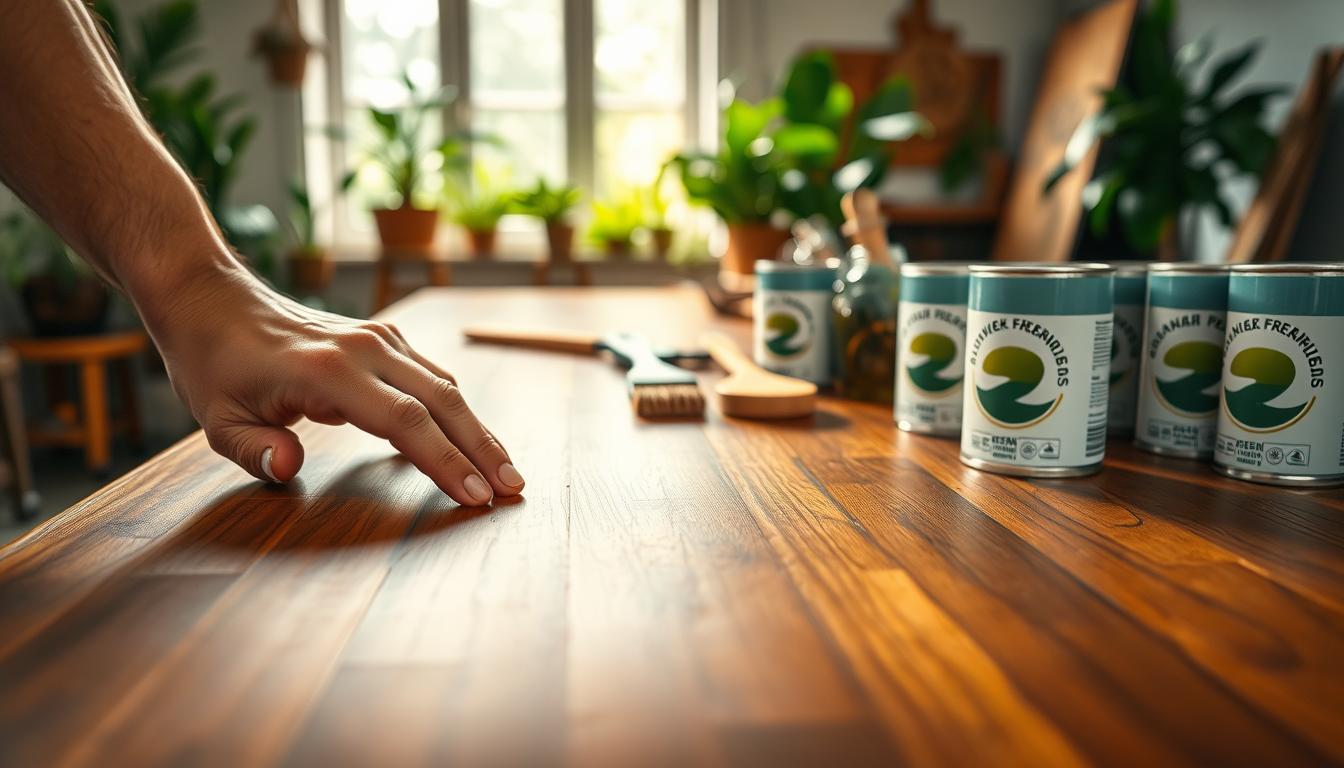
Cleaning and drying so moisture isn’t sealed in
Remove grime, old wax, and residue from the surface so new coatings bond. Wipe with a mild cleaner, then let the legs air in moving air until bone-dry.
Sanding and dust removal for better bonding
Scuff-sand glossy finishes and feather peeling edges. Smooth transitions help your topcoat seal evenly.
- Vacuum loose dust, then use a tack cloth to catch fine particles.
- Check the leg bottom and adjacent surface before priming.
- Sanding grit should match the existing finish for best adhesion.
Why the end grain needs extra attention
The cut bottom acts like a bundle of straws and pulls in moisture fast. Give the end extra coats and wrap edges carefully. If you find minor softening, remove punky material and make a small repair before finishing.
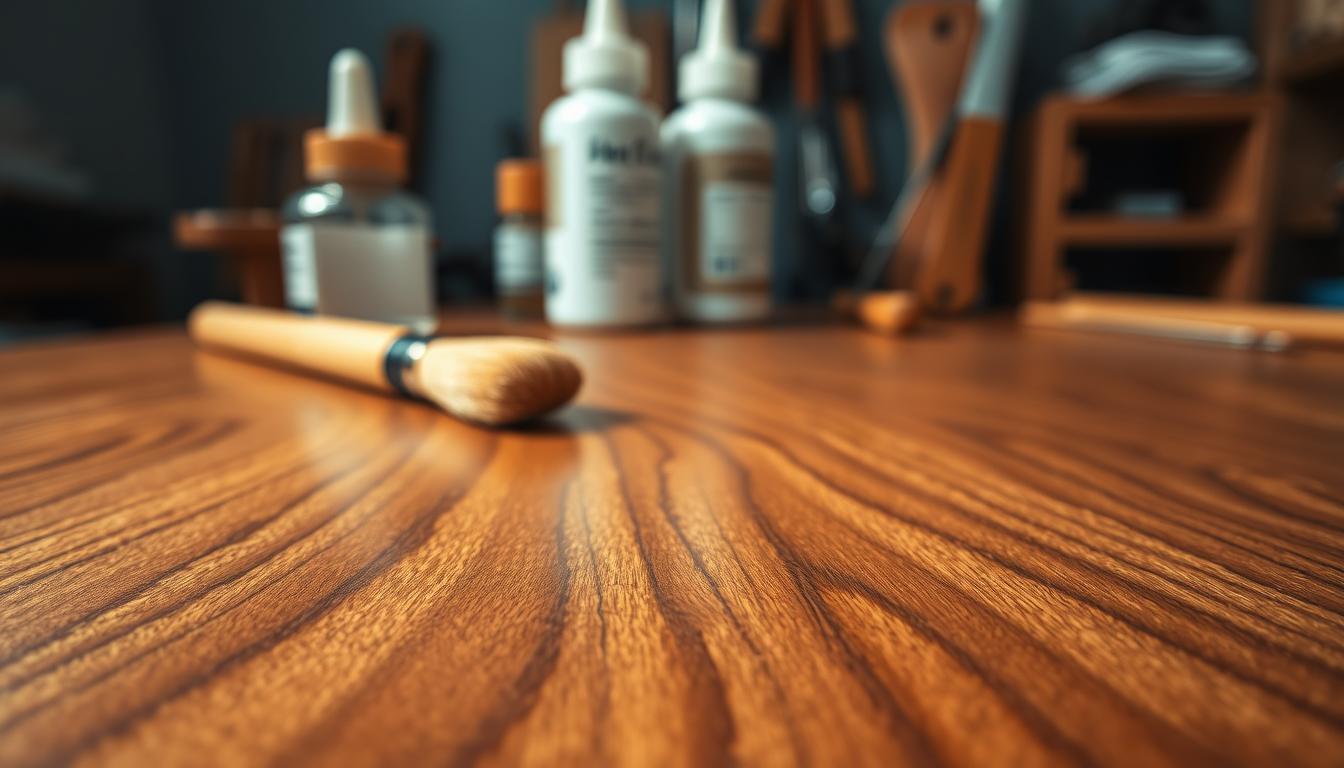
Seal, paint, or finish the bottoms to block water intrusion
Seal the cut ends of your furniture legs to create a reliable barrier against puddles and damp floors. The goal is to keep wood from absorbing moisture at the end grain and along the first inch up the leg.
Choosing a moisture barrier
Use paint for a thicker film, stain plus a clear topcoat for a natural look, or a transparent sealer when you want the grain visible. A clear primer/sealer (for example, Lifeline Prelude) followed by an acrylic topcoat or PCS Clear Shield gives strong protection.
Touch-up plan for cracked or peeling paint
Scrape loose paint, feather the edges, sand lightly, then prime before you repaint. This process prevents water from sneaking behind the film and causing more damage.
Application and curing basics
- Coat the entire bottom face and wrap the film slightly up the sides and edges.
- Pay attention to corners where pinholes often form.
- Allow full dry time; surface dry is not full cure—use moving air and avoid placing legs on a damp floor until cured.
Avoiding wood rot with physical barriers and better contact points
A simple physical gap between leg bottoms and damp floors often stops damage before coatings fail.
Keep the furniture off the ground and you reduce wet contact and trapped moisture. This small change gives air a chance to dry any spills and prevents fungi from finding steady wetness to grow.
Common quick options:
- Felt pads — easy for light chairs and tables; check them often for saturation.
- Rubber or silicone caps — great where water splashes or tracked-in water happens.
- Nail-on or screw-in glides — use for heavy pieces; they raise the contact point and allow smoother movement.
Match the solution to the floor. On tile or concrete, use rubber caps to block chilling moisture. On hardwood, felt plus a small plastic riser balances protection and finish safety. In basements or entryways, pair caps with dry mats and prompt cleanup.
Tip: Periodically lift legs to inspect pads and hardware. Replace any wet or compressed pads and keep this habit alongside coatings and drainage work to protect nearby wood structures in your home.
If you find damage, stop the rot and restore strength
Quick triage keeps a small problem from becoming a total failure. Secure or brace the piece so it won’t tip. Work on a stable bench or floor to protect yourself and the furniture.
Removing soft, decayed material
Use a chisel, sharp knife, or rotary tool to remove all spongy or crumbly material until you reach solid material. Leave no punky fibers behind; lingering decay lets rot continue under a patch.
Treating the remaining fibers
Apply a wood hardener or a fungicidal solution to the cleaned area. These products kill remaining fungi and consolidate weakened fibers so patches bond well.
Filling and rebuilding the bearing surface
For small voids, use epoxy or a resin-based filler. Shape the cure to restore a flat contact surface and correct the leg’s bearing point.
- Replacement threshold: if the damage climbs the leg or undermines structural integrity, replace the leg or the piece.
- Finish: sand smooth, prime if painting, then seal with stain or topcoat to block moisture.
- Prevent: fix the moisture source and improve contact points so the repair lasts.
Conclusion
Small, regular checks are the easiest way to stop slow damage before it weakens load-bearing legs.
Keep the best way simple: control moisture, stop water from lingering, and keep finishes intact at the cut ends. This prevention saves you time and avoids repeated repairs.
Use a short maintenance habit: inspect leg bottoms, touch up coatings when needed, and swap out worn pads or caps before they fail. Good drainage and steady ventilation reduce fungal growth near basements and doors.
Treat early signs right away so minor decay won’t become unstable legs or costly restoration. The core strategy is clear: barrier (sealant/finish) + separation (pads/caps) + environment (vent/ dehumidifier) working together.
With consistent care, you can extend the life of your wood pieces for years and keep rot from returning to the same spots.