Open-grain means you can see texture and tiny channels that trap dust and dirt. A soft brush lifts grime from those channels without harming the finish. You will work gently, not strip the coating.
Start with clear expectations: you are removing embedded buildup and sticky residue, not sanding or refinishing. Results vary by how much soil you have and the type of surface you own.
Core rules: use minimal water, work in small sections, brush with the grain, and dry immediately so water never stands on the wood. These steps protect finish and prevent swelling.
This guide walks you through identification, tool choice, prep, a brush-and-wipe method, spot fixes for stains and residue, and final protection. Common causes of re-soiling include heavy polish use, kitchen grease, and airborne dust, so technique matters more than harsh products.
Key takeaways: Gentle brushing frees trapped grime; always dry right away.
Know Your Wood Surface Before You Start
Knowing the exact type of surface helps you pick the right method and avoid mistakes. Identifying what you have prevents damage. Finished, unfinished, and laminated surfaces react differently to moisture and scrubbing. Choose your approach after a quick check.
Finished surfaces and why they’re easier to care for
Finished pieces have a sealed feel from varnish, lacquer, or polyurethane. That barrier makes routine maintenance safer because it resists water and most mild cleaners.
Unfinished or natural surfaces and how moisture affects the grain
Unsealed boards absorb water fast. Moisture can raise the grain and darken the timber, so use minimal liquid and very gentle agitation on these surfaces.
Laminated surfaces and why excess water can cause lifting
Laminates often show repeating patterns and a uniform texture. Water at edges or seams can seep in and cause bubbling or separation. Use a barely damp cloth and avoid soaking.
- Touch test: smooth and slick usually means sealed; textured means natural.
- Pattern check: repeating “grain” often signals laminate.
- Hidden-spot inspection: look under backs or bottoms for finish cues.
- Water-drop test: place a drop in an out-of-sight area — if it beads, the finish resists water; if it soaks in, go very light with moisture.
Tie identification to outcome: the right choice protects your furniture and other surfaces while still removing trapped grime without harm.

Tools and Products That Work for Open-Grain Wood Cleaning
A small, targeted toolkit makes tackling textured grain easier and safer. Use the right items and you’ll lift trapped dirt and dust without harming the finish.
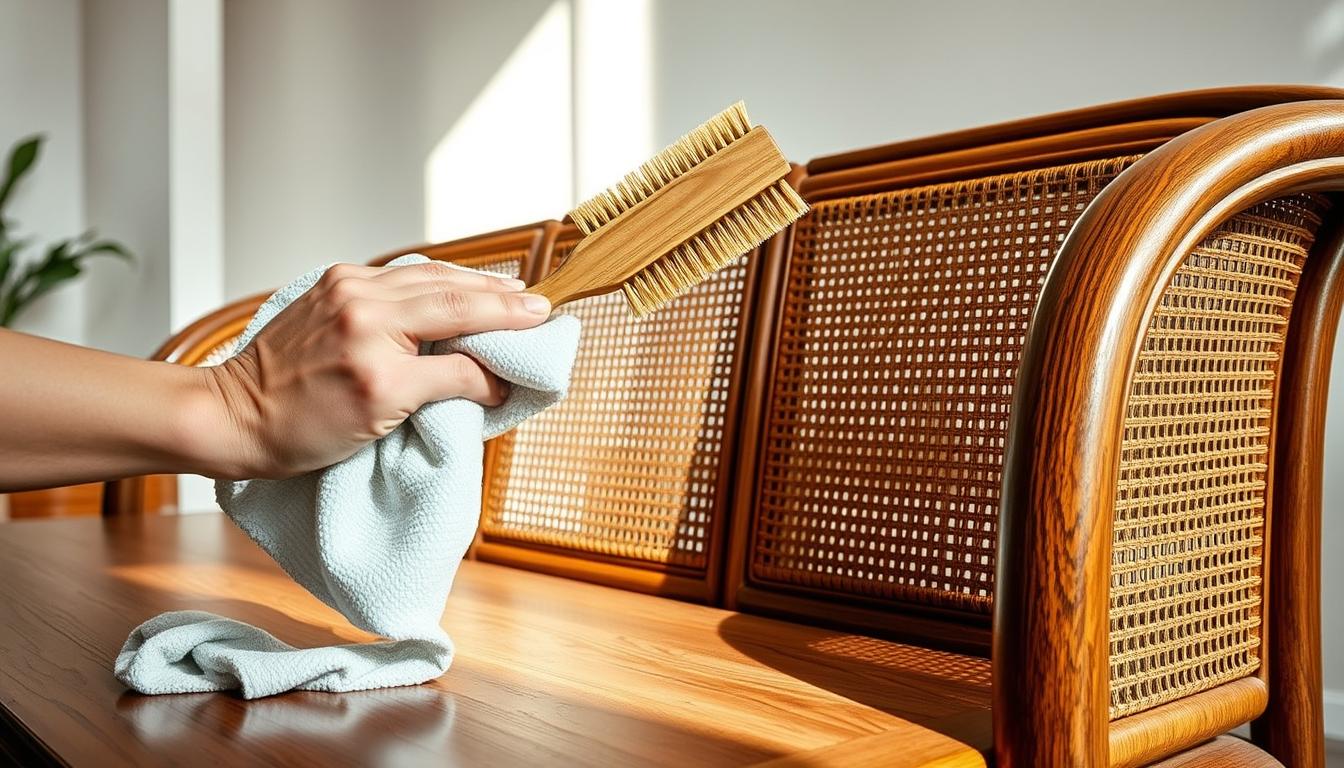
Soft brush basics for reaching textured grain without scratching
Pick a brush with soft, flexible bristles that flex into grooves. Ensure the head is clean and grit-free. Apply only gentle pressure so the bristles follow the grain, not abrade the surface.
Soft, lint-free cloths and dusting tools for prep and drying
Have at least three cloths: one for dusting, one damp for wiping, and one for final buffing. Microfiber or cotton terry that sheds no lint works best.
Mild dish soap + warm water solution for routine grime
Mix a few drops of mild dish soap into warm water until barely sudsy. This low-residue solution removes everyday grime and reduces film that can attract dust later.

- When to use mineral spirits: Reserve for stubborn dirt on finished surfaces only. Apply to a cloth—never pour—and work in a well-ventilated area.
- Choosing water-based cleaners: Look for products labeled for grease, grime, and polish buildup with clear directions and a good reputation for safety on modern and antique pieces.
- Avoid: abrasive pads, steel wool, bleach-based products, and overly oily polishes that attract dirt and complicate future maintenance.
Prep the Area for a Safer, Higher-Quality Clean
Begin by clearing the work area so nothing interferes with your process. Remove decor and fragile items so dust and dirt don’t spread during your work. Lay down towels or a drop cloth to protect adjacent surfaces in your home.
Start with a dry dusting routine. Use a soft cloth or brush to lift loose dust first. This prevents you from grinding debris into the surface and reduces the risk of scratches.
Test cleaners in a hidden spot and wait
Always try any product on an out-of-sight patch. Apply a small amount, let it dry, and wait up to 24 hours. Waiting matters because hazing or discoloration can appear over time.
Set up ventilation and splash protection
Open windows or run a fan, especially if you plan to use mineral spirits. Keep ignition sources away and work with care. Control water and solutions to avoid streaks and drips.
- Gather tools and products before you start to save time and keep quality consistent.
- Swap to clean cloths often and plan to dry each area immediately after you work on it.
- Use soft dusting techniques rather than aggressive scrubbing on older finishes.
Deep cleaning wood pores with a Soft Brush
Gather your brush, cloths, and a mild soap solution before you touch the surface. This keeps work efficient and prevents over-wetting areas that can swell or haze.
Mix the exact solution: use warm water with just a few drops of mild dish soap until barely sudsy. That low-residue mix removes grime without leaving film that attracts dirt.
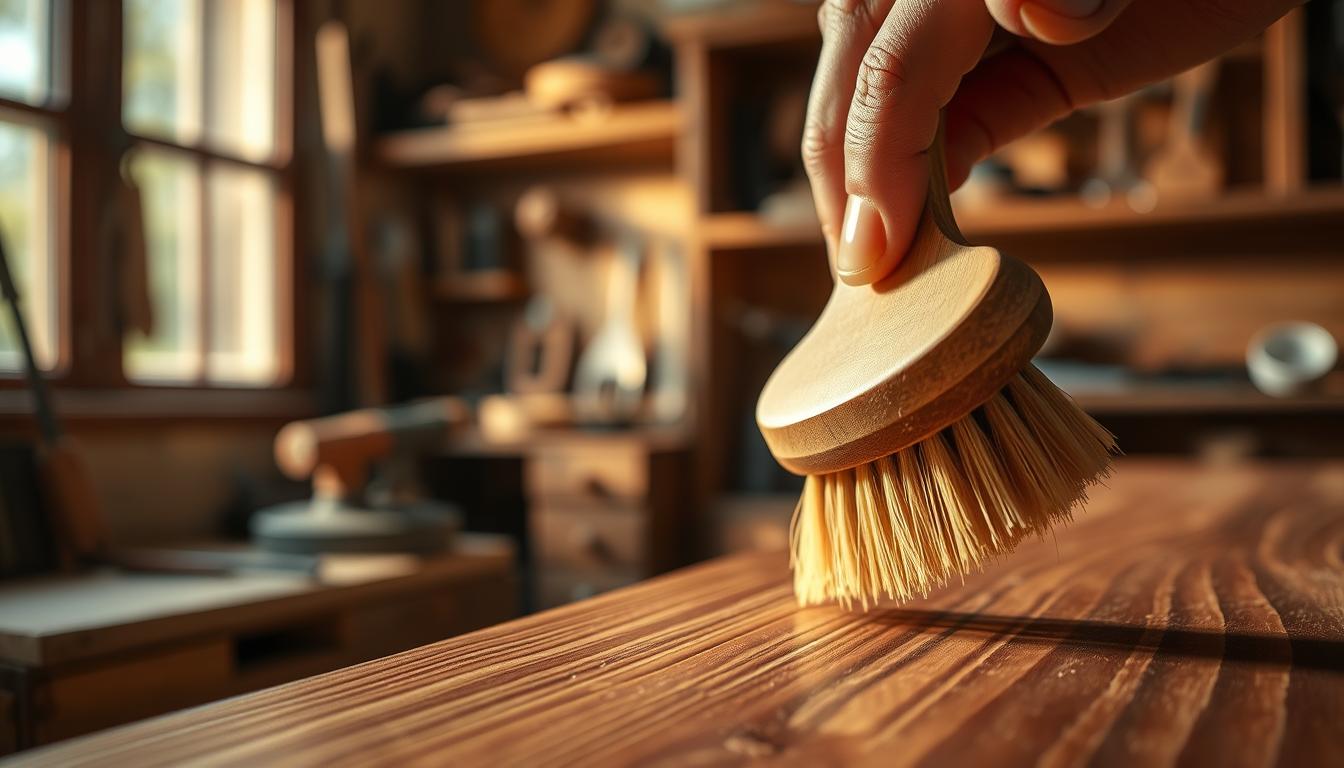
Work in small sections. Clean a manageable area, brush with light pressure and short passes in the direction of the grain so bristles lift trapped dirt. Wipe loosened grime right away with a clean, barely damp cloth—wring it thoroughly so it is only damp.
Wipe and dry sequence: first remove debris with the damp cloth, then follow immediately with a lint-free dry cloth so water never stands on the surface. If needed, do one rinse pass with plain water on a fresh damp cloth, then dry at once to avoid residue.
- For light soil: one gentle pass is usually enough.
- Moderate buildup: repeat the brush–wipe cycle once more.
- Heavy grime: stop, reassess product choice, and avoid aggressive scrubbing that can dull finishes. On unfinished pieces, use minimal water; on laminate, keep moisture especially low at seams and edges.
How to Handle Stains, Marks, and Sticky Residue Without Ruining the Finish
You can remove stubborn spots without harming furniture by choosing the mildest option first. Start small: work on an out-of-sight patch and wait for results before treating a visible area.
What causes polish buildup and how to remove it safely
Old polish layers, kitchen grease, body oils, and airborne dirt often bond into a tacky film. Symptoms include a dull haze, streaking, or a slightly sticky feel that attracts more dirt.
Begin with a mild soap solution and a soft cloth. If the haze remains, move to a purpose-made water-based cleaner labeled for polish and grime removal.
Targeting sticky spots and heavy grime on finished furniture and surfaces
For stubborn grime on finished furniture, use mineral spirits sparingly. Apply spirits to a cloth—never pour—work with the grain, keep the area ventilated, and wipe immediately with a clean cloth.
Note: Mineral spirits remove buildup but can dull delicate finishes if overused. Always test first and stop if the finish changes.
Dealing with water rings and light surface marks after cleaning
White rings and light marks often mean moisture sat on or under the finish. Try gentle buffing with a soft cloth and minimal product first.
If marks persist, a small amount of mineral oil on a cloth can reduce white rings on many finished surfaces. Test first and avoid heavy rubbing that creates shiny spots.
- Avoid abrasive scrubbers, soaking, and aggressive rubbing that can remove finish unevenly.
- If unsure, opt for a specialized cleaner designed for grease, polish buildup, or furniture finishes.
- Work in small sections and dry each area right away to prevent new marks or streaks.
Protect and Maintain the Surface After Deep Cleaning
Preserving your surface after care is about smart habits, not heavy products. Your goals are simple: keep dust and grime out of grain, limit moisture that can warp, and maintain the look of your surfaces over the years.
When a light finish boost helps — and when it invites dust
Use a light polish or wax only occasionally on sealed pieces. A thin, infrequent application can restore sheen and repel minor soils.
Avoid frequent polishing. Repeated product layers trap dust and make future maintenance harder.
Conditioning unfinished surfaces and laminate cautions
For unfinished items, a light wipe with mineral oil can improve appearance and help resist moisture. Apply sparingly and remove any excess immediately.
Do not use oil-based products on laminate. Oils leave residue that attracts dust and complicates cleaning later.
Simple care tips for long-term upkeep
- Dust regularly with soft tools to stop buildup.
- Wipe spills at once and dry the area to prevent stains and swelling.
- Keep high-touch zones—tables, arms, fronts—on a quick wipe-and-dry schedule every few days to preserve surfaces for years.
Product discipline matters: fewer, correct products beat many layered sprays. That approach reduces dust attraction and keeps your surfaces healthier over the years.
Conclusion
Conclude your session by confirming each area is dry and free of residue.
Follow this order: identify the surface, pick the right solutions, dust and test, then brush-and-wipe small sections, and dry immediately.
Control water and match your method to the finished, unfinished, or laminated surface. That choice matters more than stronger products.
Escalate by level: start with a mild soap solution, move to specialty solutions for buildup, and reserve mineral spirits for stubborn spots on finished wood only.
Take your time. Test first, repeat gentle passes as the level of soil shows, and avoid rushing the job.
Maintenance note: regular light care keeps surfaces healthier and reduces the need for frequent, intensive work.