Everyday residues—cooking oils, fingerprints, dust, and smoke—build up on finished surfaces in your home. A simple, safe routine often keeps pieces looking fresh: a soft damp cloth followed by a dry one.
This guide shows a finish-safe approach. You’ll learn how to minimize moisture, choose gentle products, and avoid scrubbing that grinds grit into the surface. The goal is to protect the protective layer so you do not cause premature wear or visible damage.
You’ll also get a quick overview of common messes and why they cling to sealed surfaces. Consistent attention helps preserve the natural beauty of solid wood and keeps your pieces looking newer for longer.
Use this intro as a roadmap: identify your finish, gather supplies, follow the core process, handle spots, and gently restore shine. Each step favors gentle care over harsh treatments to maintain value and appearance.
Before You Start: Identify Your Wood Finish and Risk Level
Knowing the finish and condition of your piece is the first step to safe care. Take a close look at the surface, edges, and any worn spots. This helps you decide whether to proceed or pause and call a pro.
Look for high-risk signs — antique pieces, thin or aged finishes, unknown finish type, intricate details, or high sentimental or monetary value. These factors raise the chance of scratches, loss of patina, or other damage.

- Test first: try any cleaner on a hidden area to confirm it won’t cloud or soften the finish.
- Stop DIY if the piece is antique, the finish is fragile, or you hold a protection plan.
- If you have Guardian Signature Plus, blot stains only and call for instructions — many issues are time-sensitive and must be reported within 30 days.
Small tests protect wood finishes because even products labeled for furniture can react differently with specific finishes. When in doubt, proceed gently or seek expert help to protect wood and avoid lasting damage.
Gather the Right Supplies for Cleaning Wood Furniture Safely
Start by gathering a small kit of tools and products that let you clean finished surfaces safely. The right supplies help you lift grime without excess moisture or abrasion.

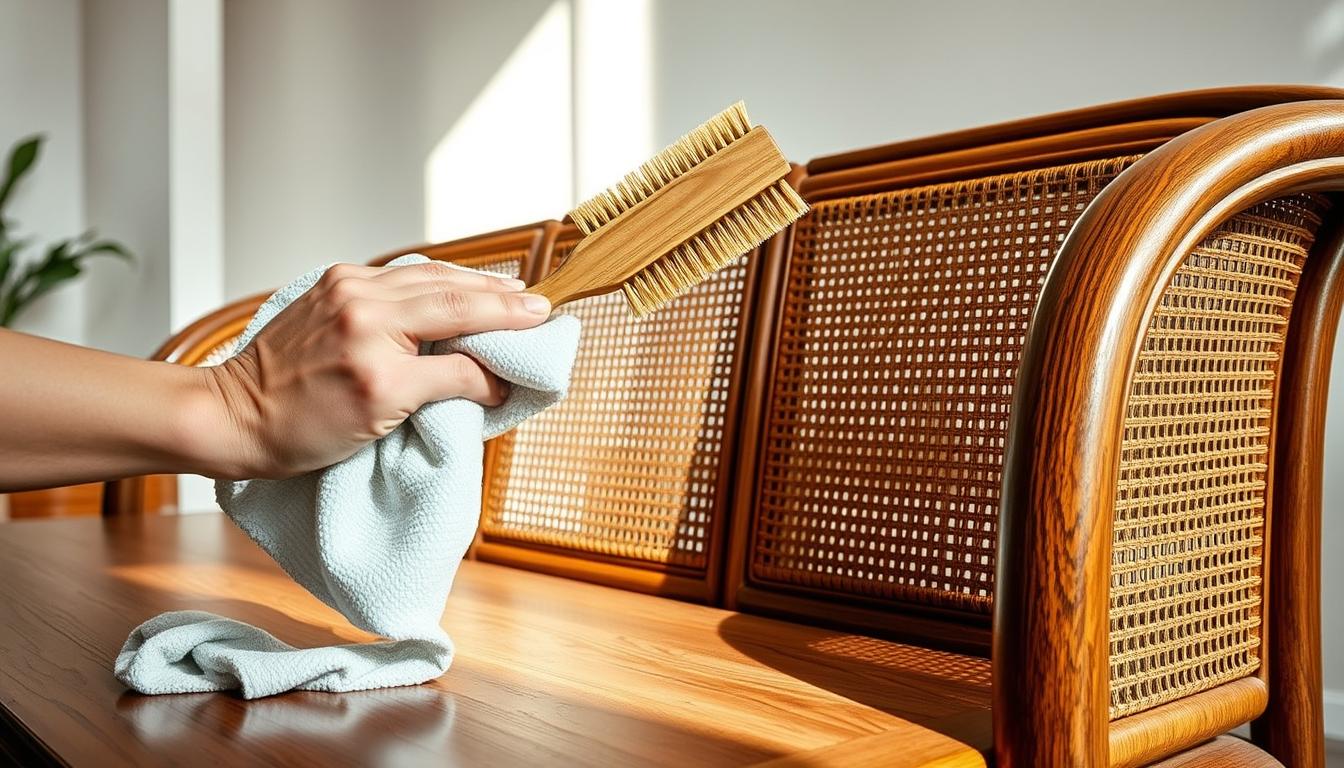
Soft cloths and brushes
Use soft microfiber cloths for dust and gentle wiping. Keep a second dry cloth handy to remove moisture right away.
For carved parts, use a soft-bristled brush to dislodge grit without scratching.
Mild soap and gentle cleaners
Select a mild soap or a purpose-made cleaner. These products remove oils and fingerprints without stripping finish.
Avoid harsh chemicals like bleach or ammonia; they can discolor or weaken the surface.
Vinegar solution and polish choices
For buildup or musty spots, mix white vinegar and water in equal parts as a test solution. Always spot-test first.
Finish with a silicone-free wax or a high-quality polish occasionally. Lemon-based products or a touch of oil are optional, but keep the main approach conservative to protect wood and control moisture.
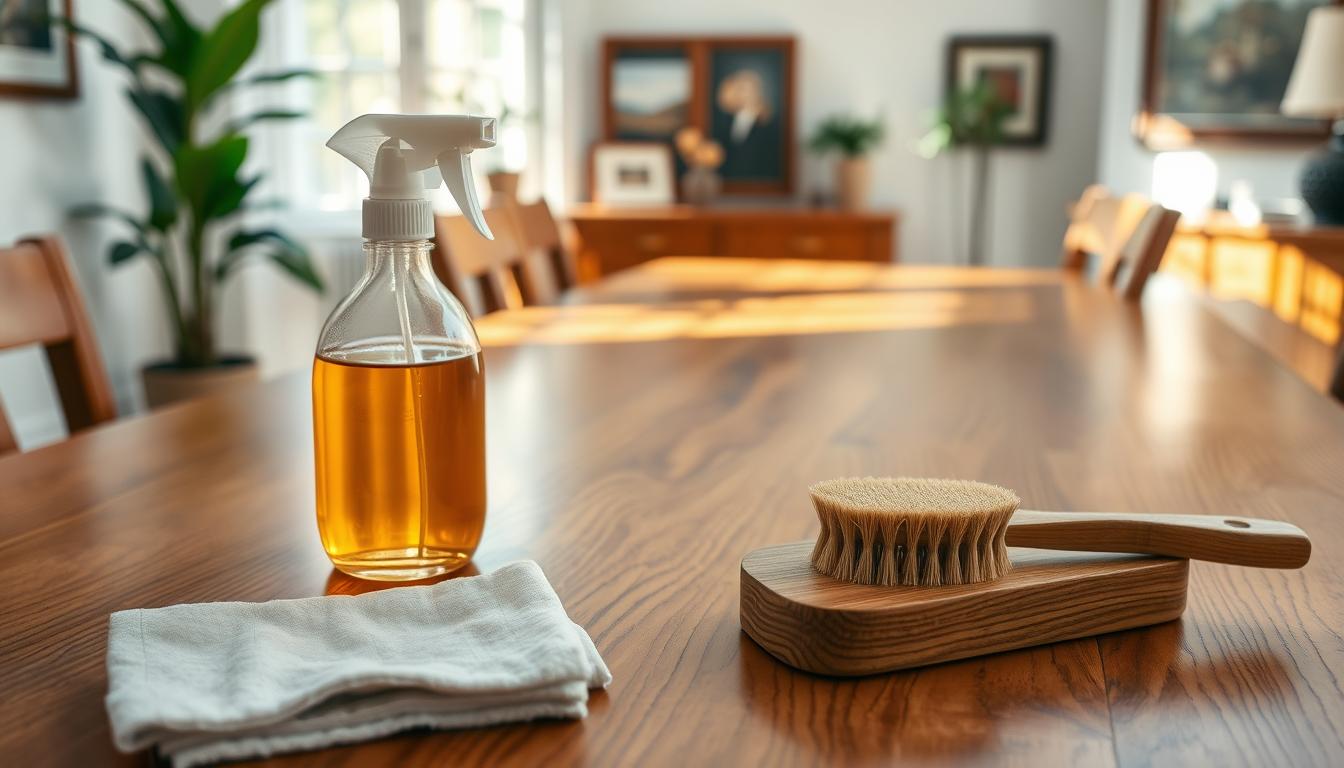
- Kit essentials: microfiber cloths, soft brush, mild soap, vinegar solution, silicone-free wax.
- Why it matters: the right items reduce dust, limit water contact, and prevent micro-scratches on surfaces and parts.
Cleaning Wood Furniture: The Core Step-by-Step Process That Won’t Strip the Finish
The safest first move is dry dusting to lift loose particles away from the surface.
Dry dusting to remove grit
Use a microfiber or soft cloth and sweep with the grain. This removes dust and grit that cause scratches when rubbed into a surface.
Use a damp cloth correctly
Lightly dampen the cloth—never soak it. Wipe in the direction of the grain and keep water contact brief to control moisture and protect the finish.
When to use mild soap
If water alone won’t lift oils or stubborn grime, add a drop of mild soap to water. Wipe the area, then follow immediately with a clean, damp cloth to remove residue.
Handle oils, fingerprints, and smoke residue
Loosen oils gently rather than scrubbing. For table tops and other high-touch surfaces, lift items instead of dragging them to avoid new scratches.
- Dry dust
- Wipe with a lightly damp soft cloth
- Use mild soap only if needed
- Rinse and buff dry right away
Rinse any cleaner with a clean, lightly damp cloth, then dry and buff with a soft cloth to restore clarity and reduce water marks. Quick action and minimal dwell time matter.
Spot Cleaning Stains, Sticky Buildup, and Mildew Without Damaging Wood
When a spill happens, your first move can mean the difference between a quick fix and lasting damage. Act quickly and use a soft cloth to blot; do not rub. Blotting lifts liquid and reduces the chance of stains setting into the finish.
Treat fresh spills and sticky spots
Blot immediately to remove excess moisture. For sticky buildup, soften the area with a lightly damp cloth. Repeat gently until residue loosens.
Handle older stains and mildew safely
For stubborn stains, use a gentle cleaner made for your wood finish and always spot-test first. To check for mildew, rub a cloth soaked in equal parts vinegar and water. If discoloration transfers, use a wood-safe mildew product and dry thoroughly.
- Avoid soaking surfaces or excessive scrubbing.
- No strong chemicals like bleach or ammonia; they can damage finishes and fibers.
- If a piece is high-value or antique, stop and call a pro.
- Guardian Signature Plus holders: blot only, then call for instructions—time-sensitive claims must be reported within 30 days.
Restore Shine and Prevent Future Damage to the Wood Finish
Adding a thin wax layer and smart placement choices can stop small problems before they become repairs. Start by choosing a silicone-free wax that forms a sacrificial barrier. This layer helps shield the finish from heat, water, dust, and daily scuffs.
Why wax and polish matter
Wax acts as a protective coating that takes the wear from cups, plates, and small items so the finish beneath stays intact. Apply sparingly and buff to a soft sheen.
Use high-quality furniture polish only occasionally. Avoid silicone polishes over time; they build up and can cause problems that show after years.
Practical protection and placement
- Always use coasters, trivets, and table pads to protect a table surface from heat and moisture.
- Lift items instead of dragging to prevent scratches and dents.
- Rotate décor so a single spot does not wear faster than surrounding areas.
Environment and cure time
Keep pieces out of direct sunlight and away from radiators or vents to prevent drying, splitting, or fading. Maintain indoor humidity around 35–45% to reduce expansion and shrinkage.
New or refinished surfaces need time: allow 21–30 days for finishes to cure before heavy use. During that time, keep hot items off and use extra pads to protect the surface.
- Use silicone-free wax sparingly.
- Polish only as needed, per product directions.
- Protect with coasters and control heat, moisture, and sunlight.
Conclusion
A clear, repeatable process makes gentle upkeep quick and reliable for everyday use.
Start by identifying the finish, test any product in a hidden spot, then use the mildest method that works. The core routine is simple: dry dust, wipe with a lightly damp cloth, use mild soap only if needed, rinse residue, and dry/buff so the finish stays even and clear.
Avoid harsh chemicals, soaking, and aggressive scrubbing that can cause lasting damage. Blot spills quickly and protect surfaces from heat and sun. These small tips extend the beauty and condition of your pieces over time.
If stains are time-sensitive, damage spreads, or the item is antique or delicate, pause DIY. For plan holders, blot only and call Guardian Signature Plus. For delicate restoration, consider a pro such as Mumford Restoration. With the right tools and habits, you can keep your wood furniture looking great without risking the finish.