Got an ink stain on your wood tabletop? It can look permanent, but you often have options that protect the finish and restore the surface. Start with gentle first aid and only step up to stronger treatments if the mark does not lift.
Speed matters: fresh ink sits on the finish and is easier to blot or dab away. Dried marks may need a baking soda paste, alcohol dabs, or careful solvent work. Each method matches a different type of ink and finish on your furniture.
Key rule: always spot-test in a discreet area and watch for finish damage. This guide covers quick fixes for a fresh spill, mid-level methods for set stains, and last-resort restoration if the mark has penetrated the grain. Follow the steps and you can often save the tabletop without costly refinishing.
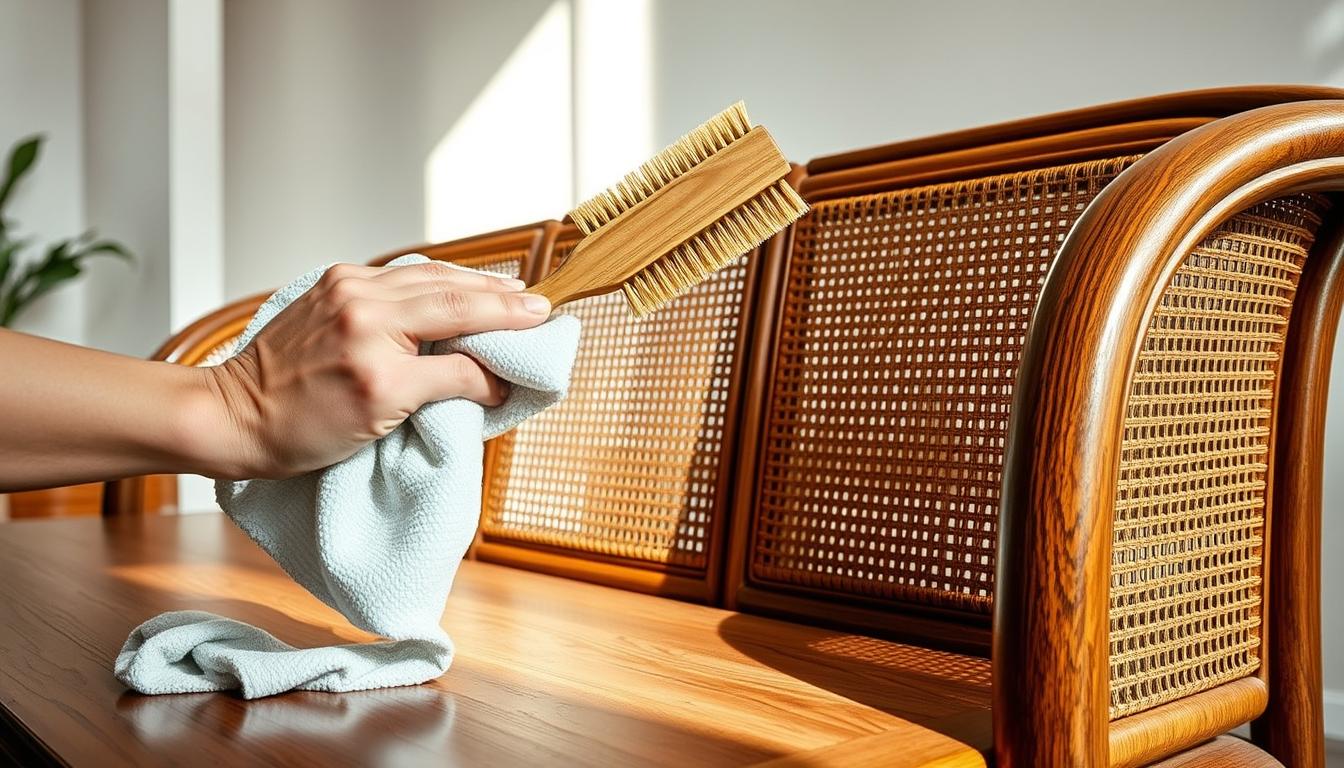
Assess the stain and protect your wood finish before you start
Before you touch the stain, take a minute to evaluate what you’re facing. A quick check of the mark and the tabletop finish helps you choose a safe way to clean and avoid wider damage.

Identify the mark and its age
Figure out if it is a ballpoint, felt-tip, or permanent marker and whether it is fresh or set. That distinction guides the process and the products you try.
Always spot-test in a hidden area
Apply your chosen product to a hidden area—like the underside of a tabletop lip—using the same cloth and pressure. Look for clouding, tackiness, or color lift and stop if you see finish transfer.
Work with the grain and control moisture
Wipe and buff in the direction of the wood grain to reduce visible scuffs. Use damp—not soaking—cloths to prevent water marks and swelling.
- Start with mild products (dish soap suds) before stronger chemicals.
- Know the limits of alcohol and acetone on glossy or shellac finishes.
- Set a clear stop rule: pause if the area fuzzes, discolorates, or leaves residue on your cloth.
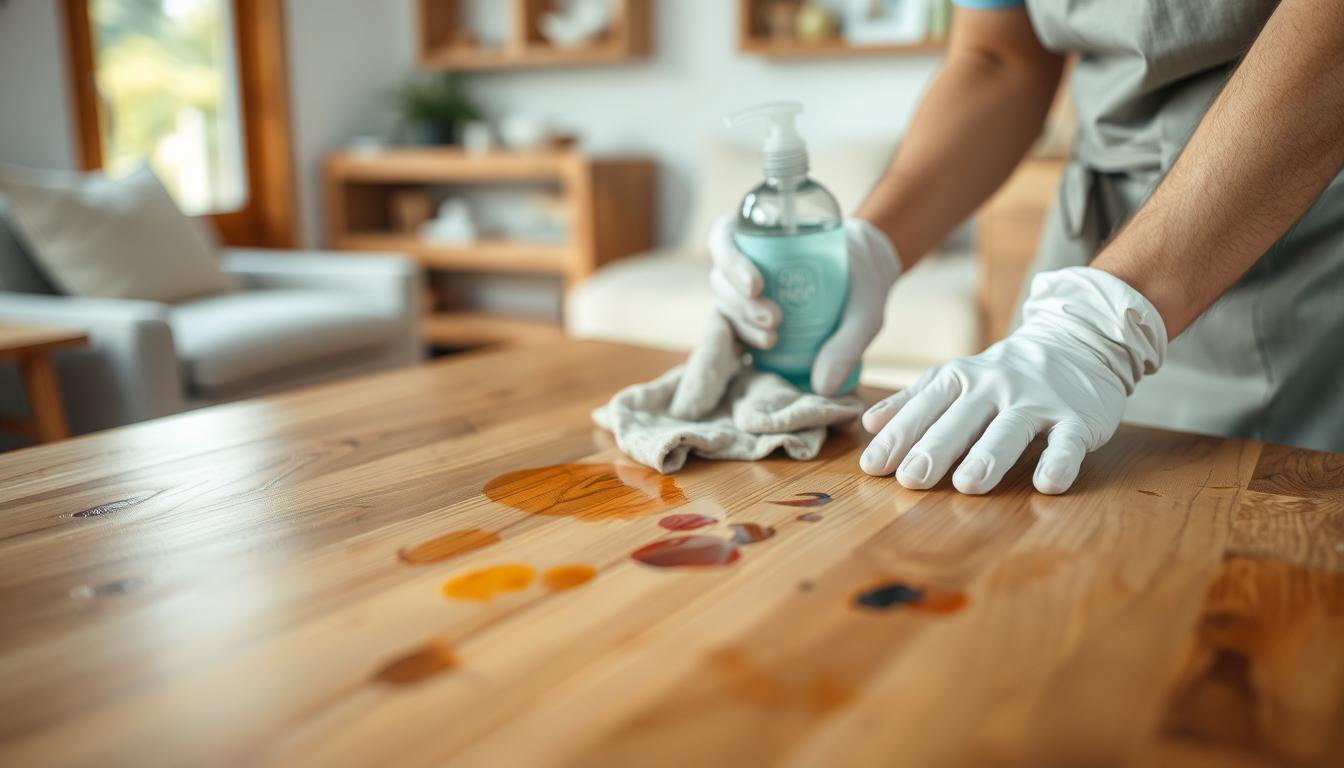
- Ventilate and wear gloves when using strong chemicals to protect the piece and yourself.
Start mild, escalate slowly, and protect the finish so you don’t trade a small mark for bigger finish damage.
Immediate steps for fresh ink on a wood surface
Act immediately when you spot a fresh pen mark to stop it seeping into the grain. Start by working quickly but gently. You want to lift the wet mark before it soaks in.

Blot excess with paper towels — don’t rub
Press paper onto the wet area to absorb as much as possible. Change to a clean paper section often so you don’t re-deposit the mark.
Clean with dish soap suds and a soft cloth, then rinse and dry
Mix a mild cleaning solution: try ½ teaspoon soap in ⅓ cup warm water, or 2 teaspoons soap in 1 cup warm water. Agitate to make lots of suds, then spot-test in a hidden spot.
Use a soft cloth to pick up foam only — do not soak the surface. Wipe gently with the suds, then follow with a cloth dampened with clean water to remove soap residue.
- Do: dry the area right away with a towel and let it air briefly.
- Don’t: use overly hot water or over-wet the tabletop.
- Repeat: do a second gentle pass if needed rather than scrubbing hard.
Baking soda paste method for dried ink stains on wood furniture
For set marks, a baking soda paste offers a gentle, low-risk way to lift the stain without harsh solvents.
Make the paste by adding small amounts of cold water to baking soda until thick and pasty. Avoid warm or hot water — keep the mix cool so it stays abrasive and effective.
Spread the baking soda paste to fully cover the stained area. Let it sit for 5–15 minutes so the powder can loosen the stain before you apply pressure.
- Work gently: rub with your finger or a soft brush in controlled strokes to avoid dulling the finish.
- Wipe well: remove all residue with a damp cloth, then dry the surface right away.
- Repeat rather than scrub: do several light rounds until the stain fades to protect your wood furniture.
Tip: cover the full stained area to prevent a halo effect and always test a hidden spot first.
Alcohol-based options for marker and pen ink
If soap or a baking soda paste won’t lift the mark, isopropyl alcohol is a common next method. Use it carefully so you remove the stain while keeping the finish intact.
Apply a small amount of rubbing alcohol to a clean, dry cotton cloth. Dab the area gently — do not rub — and work in short rounds. Dabbing pulls pigment up instead of spreading it across the surface.
After each pass, wipe residue with a slightly damp cloth and dry immediately so you can see progress. If you need more control, a pea-sized dab of alcohol-based hand sanitizer gel on a cloth can help on finished surfaces.
- When to choose alcohol: use this method for marker or pen marks that resisted milder methods.
- How to work: dampen (not soak) your cloth, dab, pause, and check the area between passes.
- Warnings: stop if you see tackiness, dulling, or finish color on your cloth — those are signs the finish is dissolving or discoloring.
Final rule: keep solvent contact brief and inspect frequently. If finish damage appears, stop and move to a less reactive method or consult a refinishing plan.
Stronger solvents and targeted tools for stubborn stains
If the mark resists soap, paste, and alcohol, move on to targeted solvent work with care. This is an escalation step; only proceed after gentler methods fail.
Use acetone-based nail polish remover carefully
Acetone can dissolve permanent marker pigments quickly, but it may strip finishes and paint. Spot-test in a hidden area first.
Dab a tiny amount with a cotton swab and lift pigment gently. Do not use acetone on painted surfaces — it can dissolve paint and make a larger repair necessary.
Mineral spirits workflow
Test mineral spirits in a concealed spot. If finish transfers to your test material, stop and choose another approach.
If the test passes, dampen a rag and buff the stain lightly in the grain direction. Wipe with a separate damp rag to remove residue.
0000 steel wool with mineral spirits for set-in marks
For deep, set-in areas, moisten super-fine 0000 steel wool with mineral spirits and rub very lightly with the grain. Work only the smallest area needed to limit finish loss.
- Clean up all solvent residue and steel wool shavings to prevent future scratches.
- Once dry, protect the surface by polishing or applying wax to restore sheen.
Last-resort restoration for deep or set-in ink
When simpler fixes fail, prepare for a careful restoration that may remove the finish and treat the stain at the grain level.
Reserve full restoration for cases where basic cleaning and solvents do not lift the mark. If the discoloration sits under the clear coat, the finish must come off before true stain removal can begin.
Bleaching and choosing the right agent
Pick bleach by cause: household chlorine handles dye-type spots, oxalic acid targets iron-based stains, and a two-part wood bleach (sodium hydroxide then hydrogen peroxide) gives stronger brightening. Use separate cloths for each part and work only on the stained area.
Surface prep and safety
Ventilate well, wear gloves and eye protection, and avoid mixing chemicals. Some strippers contain methylene chloride; take extra precautions. Shellac and lacquer can be removed with denatured alcohol.
- Apply bleach for about 10 minutes, repeat if needed, then wipe with water and dry.
- Sanding is only for unfinished wood; sanding sealed pieces forces full refinishing.
- Wait at least 24 hours after drying before you refinish the area.
Conclusion
Close out with practical rules that keep your furniture safe while you treat the stain. Start with the gentlest method and move up only if the mark remains. Quick blotting with soap suds often saves a finished wood tabletop.
For older stains, a baking soda paste and gentle repetition usually works without aggressive cleaning. When you use alcohol, dab—don’t rub—and stop if the finish dulls or lifts.
Reserve acetone, mineral spirits, or 0000 steel wool for stubborn cases and always spot-test first. Deep discoloration under the clear coat may need stripping, bleaching, and refinish time.
Protect the area by limiting liquids, wiping with the grain, and waxing regularly. If the piece is antique or high value, consider consulting a furniture restoration professional before further work.