Restoring wicker on wood chairs means bringing tired seats back to safe, comfortable use. You learn what you can fix at home and when to call a pro. Small tears, loose strands, fading, and grime often respond well to gentle cleaning, re-weaving, gluing, and light refinishing.
The seat loosens because of movement, wear, dryness, and weather. Early fixes keep the frame strong and preserve comfort. You will see how addressing mildew and weak joints first makes later steps easier.
This article walks you through a clear workflow: assess the seat pattern, gather tools, clean the surface, tighten loose ends, replace broken strands, and refinish for a consistent look. Key parts you’ll use are the seat pattern, strands or reeds, cane edges, and the surrounding frame.
You work in the present with gentle methods that protect the original weave and avoid over-tightening. Even older furniture and cane seats often respond well to careful, targeted repair so your pieces keep their charm and use.
Assess the Chair and Identify Common Wicker and Cane Problems
Start your inspection under clear light to spot gaps, snagged strands, and uneven tension in the seat. Work slowly so you can see which pieces are truly broken and which are simply loose.
Spot loose ends, broken strands, and uneven tension
Run your hand gently across the seat to find loose ends that catch. Compare tension from side to side to find sagging or tight bands before they worsen.
Check for fading, discoloration, mildew, and grime
Look for sun-faded areas and patches of dirt or mildew on the surface. Grime can hide weak spots and lead to failed glue or finish later.
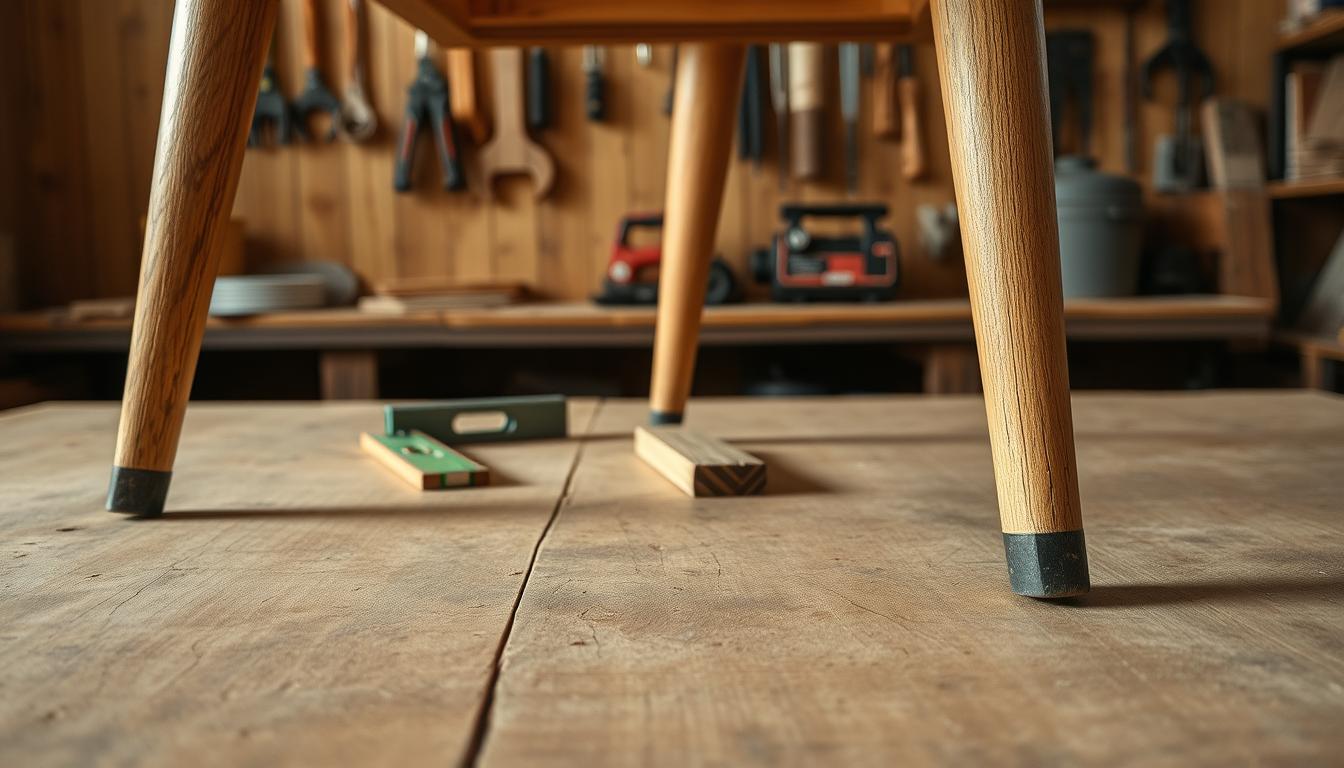
Find cracks, splits, and damaged areas around the frame
Inspect the cane edge and the frame perimeter for cracks, splits, or separation. Test corners and joints for movement; tightening a seat can expose frame stress that needs repair first.

- Place the furniture in bright, indirect light.
- Note loose ends and mark damaged areas for repair.
- Avoid direct sunlight while you work to prevent further drying.
Gather Tools and Materials for a Clean, Durable Repair
Gather the right kit before you begin so repairs go quickly and cleanly. Set everything within reach: it saves time and keeps the weave neat. Plan for a short session with soaking and drying steps that take extra minutes.

Essentials for repair
- Wood glue — a small bottle for precise spots.
- Scissors or an Exacto knife for clean cuts.
- Needle-nose pliers to pull and tuck strands.
- Replacement reeds that match the original pieces.
Cleaning supplies
Mix a quick solution of about ¼ cup dish soap and 2 cups warm water. Use a soft brush and a cloth to remove dirt without fraying the surface. Rinse with clear water and let the seat dry before gluing.
Optional reinforcements
Keep carpet tacks for stubborn ends, clamps or weights for frame splits, and sandpaper to smooth rough ends after trimming. Soak new replacement reeds about 30 minutes to make them pliable before weaving.
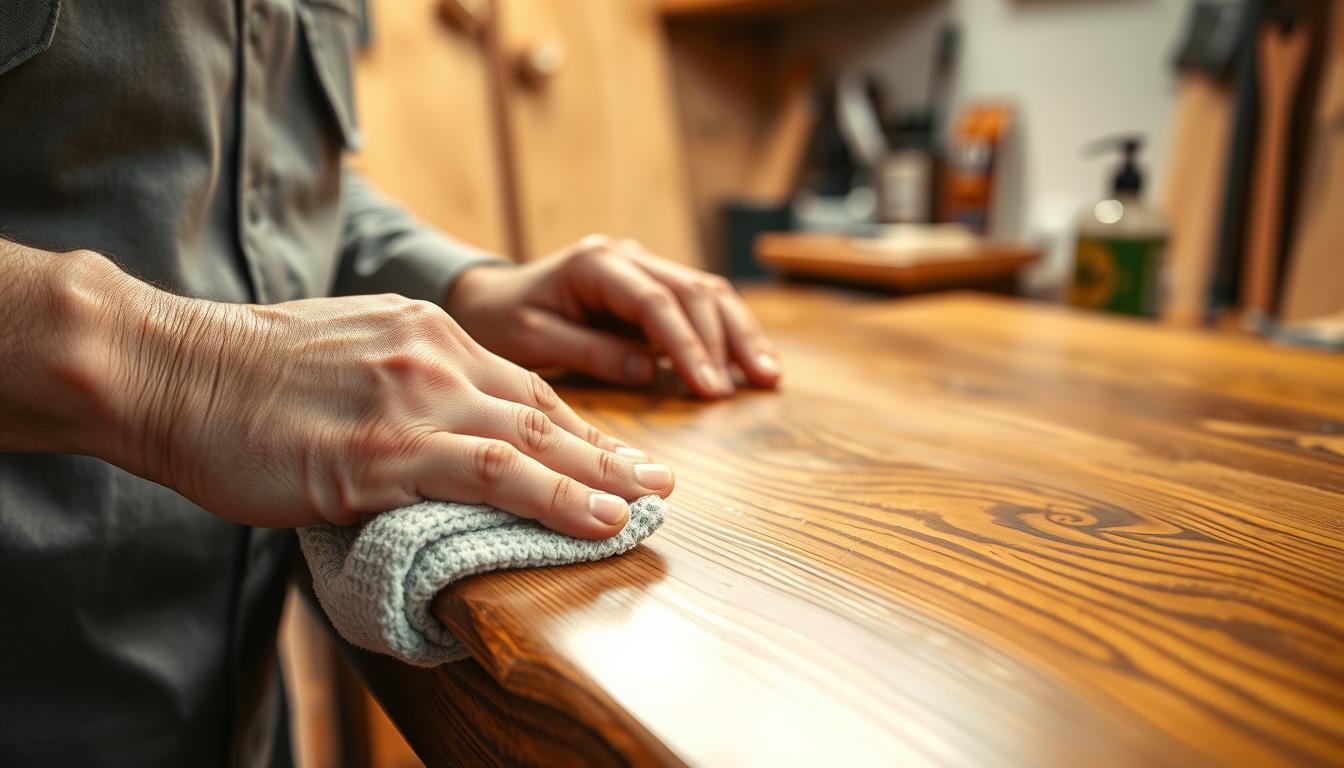
Clean and Prep the Surface Without Causing More Damage
Start with a gentle cleaning to reveal weak spots and remove surface buildup. Clean first so glue bonds to fibers rather than dust. This also helps you clearly see where strands are stained, loose, or broken.
Make a mild soap solution in warm water and work it into the seat with a soft brush. Use light pressure and sweep in one direction to remove dirt and grime without lifting fibers. Wipe excess with a clean cloth so no residue stays in the crevices.
Treat mildew carefully. A 50/50 hydrogen peroxide and water mix reduces recurrence. If you use bleach mixes, wear gloves and work in ventilation. Avoid harsh direct sunlight while you clean; heat can dry fibers too fast and cause discoloration.
- Quick tips: remove dirt before repairs to improve adhesion.
- Work with a mild solution, soft brush, and a cloth to prevent damage.
- Build in drying time—let dry fully (often 2–3 minutes per small area, and a couple of hours overall) before glue, paint, or refinishing steps.
Do not rush the drying stage. Let dry completely in shaded air until tight corners feel dry to the touch. This small time investment prevents failed bonds and finish issues later.
Restoring wicker on wood with Tightening and Reattaching Loose Ends
Tightening loose strands is the fastest way to make a seat safe and steady again. You begin with small fixes that stabilize the pattern before any major weave work. Clean fibers first so adhesive bonds cleanly and the repair blends.
Apply a drop of wood glue to loose ends and tuck them back into the pattern
For each loose end, apply 1–2 drops of wood glue under the strand. Tuck it gently into the existing pattern so the repair sits flat and does not form a lump.
Hold strands in place for several seconds and let the glue dry about 30 minutes
Use fingertip pressure to hold the piece for several seconds. Do not flatten the weave. Place the chair in a cool, dry area and let the glue dry for about 30 minutes before testing tension or using the seat.
Trim and smooth rough areas so repaired pieces sit flush and look natural
After the adhesive sets, trim frayed bits and smooth edges so repaired pieces sit flush. Lightly tug nearby strands to confirm alignment. This quick step reduces snags and keeps the final look natural.
- You treat tightening as the quickest first repair to stabilize the seat.
- Apply controlled drops of glue, tuck strands, hold briefly, and wait the recommended minutes.
- Trim and test the repair before moving on to larger fixes.
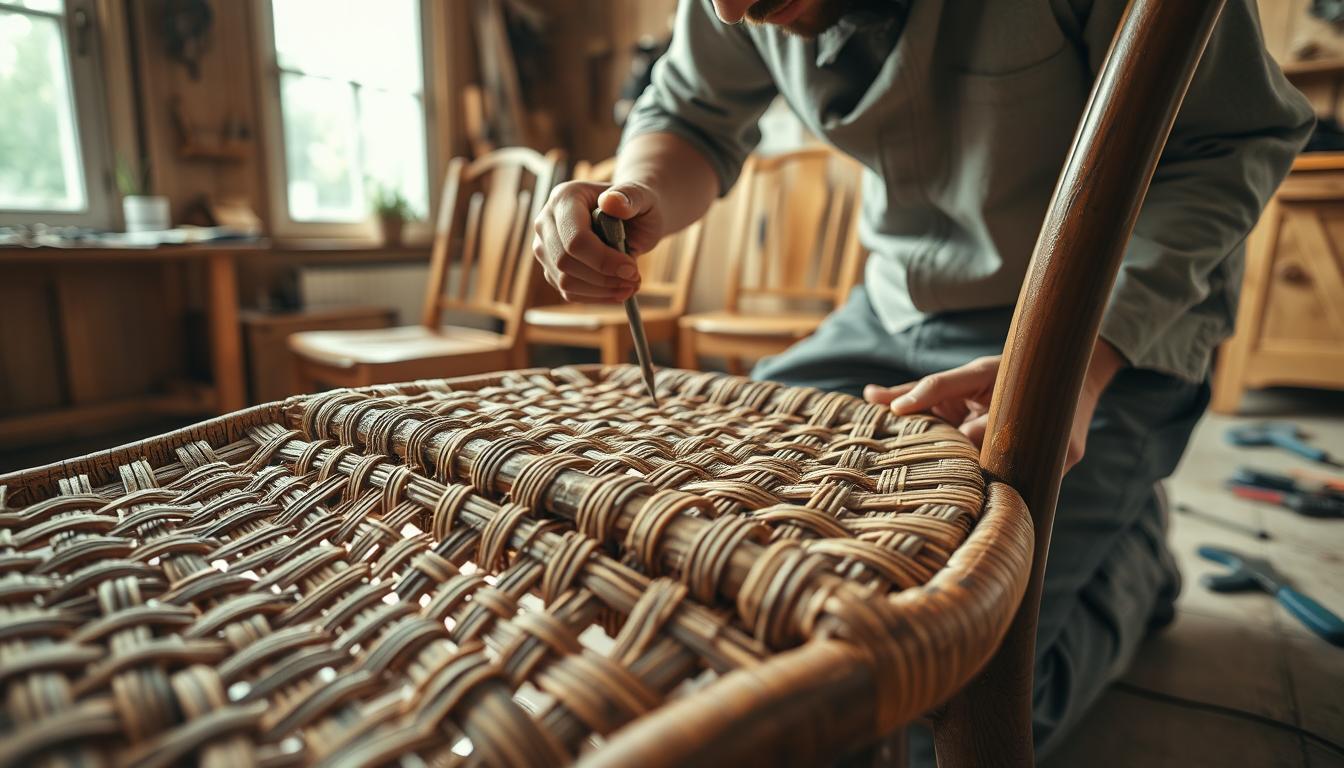
Replace Broken Wicker or Cane Strands to Rebuild the Seat Weave
Begin by removing the broken piece cleanly so the surrounding pattern stays safe. Cut close to the underside with scissors or an Exacto knife. Use needle-nose pliers to pull any small fragments free, working slowly to avoid more damage.
Soak your replacement reeds in warm water for about 30 minutes. Blot excess water so the new piece is pliable but not dripping. This makes weaving easier and reduces cracking.
Weave the replacement piece to match the over-under pattern. Keep tension steady and avoid pulling too tight. Too much tension will distort the seat and warp nearby areas.
- Secure the ends: apply a small drop of glue and tuck each end into the pattern.
- If a high-stress spot needs extra hold, add carpet tacks after the glue dries.
- For cracks or splits at the frame edge, sand rough edges, add a little oil or moisture, then glue and clamp until set.
Finish with a quick durability check. Press across the repair and ensure the new piece blends and the seat feels stable before refinishing.
Refinish for a Like-New Look: Painting, Priming, or Keeping a Natural Cane Color
Deciding between a painted finish or a natural oil finish starts with how much wear the seat sees. If the chair sits outdoors or gets daily use, a painted coat paint may give longer-lasting protection. If you prefer texture and tone, an oil finish will revive the cane color without hiding weave detail.
Prep first: wash and inspect, remove peeling paint or varnish, then sand to an even surface. Make sure the weave is clean and stable before any primer or paint goes down.
- When to use primer: primer improves adhesion on glossy or previously finished areas. Apply a thin, even primer coat for best results.
- Painting tips: use light passes and several thin coats of paint. Let each coat dry before the next to avoid drips and bridging across the weave.
- Oil and natural finishes: tung oil or spar oil enriches color and protects fibers while keeping texture visible. Consider an oil-based paint for tougher wear.
- Outdoor care: choose durable products rated for sunlight and changing weather and plan storage to extend the finish life.
Final step: let the chair fully dry and cure before use so you avoid fingerprints, tackiness, and premature scuffs.
Conclusion
Close by reviewing the quick checks and routine care that extend a chair’s life. Follow the repair path: inspect the frame, clean the seat, tighten loose strands with glue, replace broken pieces, then refinish with paint or oil as needed.
Small repairs add up. Secure loose strands early and keep a regular cleaning schedule for outdoor furniture—about four times per year—and wax or oil twice yearly to protect fibers.
Respect timing: soak replacements, let pieces dry fully, and allow finishes to cure before use. This simple time discipline prevents undoing your work.
If several areas fail, the frame moves, or the weave is broadly compromised, consider professional help to preserve your furniture and keep it safe to use.