This short guide helps you plan a successful project that turns a rough surface into a touchable finish. You’ll learn why working in steps matters and how gentle, steady passes beat heavy pressure every time.
Start by understanding what “smooth” means for your piece. For many makeovers you only need a quick scuff, while stripping to bare surfaces takes more time and a grit progression.
Follow a simple workflow: clean, prep, pick the right tool and grit, sand in passes, remove dust, then paint, stain, or coat. Expect paint-prep sanding to take little time; full refinishing is a bigger session.
Common beginner mistakes include pressing too hard, skipping grits, sanding against the grain, or rushing. This guide shows you practical tips to avoid those errors and to keep the whole piece consistent.
Define “smooth” before you start. Work in stages. Let the abrasive do the work to save energy and get a professional-looking result.
What “Smooth” Really Means for Your Furniture Surface
A truly smooth surface is about evenness and adhesion, not mirror polish. You want an even, deglossed plane free of deep scratches that will show through your final coats. That practical target changes based on whether you plan to paint, stain, or clear-coat the piece.

Scuffing vs. Removing the Old Finish
For paint, you usually only need a quick scuff to create “tooth” so the paint grips the old finish. That saves time and keeps the underlying material intact.
For traditional stain, remove the old finish so the color soaks in evenly. If you only dull the surface, stain may look blotchy or sit on top.
How Prep Affects Adhesion and Appearance
Paint bonds best to a uniformly dulled surface. Stain looks most consistent on evenly stripped areas; going too fine can reduce absorption and alter the look.
Clear coats benefit from light sanding between coats so each layer lays flat and smooth. Above all, aim for a consistent scratch pattern and sheen across the whole piece rather than isolated, overworked patches.
- Define “smooth”: even, deglossed, no deep scratches.
- Choose scuffing for paint; full removal for stain.
- Keep prep uniform to improve adhesion and final look.
When You Should Sand (and When You Can Sand Less)
Before you pick a tool, inspect the finish. Look for high gloss, peeling areas, drips, or heavy brush marks. These signs tell you whether a light scuff will do or if deeper work is required.
Painting prep: If the finish is slick or glossy, you must create tooth so paint grips and won’t peel later. A quick pass with fine sandpaper or a scuff pad often removes shine and smooths minor defects without stripping the whole piece.

When to go deeper: Remove or sand off an old finish if you see peeling, thick buildup, or repairs that need leveling. For traditional staining, the wood stain cannot penetrate a sealed coating, so you’ll need to strip or sand to bare material first.
Some DIYers choose alternatives to deep stripping, like gel stains or faux-stain techniques. Those options reduce prep time but may change the final look and how much sanding you must do.
- Non-negotiable: slick, glossy, or previously sealed surfaces need tooth.
- Light scuffing works for most paint projects; you’re not removing every trace.
- Estimate time by complexity: flat tops are faster; carved edges and spindles take longer.
Safety and Setup for a Cleaner, Easier Sanding Session
Good prep starts with a safe, well-organized workspace that keeps dust from spreading. Set up before you begin so you save time and avoid surprises while you work.
Protect yourself: wear safety glasses and a respirator or a quality dust mask, especially when working on older finishes that create fine, toxic particles. Eye and lung protection are non-negotiable for safe work.
Respirator, glasses, and basic PPE
Use a fitted respirator or approved dust mask and wrap-around safety glasses. These items reduce risk and let you focus on the task.
Where to work: garage, outdoors, or inside
Whenever possible, work in a garage or outdoors to limit spread. If you must work in your home, close doors, cover floors, and seal vents to protect other rooms.
Dust control tools and cleanup planning
- Built-in dust catcher: many sanders include bags or canisters—use them to cut airborne dust.
- Shop vac hookup: attach a shop vac to your sander for heavier cleanup and better collection.
- Indoor mitigation: cover nearby items, shut HVAC, and plan a vacuum-and-wipe cleanup once dust settles.
Controlling dust does more than keep the space neat. It prevents dust nibs from ruining a wet finish and helps the final surface look smoother. Follow these tips and you’ll have an easier, cleaner session.
Cleaning and Prepping Furniture Before Sanding
Cleaning your piece before you abrade it saves time and prevents problems later. Dirt and oils gum up sandpaper fast and can push grime into the grain. That makes stain and paint look uneven.
Why a clean surface matters
When grease stays on the surface, your abrasive tears it around instead of cutting wood fibers. That clogs paper and ruins pads. A tidy start keeps sanding efficient and avoids extra work.
Prep checklist
- Remove knobs, pulls, hinges and label hardware so reassembly is easy.
- Pull out drawers and doors so you can work flat areas and corners.
- Scan for nails, staples, and screws—hidden fasteners shred sandpaper instantly.
Recommended cleaners and wiping
Use a degreasing cleaner like Simple Green for general grime. For oily residues, a pass with mineral spirits works well. Wipe with a clean cloth and let the piece dry fully before sanding.
Protect nearby floors and walls so prep doesn’t become a whole-room cleanup. Lay down drop cloths or plastic, and keep used rags separate to avoid redistributing dirt.
Tools You’ll Use: Sanding Block, Hand Sanding, and Power Sanders
Picking the right tools makes the job faster and keeps delicate areas intact. For most flat surfaces a small orbital sander will do the heavy lifting. A random orbital sander is a solid upgrade when you need to reduce visible patterns.
Beginner-friendly power options
Use an orbital sander for quick, even passes on tabletops and doors. If you want fewer swirl marks, switch to a random orbital sander. Both tools are easy to control and good for first-time projects.
Detail solutions for tight spots
Detail and corner sanders get into inside corners, trim, and small cutouts a round pad cannot reach. Micro-detail tools help with narrow grooves and tight molding.
When a block beats a power tool
Hand work gives control on crisp edges and thin veneer. A sanding block keeps flats true and prevents dips that show under paint or clear coat.
- Simple setup: orbital sander for flats; random orbital for mixed work.
- Use detail sanders for corners and trim.
- Hand sanding with a block for edges, curves, and final touch-ups.
Match the tool to the surface rather than forcing a heavy sander into tight spots. That approach protects thin wood areas and yields a smoother final result.
Sandpaper and Grit: How to Choose the Right Grit Sandpaper
Choose grit numbers that match the job instead of guessing and wasting time. ,
Know the ranges: coarse is about 40–60 for heavy removal, medium 80–150 for leveling, fine 180–220 for smoothing, and extra-fine 320–400 for polishing.
Lower numbers cut faster and leave deeper scratches. Higher numbers refine the surface and reduce visible marks.
- Coarse: shape and remove old finish safely.
- Medium: blend and level areas after rough work.
- Fine: prepare for paint or sealers.
- Extra-fine: between clear coats or final polish.
Your default progression for most pieces is 80 → 120 → 320. Start with 80 to remove old finish, move to 120 to blend, then finish with 320 for a smooth feel.
Don’t skip steps. A finer sandpaper can’t remove deep scratches from coarse grits. That wastes time and may leave visible scratches in your final coat.
Read the surface: if you still spot 80-grit marks, repeat the middle step until the scratch pattern is even before advancing.
Sanding Wood Furniture Step-by-Step for a Smooth Finish
Tackle the job in three deliberate rounds to remove defects, blend scratches, and polish for a pro feel.
First pass: remove old finish and major unevenness
Choose a medium starting grit—often 80–120—based on how worn or coated the piece is. Work evenly and avoid heavy pressure near edges or trim to protect details.
Second pass: refine and blend
Move to a finer grit (around 120–240) to erase deep scratch patterns and feather any remaining stain or paint edges. Aim for a uniform, dull look across the entire surface.
Final pass: polish for a professional feel
Finish with 240–320 grit if you plan a clear coat, or stop slightly coarser before staining so the finish absorbs properly. Keep passes light and consistent.
How to tell you’ve sanded enough
- Surface is uniformly dull with a consistent scratch pattern.
- No glossy spots under raking light and no rough patches to the touch.
- Corners and moldings match the main planes in sheen and texture.
Tip: change clogged sandpaper or pads often—dull abrasives cause heat, swirl marks, and wasted effort.
Technique That Prevents Scratches and Swirl Marks
Controlling motion and pressure is the single best way to avoid visible machine marks. Let the tool and abrasive cut; you guide, not push. Too much downward force creates deep scratches and swirl patterns that show under paint or clear coat.
Let the sander and sandpaper do the work
Apply light, even pressure. You steer the sander—don’t lean into it. Extra force forces the pad to skip and digs in, increasing the chance of permanent scratches.
Move at a controlled pace
Work slowly and steadily—about an inch per second on raw material is a good rule of thumb. Rushing, stopping in one spot, or tilting the tool makes those “squigglies” that ruin a smooth surface.
Fixing swirl marks
If you spot patterns, step up to a finer grit and sand the area again at a slower pace. Check your progress under angled light, then finish with a light hand-sand with the grain to blend any remaining machine pattern.
- Fresh sandpaper: replace loaded or worn paper—clogged abrasive increases heat and smearing.
- Final hand pass: remove residual machine marks with a gentle block and the grain.
- Check often: inspect each step so you catch defects early and correct them with finer grit.
Always Sand With the Grain for the Best Look
Match your sanding strokes to the grain to keep the surface even and avoid visible marks.
Run a hand or power abrasive in the same direction the fibers flow. Cutting across the grain leaves tiny scratches that can show after you apply stain or clear coats.
Learn to spot grain direction on common parts: on tops the lines usually run lengthwise, legs follow the profile, and rails run with the frame. Work so your lines follow those patterns.
When you must go across the grain (and how to fix it)
Occasionally you may sand across the grain to level a dent or repair a spot. Do that briefly and only to flatten the area.
As the next step, sand with the grain using the same grit until all cross-grain scratches vanish. Then continue your normal grit progression to finish the surface.
- Identify grain direction on each piece before you begin.
- Limit cross-grain work to small repairs only.
- Inspect under angled light before staining or coating to catch any remaining defects.
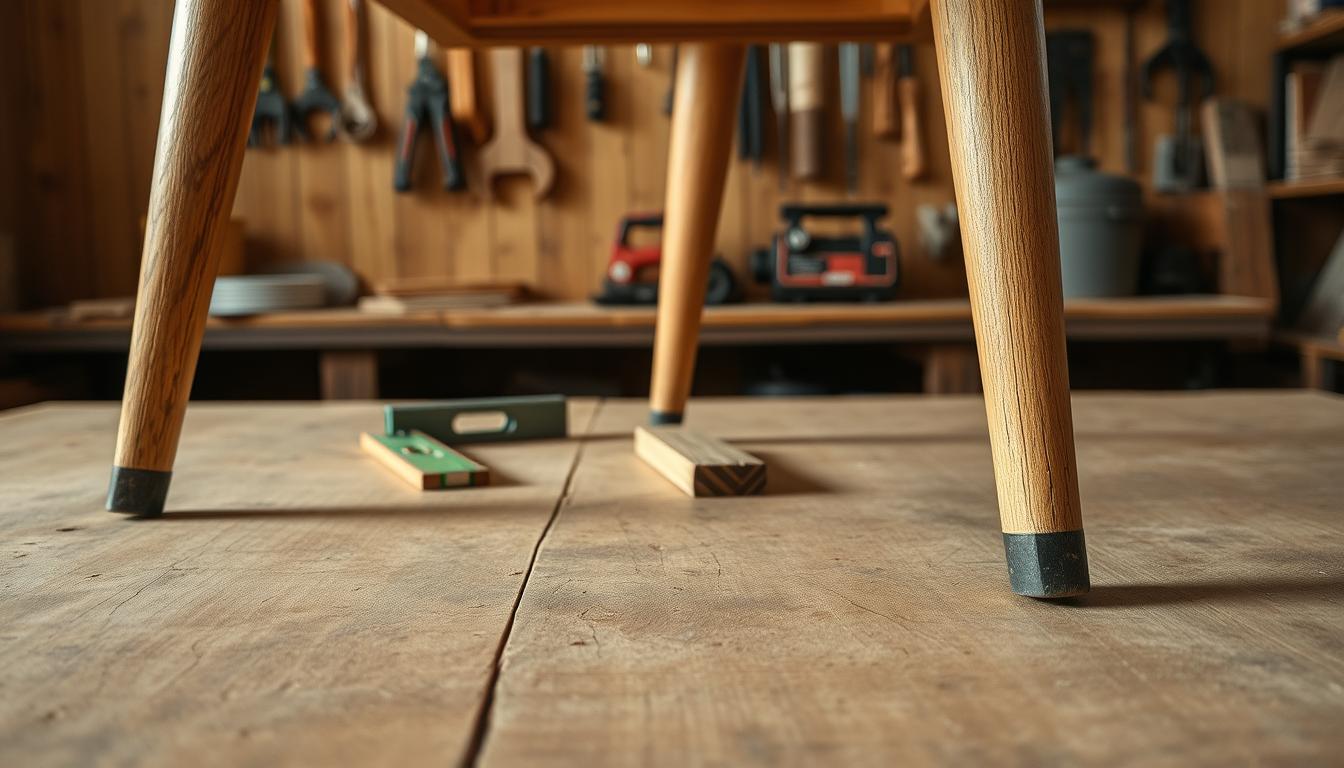
Edges, Corners, Grooves, and Curves: Getting Details Right
Details make or break a restoration; edges, corners, and curves demand a gentler touch. Power tools do great on flats, but tight spots need different motions and softer contact to keep profiles sharp.
Hand work for tight areas: fold a strip of sandpaper into a slim pad or use a small sanding block to reach grooves and inside corners. Use light pressure and keep strokes aligned with the grain when possible.
When a detail tool pays off
Use a corner or detail sander (for example, a Ryobi Corner Cat) for trim, recessed panels, and inside angles where round pads miss. These tools speed work without harming profiles.
The spindle “shoeshine” trick
Fold a long strip of sandpaper, wrap it around a spindle or rounded leg, and move it back-and-forth while rotating the strip a little to expose fresh abrasive. Repeat with a finer grit to blend the surface.
- Avoid very coarse grit on sharp edges—coarse abrasives can chew up profiles.
- Don’t linger in one spot; make repeated light passes instead.
- After detail work, run your hand along the piece to confirm consistent feel.
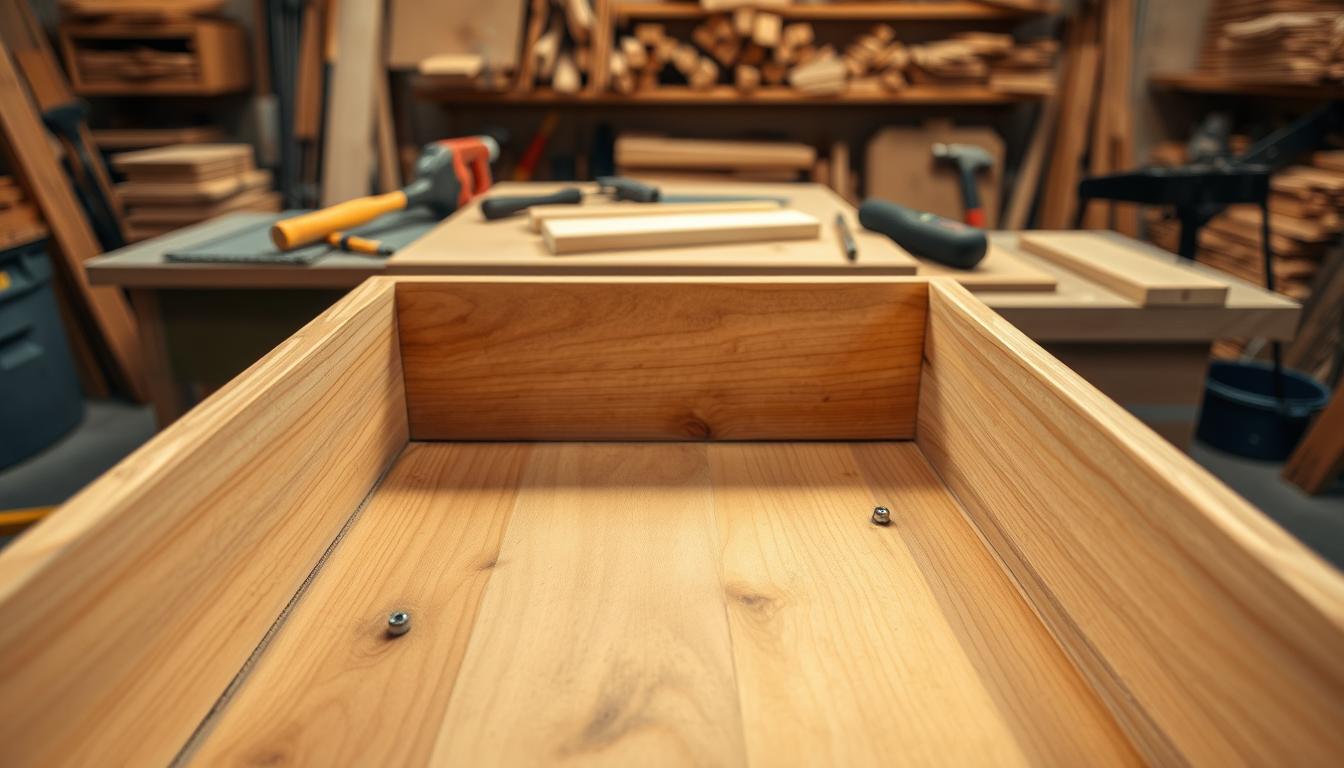
Special Case: Sanding Veneer and Plywood Without Sand-Through
When a decorative layer covers an engineered base, you must plan every pass to avoid cutting through. Veneer is a thin top face over a substrate, and plywood has a similar layered build. Recognize these before you begin.
Why veneer is risky
Veneer is thin and can vanish under heavy abrasion. Sand-through shows as a sudden color change, a fuzzy exposed core, or spots that refuse to take stain like the rest of the piece.
Safer tool and technique choices
- Define the material: veneer = thin decorative face over engineered base; plywood = layered panel with veneers.
- Inspect often: use a light orbital or careful hand approach and stop to check the surface frequently.
- Start finer: choose a finer grit than you would for solid wood and apply minimal pressure.
- Risk map: edges, corners, and worn tops are most likely to sand through.
Practical goal: for veneered furniture, aim for scuffing for paint or light refinishing instead of aggressive removal. That keeps your piece intact and avoids repairing exposed substrate.
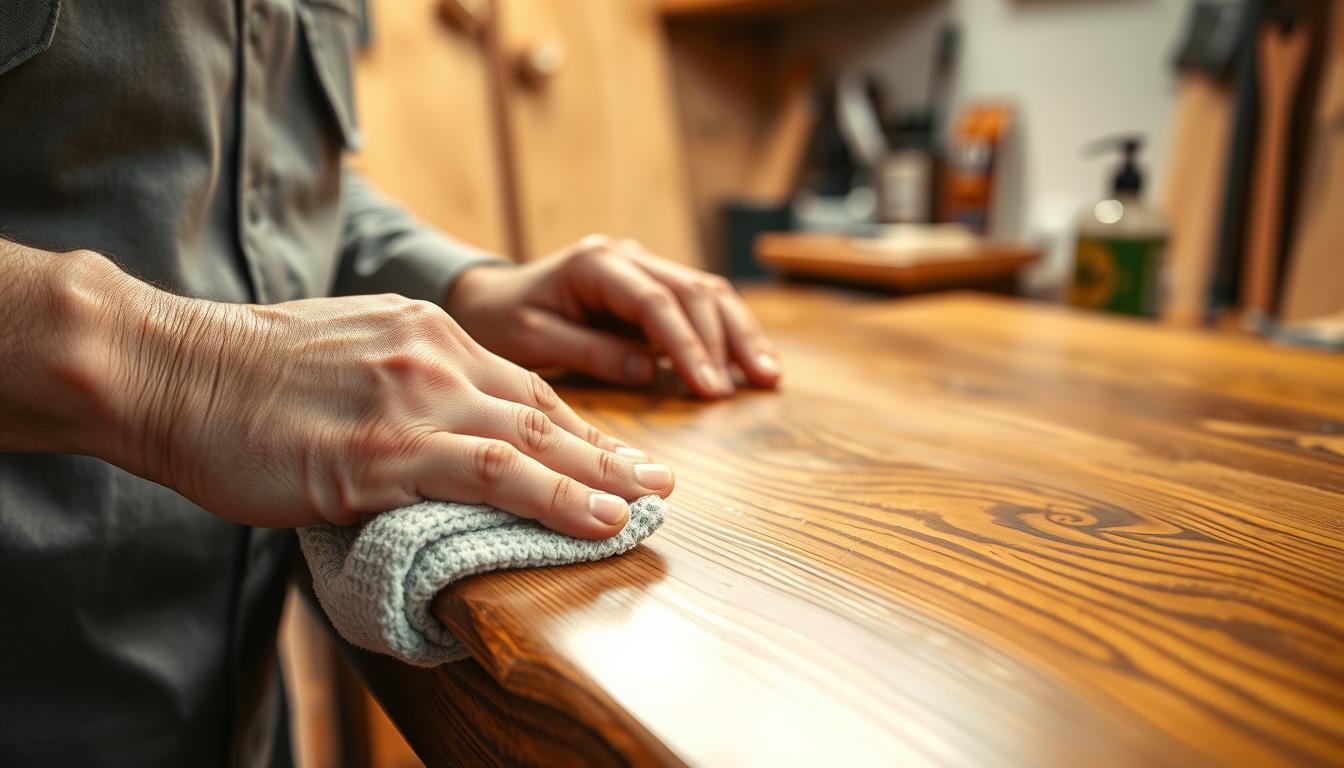
Dust Removal Between Steps and Before Finishing
A clean surface makes your next pass and final coat work predictably. Treat dust removal as part of the process, not an afterthought. Leftover grit will embed under the next layer and show in the finish.
Best-practice cleaning routine
Vacuum with a brush attachment first to lift loose dust from pores and profiles. Follow with a light wipe using a tack cloth to catch fine particles.
When to use a damp cloth vs. a tack cloth
Use a damp cloth for general cleanup, then let the surface dry fully. Reserve the tack cloth for the final pickup right before a coat. Tack cloth removes the last clingy particles without adding moisture.
Keep contaminants out of your coats
Flick dust from grooves with a dry paint brush, vacuum again, and then wipe. Store clean brushes in sealed plastic bags after they dry. Keep rags and your shop tidy so dust nibs don’t spoil the finish or the final coats.
- Repeatable step: vacuum → tack cloth for between-grit work.
- Detail care: use a dry brush for carvings before vacuuming.
- Contamination tip: store clean brushes and cloths sealed between uses.
Next Steps After Sanding: Paint, Stain, or Clear Coat Options
Pick the finish first—your choice determines whether a quick scuff or extra smoothing is needed. Decide now if you want to paint, apply a wood stain, or use a clear coat so your prep matches the outcome.
Painting
For paint projects a scuff sand is often enough. Remove gloss with light abrasive so the primer and first coat get good adhesion.
Staining
For staining, avoid going too fine. Stopping around 180 prevents reduced absorption that can shift color. Test a scrap if you’re unsure.
Clear coats and between-coat sanding
Film finishes like polyurethane need a light rub between coats. Use about 220 grit, and use extra-fine grits (320–400) only for final polishing.
Raw-look and sealing
Want a raw look? Let some darker tone remain in grooves for contrast. Use liming or cerusing waxes to seal without darkening the surface.
- Match prep to finish: paint vs. stain vs. clear coat requires different steps.
- Durability: high-use tops usually need a proper clear coat even over paint; low-use projects may not.
- Test first: always try your stain or coat on a hidden area.
Conclusion
Conclusion — a simple routine wins. Use this guide as a checklist: clean the piece, pick the right tool, choose a grit progression, sand in steady passes with the grain, and remove dust before you finish.
Match goal to method. Scuff for paint; remove finish for stain or raw restorations. That single choice is the biggest factor in whether your final coat looks right and lasts over time.
If you spot swirls or scratches, slow down and move to a finer grit. Repeat until the scratch pattern is uniform, then vacuum and wipe with a tack cloth before your next coat.
Final quick checklist: no glossy spots, no clogged-paper marks, details handled by hand, and dust cleared with a vacuum plus tack cloth. Now decide: paint, stain, or clear coat, and proceed with confidence.
Be patient. Consistency and light, steady work save you repair time later and turn a good project into a great one.