Clear epoxy can both stabilize and highlight knots, checks, cracks, insect galleries, and live-edge gaps. You’ll learn when a resin fill is cosmetic and when it’s meant to add real strength.
Start with the right formula. Epoxy resin is a two-part mix of resin and hardener that cures to a smooth, glassy finish. It bonds to fibers, cures waterproof, and is ideal for many DIY projects like live-edge tables and countertops.
This guide sets clear expectations: you will prep and seal the surface, mix accurately, pour in controlled lifts, manage bubbles, and finish for a durable result. Expect tips to avoid common failures: cloudy cure, leaks from poor masking, bubbles from open pores, and sticky cure from bad ratios.
Note the scope: this walk-through focuses on filling and strengthening voids. If a piece is truly structural, you may need mechanical reinforcement beyond a resin fill.
What clear epoxy resin does for natural wood voids
A properly chosen resin fill both secures fragile grain and highlights natural character.

Inside a void, clear epoxy resin wets fibers, seeps into micro-gaps, and cures to a rigid yet slightly flexible mass that locks loose grain in place. It stabilizes splits and binds loose fragments so the surface resists further movement.
When it strengthens vs. when it’s mainly cosmetic
You get real strength when the void carries load or lies along a stress path, or when checks might grow. Small pin knots, shallow character marks, or purely decorative gaps are mainly cosmetic fills.
How two-part systems bond as they cure
Two-part systems mix Part A and Part B to start a chemical reaction. Accuracy matters: ratios and thorough mixing determine final hardness and clarity.
Choosing the right type for deep voids and river pours
Sealing/topcoat materials level thinly. Deep-pour formulas have lower exotherm and longer open time so large masses flow without overheating. Repair-focused products are tough, sandable, and sometimes tintable.
- Select long-work-time resin for deep fills and river-style pours.
- Pair a penetrating consolidant on rotten grain before a thicker fill for reliable repair.
- Expect a milky look early; proper mix and cure clear the batch.
Safety and workspace setup for epoxy on wood
Safety first: set up before you mix. A clean, level workspace with good airflow prevents accidents and protects the finish.

Protective gear to wear
Wear chemical-resistant gloves, safety goggles, and a fitted respirator every time you handle materials. For sanding or strong-odor penetrating products, use a respirator with an organic vapor cartridge (example: Moldex, NIOSH/MSHA approved).
Keep a pair of rubber gloves for cleanup and a spare set for changes. Replace gloves if they swell or tear.
Ventilation and fume control
Cross-ventilation and an exhaust fan are non-negotiable indoors. Treat extended work like finishing: remove ignition sources and plan to vacate the space during cure hours.
Tools, containers, and cleanup
- Tools: use a natural bristle brush for thin products and a putty knife for paste fillers; avoid foam brushes when the product warns against them.
- Containers: mix in polyethylene or polypropylene tubs, or metal—do not use paper/cardboard or polystyrene foam cups.
- Cleanup: keep disposable mixing sticks, paper towels, and the manufacturer-approved solvent on hand. Avoid skin contact and wash promptly with water and soap.
Control moisture and heat: don’t apply to damp timber and keep heat sources away so the cup cure doesn’t accelerate unexpectedly.
Prepare the wood surface so epoxy filler adheres and stays clear
Confirm the piece is dry and dimensionally stable before you begin. Make sure the wood is kiln-dried or fully air-dried. Trapped moisture raises cure temperature, causes cloudiness, and forces bubbles out of pores as the fill warms.
Clean, level, and sand with the grain
Remove dirt, oils, and loose bark. Check for nails or fasteners and level the work so the resin won’t run to one side.
Sand with the grain to give the surface tooth for adhesion. Choose grit that provides mechanical bite without rough edges that trap debris.
Remove dust completely to protect your finish
Vacuum after sanding, then wipe with a clean, lint-free cloth. Dust left behind will embed in the clear finish and spoil clarity.
Seal and prime with a thin coat
Brush on a thin coat of mixed epoxy to seal porous fibers and end grain in the void. A cured primer blocks trapped air so your main pour stays clearer and more uniform.
Masking and leak-prevention tactics
Use plastic packaging tape as a mold-release around edges and on undersides. Build tight dams where needed and burnish tape so it seals.
- Quick checklist: make sure the piece is level.
- Seal the void perimeter before you apply epoxy filler.
- Final check: tape and dams must be snug and dust-free.
Using wood epoxy to fill voids, knots, and checks without leaks
Accurate measuring and calm pacing turn a messy fill into a clean repair. First, confirm whether the product measures by volume or weight and calculate the exact amounts you need with a calculator. Only mix what you can place within the listed working time.
Mixing matters. Measure Part A and Part B exactly according manufacturer instructions. Mix slowly, scrape sides and bottom, then pour into a clean cup and mix again (double-cup) to avoid unmixed streaks.
Mixed resin often looks cloudy at first; that clears as it cures if blended properly. Use wide containers to reduce exotherm and extend working time.
Choose the right fill method
- Pour for open horizontal cavities.
- Brush thin wet-out coats for sealing and priming.
- Spread with a putty knife for wider gaps.
- Inject tight or deep cracks with syringes or caulking tubes.
Work in planned steps: prime/seal, fill small voids first, then larger areas. Reinforce dams and watch end-grain drain paths. For deep or vertical fills, build depth in lifts to control heat and shrink. For strength or body, blend fine sawdust or use a dedicated filler product where appropriate.
Control bubbles and flow with heat, tools, and timing
Control starts with calm timing and the right tool in hand. Air comes from three places: trapped in mixed material, released from porous end grain, and forced in by a fast pour. Address each cause to reduce bubbles and protect the finish.
For bubble removal, make short, steady passes with a torch or heat gun. Keep the flame or nozzle moving and several inches away so you do not scorch the surface or overheat the resin. Stop if the surface ripples or begins to yellow.
Feather back from porous edges with a clean brush after sealing the perimeter. This prevents bleed-out and over-spread into grain lines.
- Check containment: re-tighten tape dams and underside barriers before each lift.
- Viscosity timing: pour when the mix is still fluid but slightly thickened to limit drips and allow self-leveling in the desired direction.
- Catch early drips: keep a small tool handy to remove runs before they cure.
Cover the project immediately after the pour with a clean box, tote, or tent to block airborne dust and debris. Fewer bubbles and less contamination mean less sanding and fewer re-coats, which preserves clarity and the final application’s look.
Curing time, environment, and repeat coats for a durable repair
Predictable cures depend on stable temperature and controlled humidity. Aim for about 70–75°F and steady conditions so the resin cures evenly and clear.
Stages, hours, and what you can do at each stage
Tack-free often arrives in 4–8 hours; at that point stop touching the surface. Full cure usually takes 48–72 hours, but always follow manufacturer instructions for exact time before heavy sanding or load.
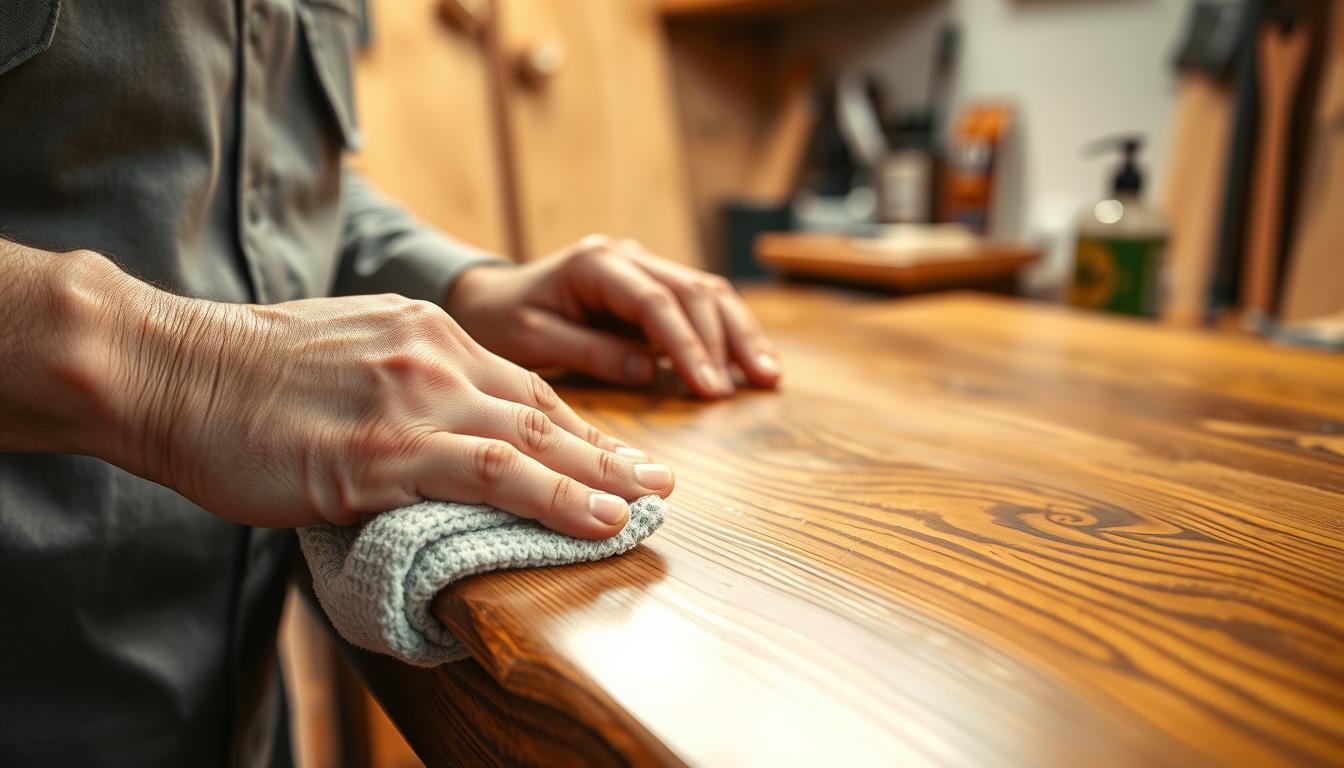
Sanding between coats
When you need a mechanical bond after a full cure, sand to a matte finish. Clean the surface between grits so dust does not embed and restore gloss with a fresh coat of epoxy filler or finish resin.
Troubleshooting sticky or uncured resin
If the layer stays tacky from bad measuring or poor mixing, remove the uncured material, prep the area, and reapply using correct amounts and mixing technique per manufacturer instructions.
Rot repair workflow
For rotted wood, remove loose punky material and dry the area. Saturate remaining fibers with a penetrating consolidant and let it cure 1–3 days depending on severity.
- Light rot: one saturating coat, cure 1–3 days.
- Moderate: remove decay, inject consolidant, repeat if needed.
- Severe: drill injection paths and perform multiple saturations before rebuilding.
After consolidation cures, fill voids with flowable resin in layers with about 24 hours between coats. Finish shape with an epoxy filler or putty, sand smooth, then prime and paint (for example, an alkyd primer plus quality acrylic paint) to protect the repair and blend the area.
Conclusion
Wrap up with a quick workflow check to lock in clarity and strength.
Summarize your steps: choose the right resin and filler, prep the surface until dry and dust-free, seal to block bubbles, place the fill without leaks, manage bubbles, and allow full cure before finishing.
Prep is the biggest quality driver. Make sure the wood is dry, clean, and free of dust so the clear fill stays clear and bonds long-term.
Do not skip accurate measurement and thorough mixing, and do not rush cure conditions—both control final hardness and clarity.
Finish roadmap: sand after full cure, clean between grits, then either recoat for gloss or move to primer and paint for exterior repairs.
For touch-ups, sand and polish minor scratches; for deeper damage, sand and recoat the area. Stage your tools, tape, containers, and calculated amounts before you mix to keep the project calm and controlled.