Hiding wood seams is about creating a smooth, painted surface where joints don’t show at normal viewing distance. A true seamless look means the panel joins do not telegraph through under everyday lighting.
Panels and boards move with humidity and heat, so your aim is to minimize visibility, not fight physics. Expect some shifting over time and plan with the right materials and prep.
This guide shows three clear approaches: careful surface prep, a compound-and-paint system, and design-forward options like trim or lighting to make joints intentional. You’ll learn where seams most often appear—wall paneling, built-ins, long tops, and butted sheet goods—and how to address each.
Why it matters: defects tend to stand out after paint unless you prep correctly. By the end, you’ll have a step-by-step method to hide joints and smart alternatives that turn visible lines into clean design features for your next weekend projects.
Why Wood Seams and Joints Show Up and What “Seamless” Really Means
Seasonal changes cause panel edges to shift, so seams that look fine in spring can change by late summer. Even precise builds reveal a line because sheet goods have cut edges, framing may not be perfectly flat, and materials expand or contract with humidity and heat.
How movement happens: moisture makes boards swell; dry spells make them shrink. That movement can open or close a seam over time, letting a joint print through the finish when light hits it at the right angle.

What “seamless” means in practice: you aim for a consistent plane and even sheen so the eye doesn’t catch a line under raking light. A true seamless look is about perception, not perfection.
- When to conceal: hide a seam if it sits on a main sightline, will get glossy paint, or faces strong directional light.
- When to feature it: consider a narrow cap strip painted to match or a contrasting strip so the joint reads as design, not defect.
- Best place strategy: put joints where the eye is naturally interrupted—inside shelving sides, under counters, or away from the room’s main view.
Plan seams by mapping the room’s main viewpoints (entry, couch, TV). Place joins in less noticeable spots and accept small movement over time as normal. That way, your finish will keep a clean, intentional look longer.
Surface Prep That Makes Seam Hiding Actually Last
Treat the area like a small renovation zone: clear, cover, and control dust before you sand or fill. Proper prep cuts the risk of flaking, shrink-back, and poor adhesion later.
Protect your home and workspace
- Move furniture away and keep pets out until dust settles.
- Lay a canvas drop cloth or plastic sheeting to protect floors.
- Wear a paint mask and safety glasses—dust and fumes are the hidden downside of any project in an occupied home.

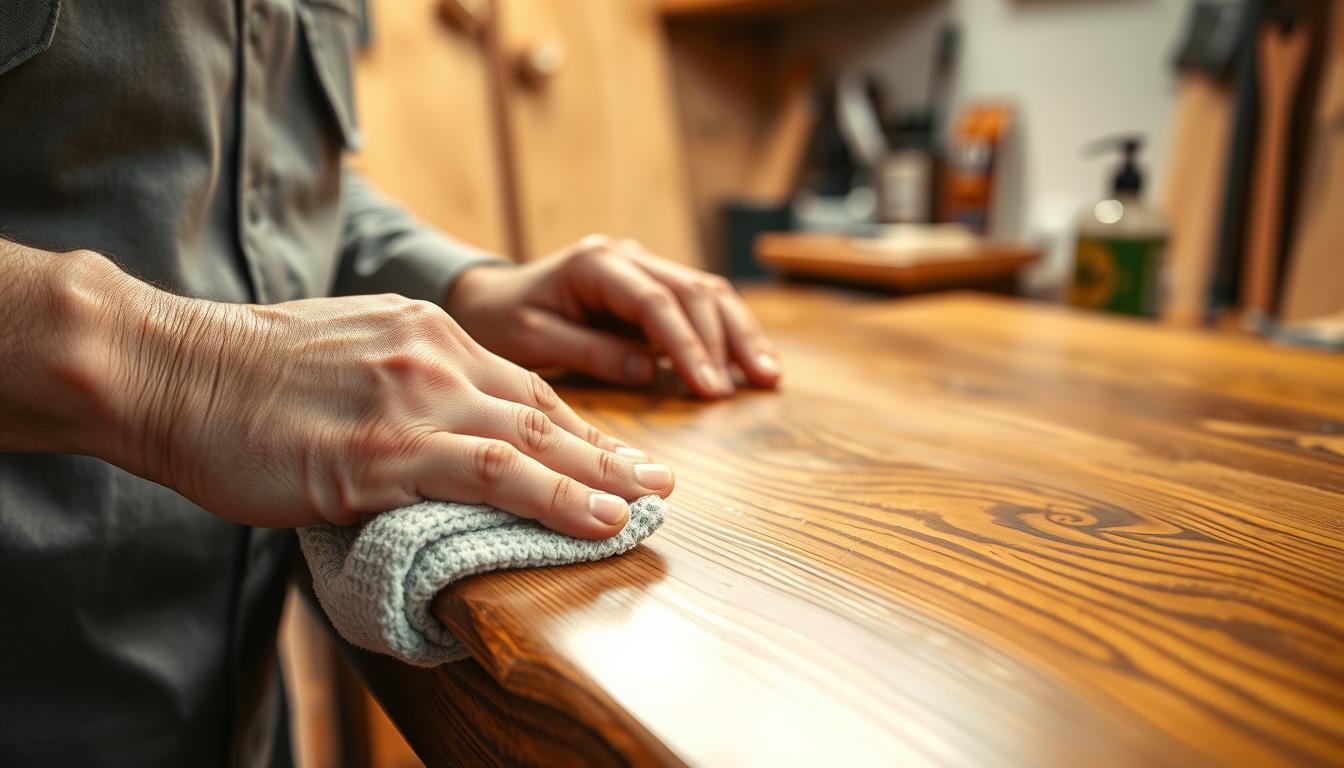
Work panel by panel with 220-grit. Follow the grain and aim for an evenly dulled sheen. Don’t create glossy islands; an even dull surface helps primer and putty grip.
Clean the dust the right way
Wipe with a damp rag that’s wrung out well, then use a tack cloth for tight lines. Vacuum corners and seam channels where dust packs in—this small step prevents compound from failing later.
Dry-time discipline
After wiping, let the surface air dry about 15 minutes. The surface may feel dry sooner, but waiting prevents trapped moisture from breaking adhesion down the line.
Quick checkpoint before you move on:
- Surface feels dry and looks uniformly dull.
- Panels are free of visible dust in joints or on faces.
- Safety gear and drop cloths remain in place while you work.
Hiding wood seams with Filler, Joint Compound, Sanding, Primer, and Paint
Match product to movement. Use flexible caulk where panels will shift. Use wood filler for small, stable gaps. Use joint compound when you want a paint-ready, flat surface across a panel join.
Load a flexible 4″ broad knife with about 1″ of compound on the edge. Pull directly along the seam at 90° to fill the gap. Then hold the knife at about 45° and make 2–3 long pulls to feather edges into the panel.
- What not to do: avoid rigid putty over moving joints; it will crack.
- If the seam is deep, plan 1–3 thin coats rather than one heavy pass.
Sanding, primer, and paint
Let the compound dry about 24 hours (longer in cool or humid rooms). Sand with 100-grit to level without gouging. Wipe dust with a damp rag and let dry.
- Prime with a stain-blocking primer (oil or shellac for tannin risk).
- Roll primer and paint with a 3/4″ nap foam roller for a smooth finish.
- Follow recoat timing—latex paint often allows a touch-up coat in about 1 hour; primer may need ~24 hours.
Final check: inspect under raking light before the last coat. If a line shows, add a thin compound coat, dry, sand, then finish.
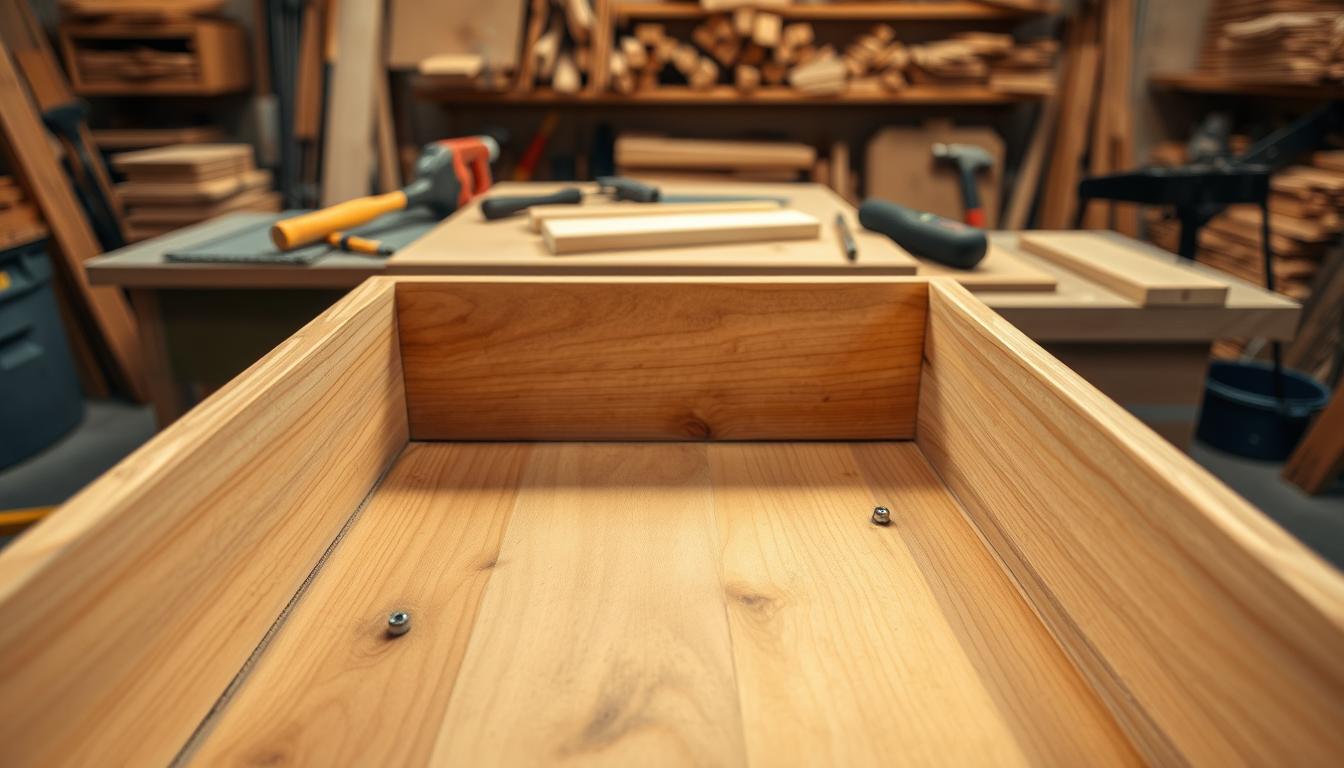
Alternative Ways to Hide Seams Without Relying Only on Compound
You can choose mechanical or design solutions that accept movement and last longer. In high‑movement areas or long runs, compound alone often cracks over time. Using trims, channels, or smarter build methods gives you a durable, intentional finish.
LED channels that read as a feature
LED channels hide a line and add ambient light so the joint reads as deliberate. Typical channels come in a 47‑inch length with a 3/4‑inch profile.
Install steps: measure and cut to size, screw the channel in place, stick the LED strip inside, snap on the cover, then finish with end plugs for a clean termination.
Metal edge trims for a modern protective finish
Metal trims fit over the joint, protect vulnerable edges from impact and moisture, and look intentional. Measure, cut with a miter saw, and secure with construction adhesive for a neat result.
Build smarter to reduce telegraphing
For painted built‑ins and long tops, add a backing strap under the joint and fasten from the underside. This keeps the joint tight so it is less likely to show through the finish.
Material and placement choices
- MDF can give you a one‑piece top when transport allows, eliminating seams entirely.
- Align joints with shelving sides or vertical partitions so the line breaks visually and the room reads cleaner.
Conclusion
A lasting finish comes from strategy: smart seam placement, careful prep, and the right drying times. Keep seams visible only where they can read as design, and plan each joint before you start.
For the smoothest result, prep thoroughly, apply compound in thin coats, sand between passes, then prime and paint with the correct products. Primer choice matters for stain blocking and adhesion.
Avoid the common failures: painting over dust, sanding too soon, skipping stain‑blocking primer, or using rigid filler where movement occurs. These mistakes let a line reappear fast.
Before you call the job done, inspect under side lighting and run your hand across the surface. Expect seasonal movement; check again over the next week and be ready for small touch‑ups at the end of that time.
When you combine smart placement, patient compound/primer work, and optional trims or lighting, you get an intentional finish that holds up. Thanks, thanks, thanks for reading and good luck with the job.