You’re about to learn practical steps for stabilizing and filling a large split in solid wood. Wood moves with moisture changes, and small splits can be cosmetic while larger gaps affect structural integrity.
Expect a strong repair to have tight edges, a level surface, and a finish that blends so the damage doesn’t dominate the table’s look. Full invisibility is seldom realistic when grain and color vary across a wide gap.
This short guide previews three main paths: close-and-glue with clamps, epoxy filling for missing wood, and reinforcement (bow ties or splines) for lasting strength. Choose the method that fits your table, your skills, and the time you can allow for cure and finish work.
Before you start, plan tools and materials—glue, epoxy, clamps, sanding gear—and resist rushing sanding or refinishing. Proper cure time and careful blending make the repair blend into your furniture instead of standing out.
Diagnose the Crack Before You Start: Size, Location, and Why It Happened
Before any repair, inspect the damage carefully. Measure the size of the gap and note where the split sits on the table top. Is it near an edge, along a glue line, or across the grain? That place changes which method will hold long term.
Check whether the split is cosmetic or structural by pressing the edges gently. Watch for movement and look under the top to see if the underside opens the same way. Hairline splits that close under pressure usually glue and clamp cleanly.

Consider common causes: dry winter air, rapid temperature swings, and sunlight can shrink and dry wood, driving cracks to grow. Stop holes rarely help when ongoing shrinkage keeps pulling ends apart.
- If the crack closes and aligns, glue and clamp for strength.
- If there are voids or missing piece, epoxy fill works best.
- If the gap reopens, plan for reinforcement such as a bow tie or spline.
Tools and Materials You’ll Use for a Strong, Clean Furniture Repair
Start by lining up the tools and materials that will make the joint both strong and neat. Having gear ready keeps you from rushing and helps produce a clean finish.

- Clamps sized for your table top, protection blocks, and shims to fill gaps.
- Handsaw, chisel, or router with the right bit for inlay work and a sharp knife for trimming.
- Sandpaper in coarse-to-fine grits for leveling the surface and blending edges.
Clamping and protection
Use scrap blocks under clamp faces to avoid denting the surface. Put wax paper between blocks and the top so squeeze-out won’t glue the blocks down.
Adhesive choices made simple
PVA wood glue is best when the crack closes tightly—set time can be 10–15 minutes and full cure around 24 hours. Epoxy fills voids and bonds where pieces are missing. Thin CA works as a spot-stabilizer to wick into small defects, but it can restrict movement if overused.
Consumables and color matching
Masking tape makes an easy dam under the crack; paste wax beside the joint simplifies cleanup. For appearance, use dye-tinted epoxy or wood filler/putty to match grain and color, then sand carefully and apply your finish coat after the recommended drying hours.
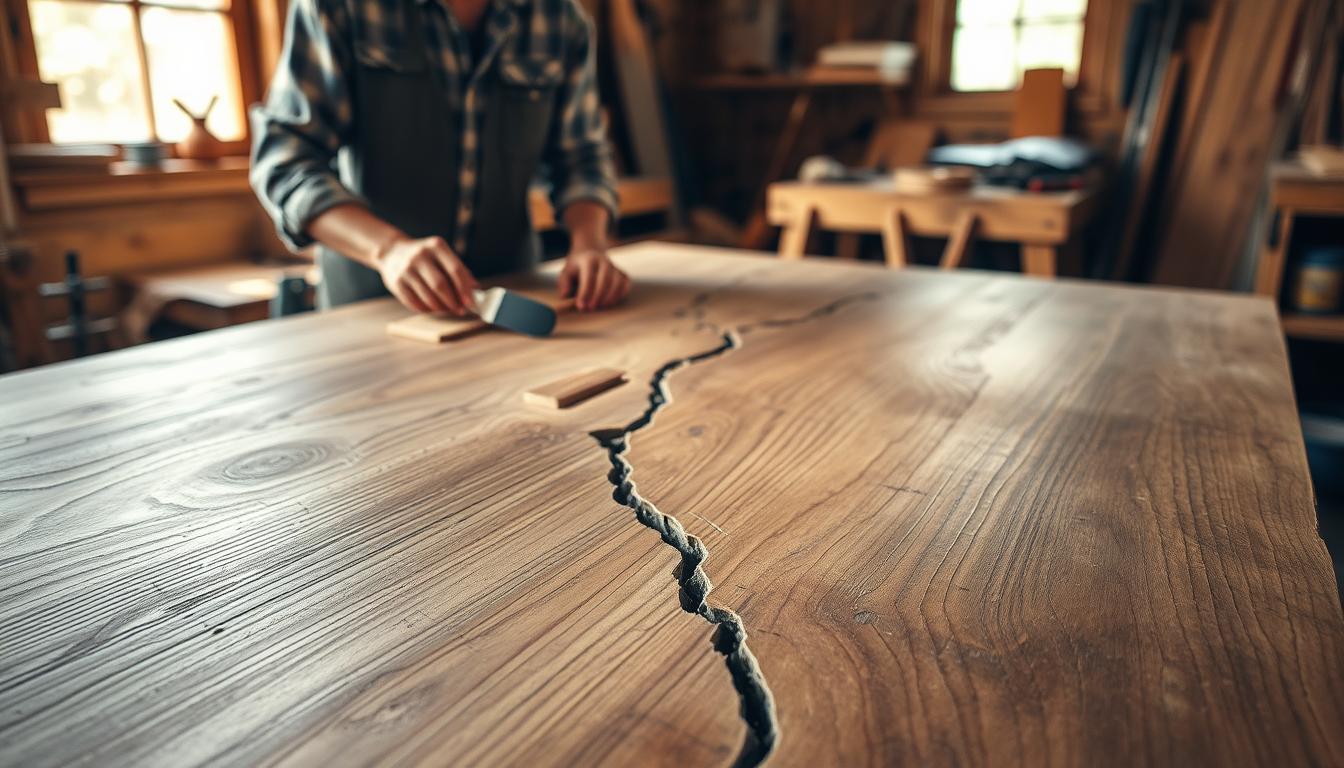
Fixing a cracked tabletop by Closing and Stabilizing the Split With Glue and Clamps
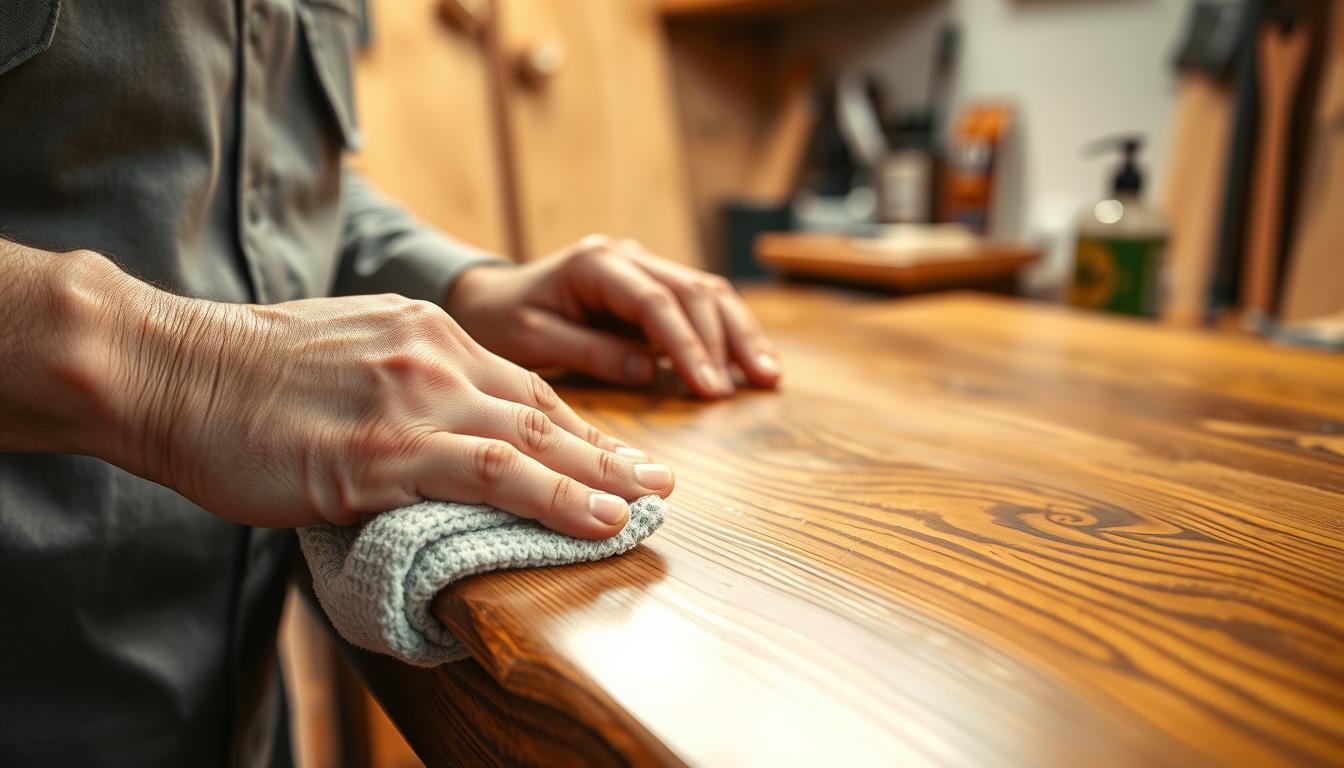
Start by preparing the split so glue can reach clean wood fibers and form a lasting bond. Remove dust, finish residue, and loose splinters with a sharp blade or fine sandpaper right at the edges. If the split is tight, open it slightly so debris doesn’t get trapped, then clean again.
Drive adhesive deep
Work glue into the crack using a thin spreader or a folded paper strip for narrow gaps. For full-depth penetration, try the shop-vac draw-through trick to pull adhesive through the joint.
Clamp setup and protection
Use even pressure with clamps, protection blocks, and wax paper under blocks so they don’t stick. Align the grain and keep the surface flush; do not over-tighten or you may bow the top.
When the gap won’t close & cure time
If the crack won’t fully close, fit a thin matching wood shim with the grain running the same way before you glue and clamp. Let the joint cure 12–24 hours—the glue grabs fast, but full strength needs time. Sand only after the recommended drying period to avoid ridges or weak spots.
- Troubleshoot: glue starvation comes from too little adhesive.
- Don’t skip clamps: weak bonds often follow skipped pressure.
- Wait to sand: sanding too soon causes visible ridges and failed repairs.
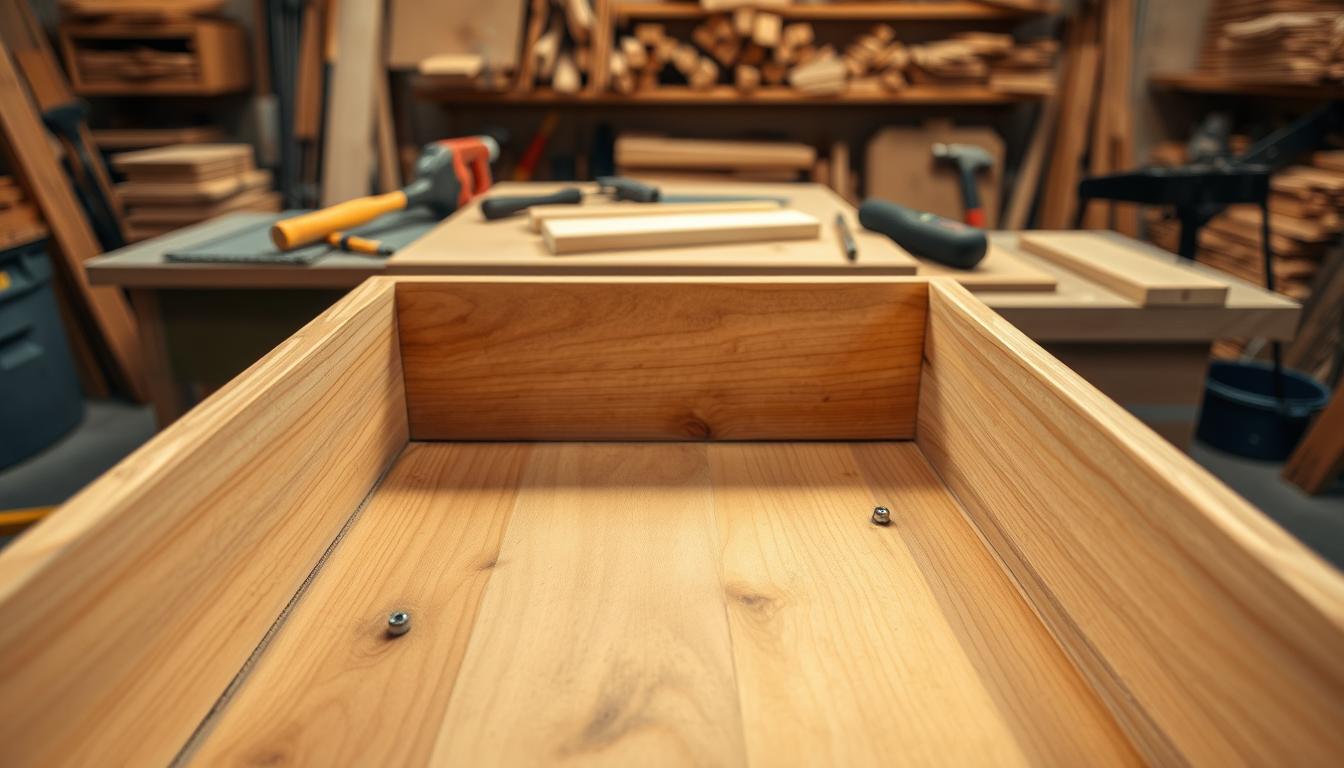
Fill Large Gaps and Missing Wood for a Flush Tabletop Surface
When wide gaps or missing pieces leave a hollow in your wood surface, choose epoxy when strength and gap-filling matter more than cosmetic putty. Epoxy bonds and penetrates where wood filler will crack or fall out, especially on deep voids that won’t close with clamps.
Build a leak-proof dam
Before you pour, tape the underside and edges with masking tape to act as a dam. That keeps resin in the repair area and gives a clean cured line.
Pick the right epoxy and mix carefully
Use a slow-curing, penetrating system (West System–style) rather than five-minute mixes for structural work. Measure and stir per instructions. Tint small portions with dye or powdered pigment to blend color with the grain; aim for a natural look, not perfect invisibility.
Pour in lifts, control bubbles, and finish
Pour in thin lifts to counter shrink-back and keep the fill level with the top. Pop bubbles with gentle heat and scrape excess after tack-off using a sharp knife edge. Protect surrounding finish with paste wax so cured squeeze-out peels cleanly.
- Manage large gaps with epoxy for lasting strength.
- Pour slow cures in stages to keep the surface level.
- Sand only after full cure to avoid smearing the finish.
Add Long-Term Strength When a Crack Wants to Reopen
When a season of shrinkage keeps reopening the same seam, add mechanical locks for lasting strength. Wood movement, stress release, and humidity swings can keep pulling on a weak line even after glue cures. Reinforcement gives the top a durable defense that simple filling cannot.
Bow ties (butterfly keys) to lock the split
Bow ties wedge across the grain so wide ends stop the split from widening. Size each key about one-third of the thickness and let it extend roughly 1/2″ past any microfractures for full hold.
Trace the piece, remove waste with a router or drill + bit, then refine the recess with chisels and sandpaper until the bow tie fits tight without forcing it. Glue for wood-to-wood contact; use clamps or gentle mallet seating until the adhesive grabs.
Spline or slot-and-spline reinforcement
For wider gaps, wait until movement stabilizes, then cut a slot and fit a spline. This method can be stronger than a single epoxy fill because the spline carries shear across the crack.
Hidden reinforcement for a cleaner top
If you want a simple top, install keys or straps on the underside. That preserves the visible finish while still adding strength to the table. Use epoxy where gaps remain; prefer wood glue for tight wood-to-wood joints.
- Layout: find microfractures and center the key over the main split.
- Tools & step: trace, hog waste with router/drill + bit, fit with chisels, plane or sand flush.
- Finish tip: sand while glue is slightly wet to blend tiny gaps, then finish per the top’s existing coat.
Conclusion
Pick the repair path that best fits the split’s size, location, and movement. Close-and-glue when the seam will clamp shut. Use a gap-filling resin when parts are missing. Add keys or splines if the joint keeps reopening.
Prepare well: clean bare wood, choose the right glue, and allow full cure hours before you sand or reuse the table. Level the surface, blend the work visually, and match sheen so the repair does not draw the eye.
To help the fix last, keep indoor humidity near 40%–60% and avoid prolonged heat or direct sun. Solid wood will still move, but with the right method and care you can restore function and the look of your table top for years.