You want to stop drawer wiggle and restore strength by tightening the joint, not by hiding the problem with extra hardware. This short project shows a clear path to a snug fit using basic hand skills and simple tools.
Expect old furniture to move with seasons and use. Repeated opening, quick fixes, and dry wood can leave a once-crisp dovetail looking sloppy. Most of the time it is repairable without a full shop.
Depending on the damage you will re-glue and clamp a cleanly separated fit, clean out old glue that blocks seating, or install a small wedge where wear caused a gap. You will work from the bench to protect the piece, keep things square, and control sawdust and glue squeeze-out.
Avoid prying on the side or levering against end grain. That is the fastest way to split a tail or mar show surfaces on older wood. This method stays beginner-friendly, but it asks for patience and careful cleanup so the joint seats fully.
Understanding Dovetail Joints in Old Dresser Drawers
First, inspect how the tails and pins work together so the pull force actually tightens the fit. The angled tails lock into pins and create a mechanical grip that resists pulling. Glue just strengthens that hold so you rarely need nails.

With the drawer open, note the pin board (usually the front) and the tail board (usually the side). End grain and grain direction change how the wood looks and how strong the contact will be. Your hand will feel areas where the fit is not tight.
Why wear happens: Daily racking, heavy loads, vibration in moves, and humidity swings stress glue lines and wood fibers. Over time those forces let the mating surfaces slip or crush.
- Symptoms you can feel: side-to-side wobble or a front that shifts when you pull.
- Common failures: glue failure with clean gaps, crushed pins, or a slightly undersized tail.
- When to be cautious: splits radiating from a pin, missing chunks, or one large gap mean you’ll likely add reinforcement instead of only re-gluing.
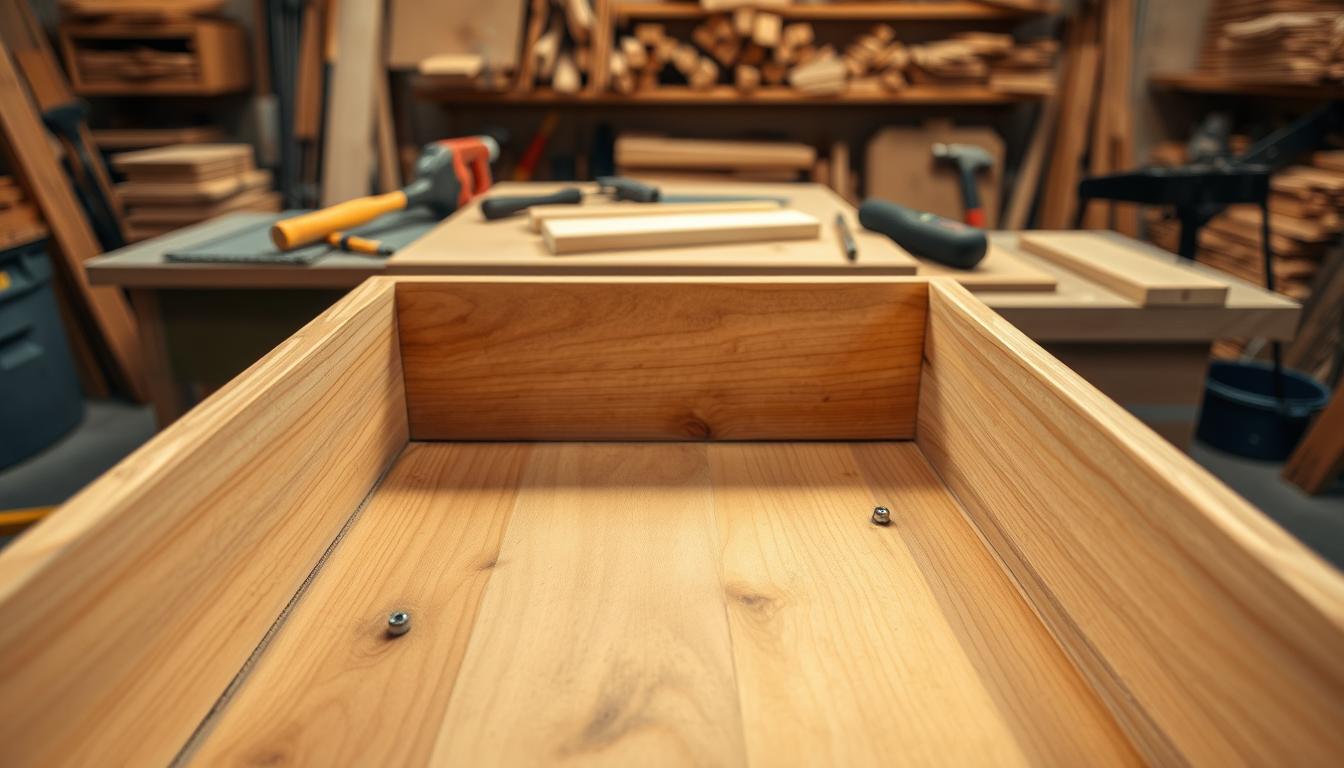
Tools, Materials, and Bench Setup for a Clean Repair
Set up a clean workspace and stage your supplies so every step flows without surprise. A small, organized bench makes the job faster and reduces mistakes.

- Core toolkit: rubber mallet for controlled tapping, large bar clamps to pull dovetails tight, wood glue for reassembly, a wet rag for cleanup, and sharp chisels for precise removal.
- Why sharp matters: a sharp chisel pares dried glue and damaged fibers cleanly. That preserves surrounding wood and gives a true seating surface instead of a rough match.
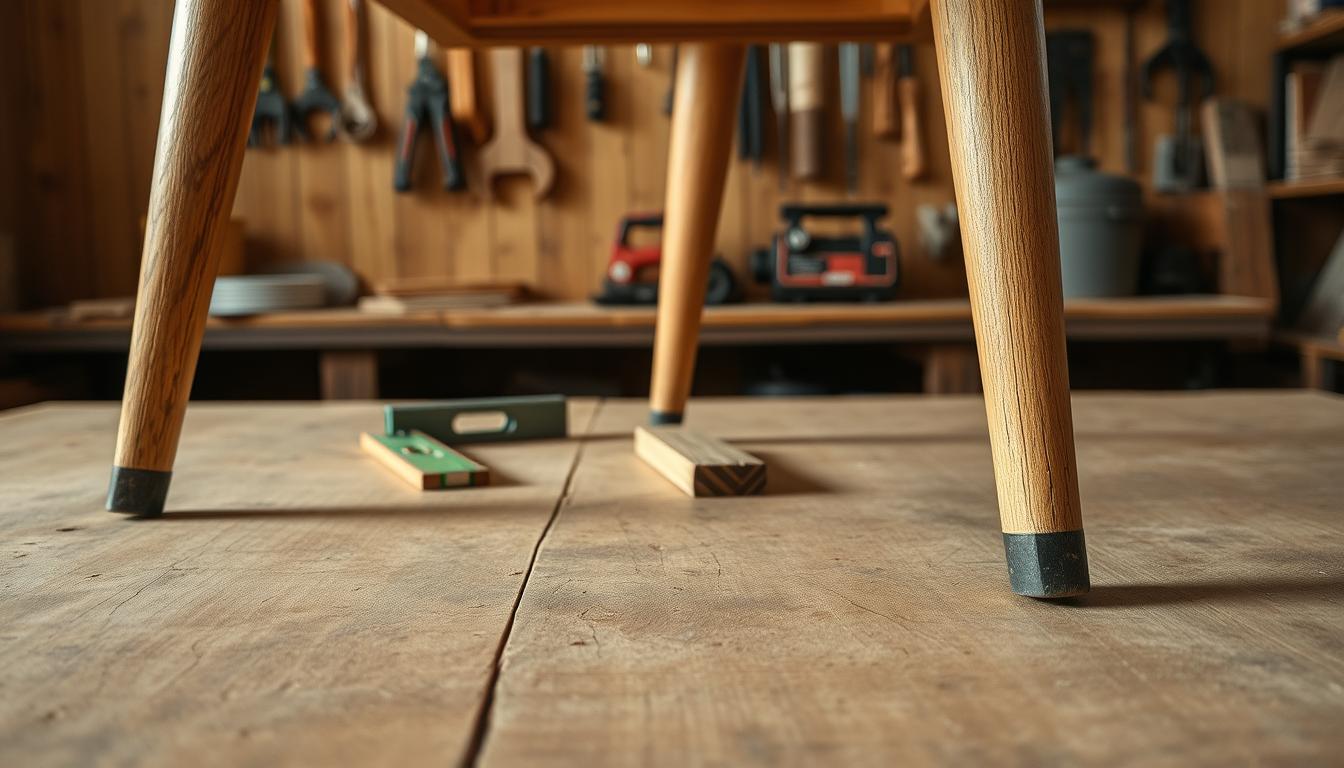
- Bench setup: flat surface, padded blocks to protect show faces, and clamp reach that spans the drawer without bowing the piece. Keep a small container for glue and your hand tools within reach.
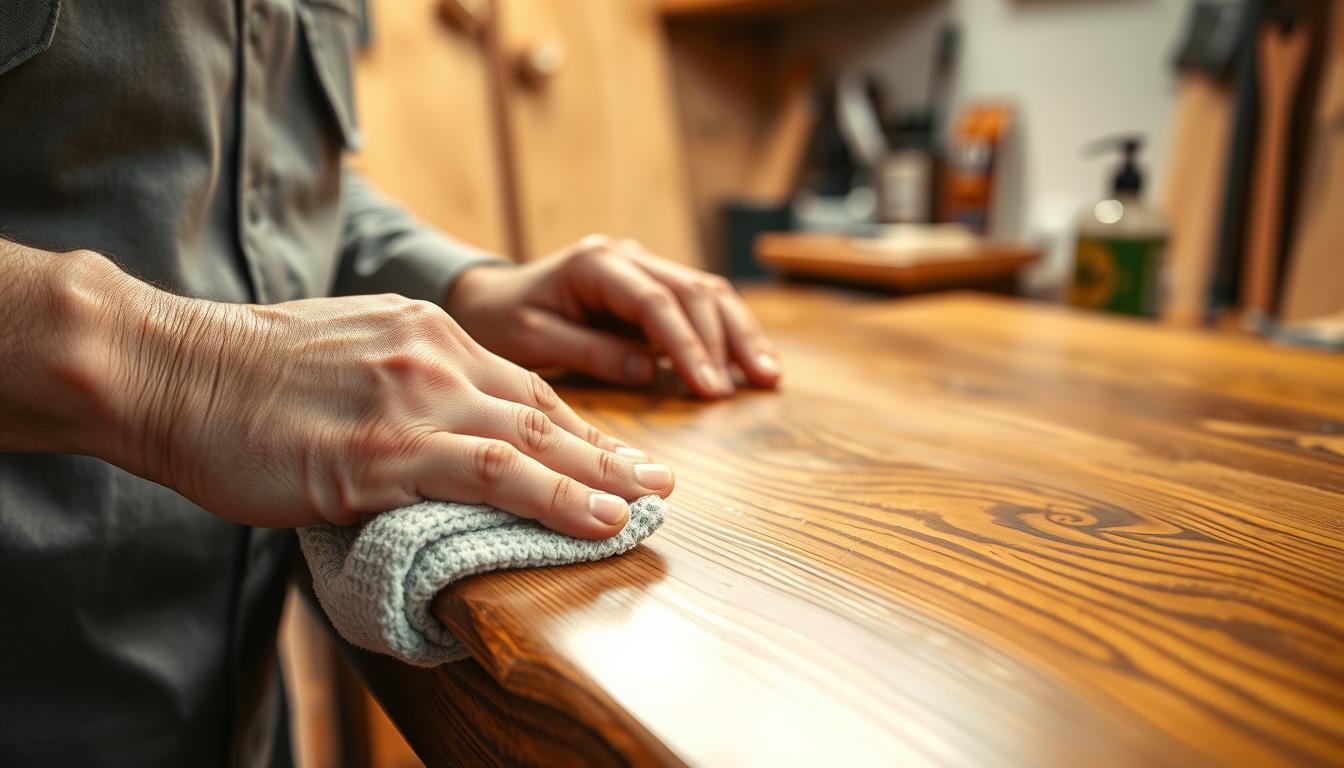
- Control dust and squeeze-out: vacuum or brush sawdust as you go. Wipe excess glue with a wet rag while clamped and avoid smearing into open grain where it will show under finish.
Dry-fit the parts before you glue so you know the way they register. When you clamp, apply pressure to close gaps and square the box—don’t over-torque and crush pins. This simple setup keeps the woodworking project safe and accurate.
Fixing loose dovetail joints with the right method for the damage
Begin by confirming whether the corner will close by hand or if something inside is stopping it from seating fully. This simple test tells you if the problem is glue failure, a bad prior repair, or an over-cut pin recess.
Remove hardened glue first. Pare away dried squeeze-out on outside edges with a sharp chisel so you don’t drive debris into the mating faces.
Soften internal adhesive based on type: hot vinegar gently breaks down hide glue; a heat gun or denatured alcohol helps modern wood glue. Then tap corners from inside with a rubber mallet to separate parts safely.
Clean all mating surfaces of broken fibers and old adhesive. Spread glue on both pins and tails for full coverage. Press the piece together and use large bar clamps to pull the assembly tight and square.
- Keep clamps on ~2 hours; allow 24 hours for full cure.
- Wipe squeeze-out with a wet rag while clamped.
- If the fit is inherently loose, fit a tapered wedge that matches grain, glue it, trim flush, and blend with a plane and abrasives.
Conclusion
Wrap up by confirming the restoration is stable and the drawer functions smoothly under normal use.
Follow the decision tree: re-glue when the parts separate cleanly, remove or soften old adhesive that blocks seating, and add a small insert when the geometry is worn or over-cut.
Carry forward the key steps: disassemble carefully, clean mating faces, apply full glue coverage, clamp square, and wait the full cure before handling.
When it’s done right the drawer closes smoothly, corners resist racking, and the repair looks tidy when the drawer is open.
Finish with a final inspection: check alignment, scrape any dried squeeze-out after cure, and run the drawer to confirm it operates true. This simple maintenance extends the life of older furniture and preserves original construction.