You can often revive a dull finish without full refinishing. Bringing back shine means improving the look and depth of the existing finish instead of stripping and sanding down to bare material.
In many cases, sellers and hobbyists use fast, no-sand methods to hide light scratches and boost sheen. You can expect a more even look and renewed surface appeal, but you may not erase deep gouges that go into the grain.
This approach works best on pieces with intact finishes that look dry, dirty, or lightly scuffed. It is a practical way to refresh everyday furniture at home and extend a piece’s useful life between full restoration jobs.
Through the article you follow a safe workflow: assess → deep clean → quick polish/refresh → targeted repairs → advanced finish revival if needed. You’ll learn about gentle cleaners, wax and grease removers, furniture polish, finish restorers, and specialty repair options.
Key takeaways: You can often achieve noticeable before/after results fast, save time versus full sanding, and know when to call for full refinishing.
Assess the Wood Furniture and Finish Before You Start
A quick, careful inspection will tell you whether a surface problem needs simple cleaning or a targeted repair. Take this step slowly so you don’t waste time or harm the finish.

Spot the real issue
Check if the dull look comes from surface dirt, a dried finish, water haze, or scratches that cut through the coat. Light scuffs and grime are good candidates for no-sand fixes. Deep scratches into bare material need repair.
Identify the finish type
Do a small solvent test in an inconspicuous area. Shellac reacts to denatured alcohol. Lacquer softens with lacquer thinner. A mixed finish may need a 3:1 alcohol-to-thinner blend. Varnish usually won’t reamalgamate.
Plan a safe test and workspace
- Pick a hidden test spot (underside lip, back edge, inside leg).
- Work in a well-ventilated area and avoid very humid days for shellac.
- Wear gloves and schedule the job in short stages so each step has proper drying time.
Deep Clean First to Reveal Hidden Color and Luster
Clean before you polish. Start by wiping the surface to lift loose dust, then wash with warm water and Murphy’s Oil Soap to remove grime without harming the finish.
Use a soft rag for broad faces and a small folded rag for tight profiles. Work with the grain and avoid scrubbing hard so you don’t embed dirt into the finish.
After washing, strip waxy build-up where restorers or solvent work will follow. A quick pass with mineral spirits or turpentine on a clean rag removes old wax and oils so later products make direct contact with the finish.

Mind drying time. Let the piece dry fully—often several hours or overnight—so oil, polish, or a restorer levels evenly and does not streak.
- Pay special attention to corners, crevices, and around drawers and hardware where residue hides.
- Use light, controlled passes; detail work prevents patchy color and uneven sheen.
- This step reduces blotchiness and helps any polish or oil look intentional rather than spotty.
Restoring wood luster With Quick No-Sand Refresh Options
You can refresh an aged finish fast by using a targeted furniture polish technique. This way works when the finish on your piece furniture is intact but looks tired. It gives visible results in minutes, not days.
Use Old English to feed the surface and hide scratches
Old English furniture polish is a practical no-sand fix. It visually “feeds” the material, deepens color, and reduces contrast from light scratches.
Pick the right formula for your piece
Choose dark formulas for walnut, mahogany, or cherry. Use light formulas on pine or maple so the piece does not darken or look uneven.
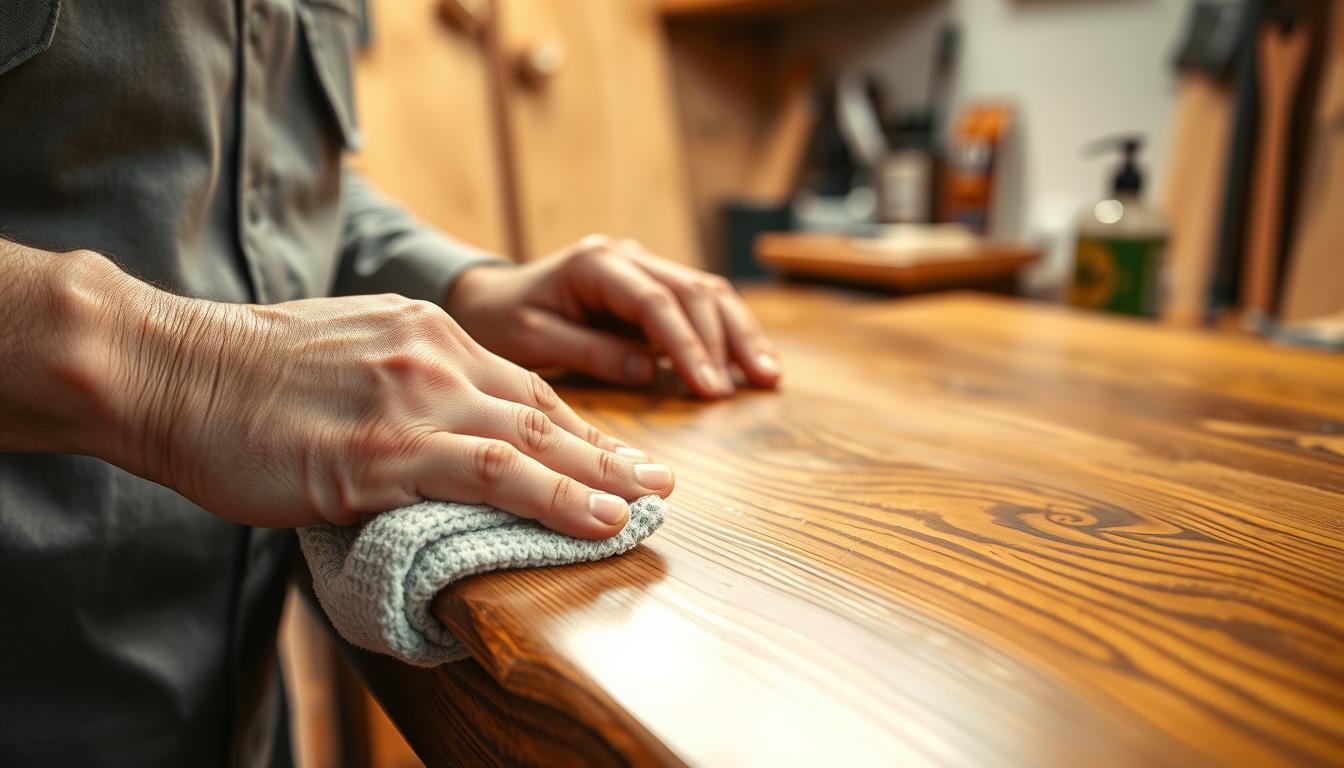
Application technique
Put polish on a cotton rag and rub with the grain. Work small areas, then level the sheen with light passes so the finish does not look oily or streaked.
Blending more visible scratches
For noticeable scratches, gently blend with very fine steel wool over the finish—never scrub into bare material. Pay special attention to corners and crevices for even coverage.
- Keep edges consistent for a professional look.
- Repeat the step if needed; results often improve after a second pass.
- This is a fast way to refresh a piece without full refinishing.
Fix Dull, Dry, or Damaged Finishes Without Full Refinishing
You can tackle a tired finish quickly with targeted products that blend wear without sanding. This approach saves time and keeps the original coating on pieces you value.
Work in small areas and ventilate well; some products have a strong smell and need airflow.
Blend wear fast with Howard Restor-A-Finish
Wipe on a matched Restor-A-Finish color like Walnut and rub with the grain. It evens color and reduces the look of worn spots on furniture surfaces.
Lock in protection with Howard Feed-N-Wax
After the restorer dries, apply Feed-N-Wax to add a smoother feel and subtle shine. Let it cure fully before light use.
Hide chips with a stain marker
Use a Minwax-style stain marker or touch-up pen to recolor exposed areas. Work carefully around edges and drawer faces for a neat match.
Reamalgamate crazed or alligatored finishes
Clean first with mineral spirits or turpentine. Match solvent to finish: alcohol for shellac, lacquer thinner for lacquer. Use a new natural-bristle brush and long, fast strokes with the grain.
- Middle path: blend, repair, then protect — no full strip required in many cases.
- Buff lightly with 0000 steel wool after reflow, then wax and polish for even results.
- Tackle mild water haze by rubbing oiled 0000 steel wool along the grain; deep blushing may need refinishing.
If musty odors linger in case pieces, seal interiors and drawer undersides with KILZ primer to trap smells without affecting visible paint or finish.
Conclusion
Follow a clear sequence—inspect, clean, revive, protect—to refresh your furniture quickly and safely.
This proven way starts with assessment, then deep cleaning, a matched no-sand restorer, and finally protection with wax or polish.
Save time by testing first, never skipping cleaning, and matching methods to your finish type rather than guessing across the whole piece.
If damage reaches the wood beneath the coat, stop and consider a spot repair or selective refinishing for a durable fix.
Maintain the result with gentle dusting, occasional wax top-ups, and by avoiding excess moisture so the improved life of the piece lasts.


