Your goal is simple: stop the wobble for good so the table stays steady during daily use and no longer damages the floor or itself.
Start by checking hardware and joints, then confirm whether the floor or the table causes the issue. Quick fixes like tightening or rotating the table can take minutes.
If the table still rocks, you’ll choose a permanent route: discreet shims, a durable bumper, an adjustable screw or a small extender, or careful trimming in tiny steps. Each choice trades off time and reversibility.
Why this matters: a wobbly surface can loosen connections, create a safety risk with hot or heavy items, and wear your floor when it shifts.
Your success looks like this: all legs meet the floor at once, the table won’t rock when pressed at any side, and the repair stays put without guesswork.
Why your table wobbles: uneven table legs vs. an uneven floor
A table rocks for two basic reasons: the base itself or the surface it sits on. Knowing which one is at fault stops you from making the wrong change and making the problem worse.
Table-side causes include wear at the bottom of a leg, slight warpage in wood parts, or a leg that no longer stands straight. Loose screws or worn joints can let the base rack and mimic a short leg when pressure shifts from one side to another.
Floor-side causes are common too. Most floors are not perfectly flat—small dips, crowns, or settled subfloors can make a four-leg table rock on two points. Older homes often have more variation.
- A table that wobbles no matter where you place it usually points to the table itself.
- If it only rocks in one spot of the room, the floor is often the issue.
- Decide the source first so you pick a durable repair that protects the floor and prevents more wear.

Confirm the real issue before you make changes
Don’t assume the base is to blame—run a quick test to find the true source of the wobble. A short check saves time and prevents unnecessary work. Use a known-flat reference surface to separate a floor problem from a twisted piece.
Use a flat reference surface to separate a floor problem from a twisted piece
Choose a sturdy workbench or a level center table as your standard. Set the table on that surface in the center and watch for rocking.
If the table sits flat on the reference, the issue is likely the floor at your normal place. If it rocks there too, the table base or joinery is the problem.

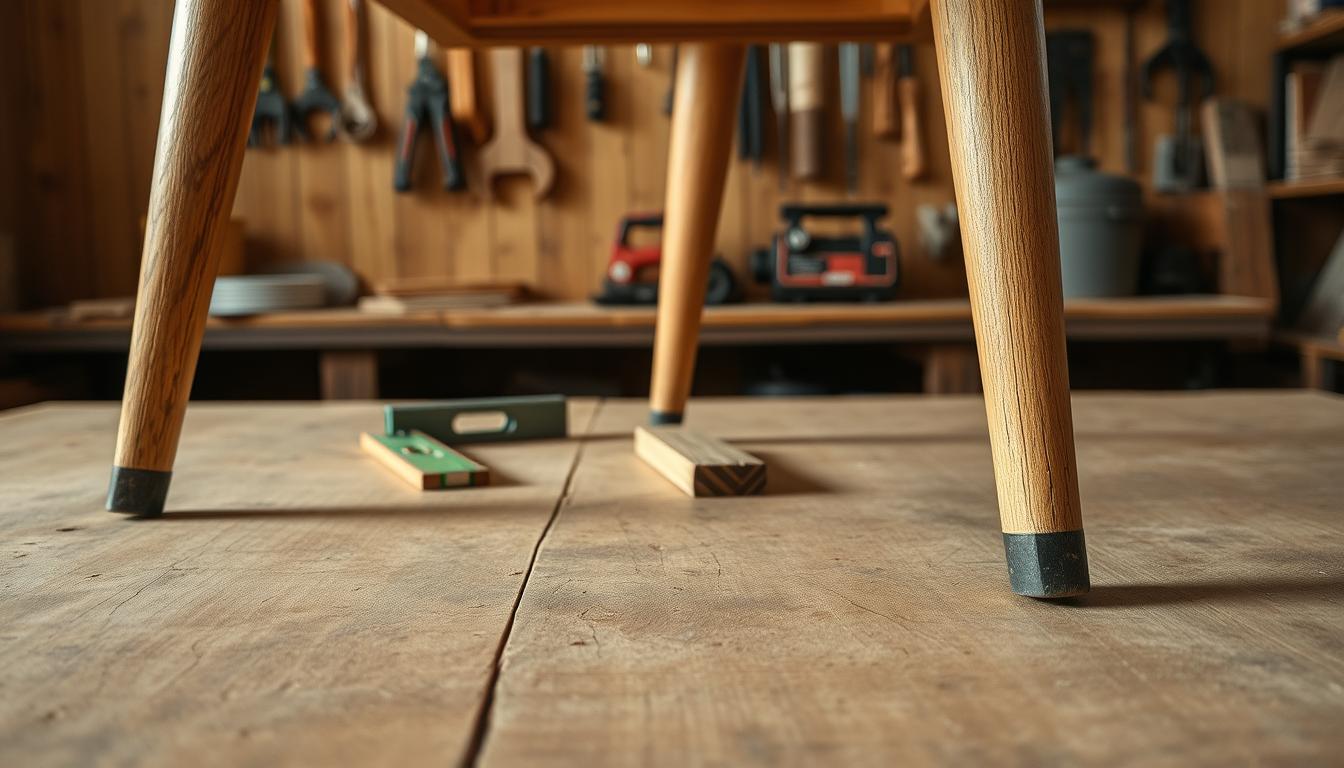
Identify which table legs are “long” by rocking the table and marking the culprits
Press down on opposite corners to make the table pivot. When the short pair rocks, the long pair resists—those are your culprits.
Mark the long leg ends with chalk so you don’t trim or alter the wrong piece. Move the table a few inches and repeat the test to confirm whether the twist is consistent or tied to a single floor dip.
- Use the flat surface as a control.
- Detect a base twist if it rocks off the bench.
- Mark long legs before you adjust anything.
Once you know whether the floor or the table causes the problem, you can pick a durable solution that stops the wobble for good.
Fast stabilization checks that can solve the problem in minutes
Begin with the quickest checks: tighten hardware and inspect joints before you change anything else. These steps often stop a wobble in very little time and save you effort later.
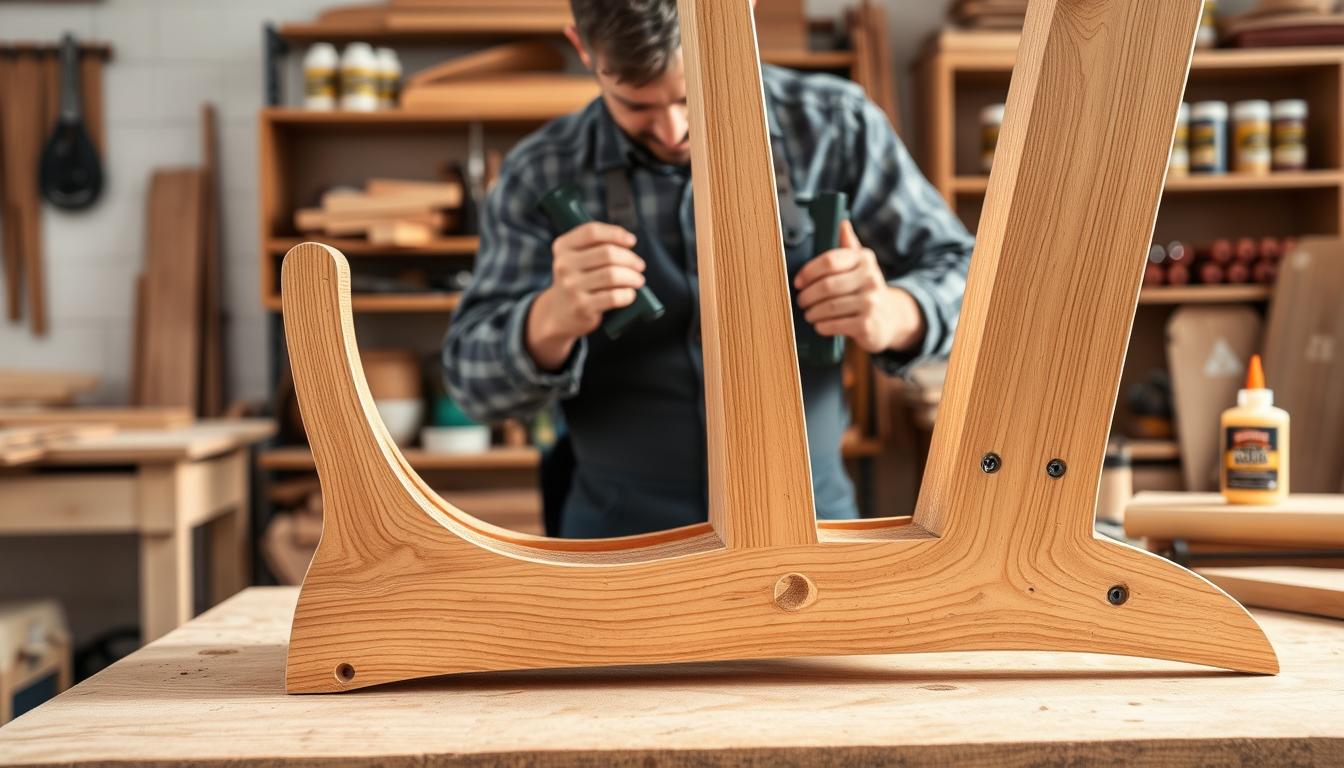
Tighten screws, bolts and glued joints to reset relative height
Use a screwdriver or socket to snug screws and bolts on each table leg and bracket. Check glued joints for movement and clamp or reglue any joint that shifts under pressure.
Doing this can restore the original alignment and change small height differences between legs. Test the table right away—this step often fixes the issue and saves time and materials.
Rotate or reposition the table to find a stable spot
Move the table around the room to see if the wobble stops in a different place. A round table can be rotated in tiny increments, while square and rectangular tables usually move best in 90° or 180° turns.
After each move, press down on every side of the tabletop to ensure all table legs stay planted. If the wobble vanishes in another place, the floor—not the base—is likely the cause.
- Start with the fastest, least invasive checks.
- Tighten hardware and inspect joints before leveling.
- Rotate the table and re-check from multiple sides to confirm stability.
Fixing uneven furniture legs with long-lasting, permanent methods
Try a measured, reversible adjustment first—it’s often the fastest route to full stability. Start with shims because they are controllable and reversible. A proper shim supports the short leg fully and stops the table from rocking when you press each side.
Choose durable shim materials: clear plastic wedge shims with ridges, cedar you can score and snap, or sturdy cardboard for tiny gaps. For a near-invisible option, cut a thin wine-cork disc and hot-glue it to the short leg so the piece stays put during daily use.
Sand shims to fine-tune thickness. Test and remove a little at a time until the table sits flat. Add stick-on felt, rubber, or plastic bumpers to protect floors and keep the contact point stable.
If a shim won’t reach, install a screw or lag-bolt extender as an adjustable leveling foot. In hardwood, drill a centered pilot hole parallel to the leg and sized to the bolt shank to prevent splitting. Adjust the bolt in or out until the table stops rocking, and place a felt pad under the head to protect the floor.
For too-long pieces, mark the long ones first. Remove tiny amounts rather than big cuts. You can use a table saw as a plane: set blade height very low (about 1/64″–1/32″) and move the leg laterally over the blade in small passes. Finish by cleaning the end grain and chamfering edges to reduce wear at the bottoms.
- Why shims first: reversible, precise, and time-efficient.
- When to use an extender: gap too large for shims or for heavy-duty permanence.
- Final touch: felt pads and chamfered edges protect floors and prolong the repair.
Conclusion
Conclusion
Make a final check to separate a floor dip from a tabletop twist, and follow the repair path that matches the gap.
Start by tightening hardware and stabilizing joints. Then pick the least invasive permanent method: a small shim or bumper for tiny gaps, a screw or lag-bolt extender for larger adjustments, or careful trimming only when a leg is truly too long.
Do not alter the wrong part: mark the long pieces before you remove material. After repair, press on multiple sides of the tabletop to confirm all supports stay planted without rocking.
Finally, run periodic checks of screws and joints. A quick tune-up prevents the wobble from returning and keeps your table steady for years.