You want your table or chair leg to look right, feel smooth, and hold up in daily life. This guide focuses on restoring a piece so it reads like original, not a patch. Goal: match color, shape, and sheen so the repair blends in.
Expectations matter. An invisible fix is possible but tricky. Filler will not recreate grain on its own, so you’ll rely on shaping, color matching, and finish control.
On this site you’ll follow a clear workflow: assess damage → choose filler → rebuild missing form → sand and profile → stain and finish → final protection checks. Use that plan to keep work tidy and predictable.
When to call a pro: if the leg wobbles, has severe structural loss, or can’t safely bear weight. For lighter corner rebuilds and squaring edges, you can often do it yourself.
We’ll compare epoxy resin filler, wood putty, and body filler so you pick the right material for depth, strength, and finish. Start with dust control, ventilation, and keep pets away while products cure.
Assess the dog-chewed damage and choose a repair approach for your wood furniture
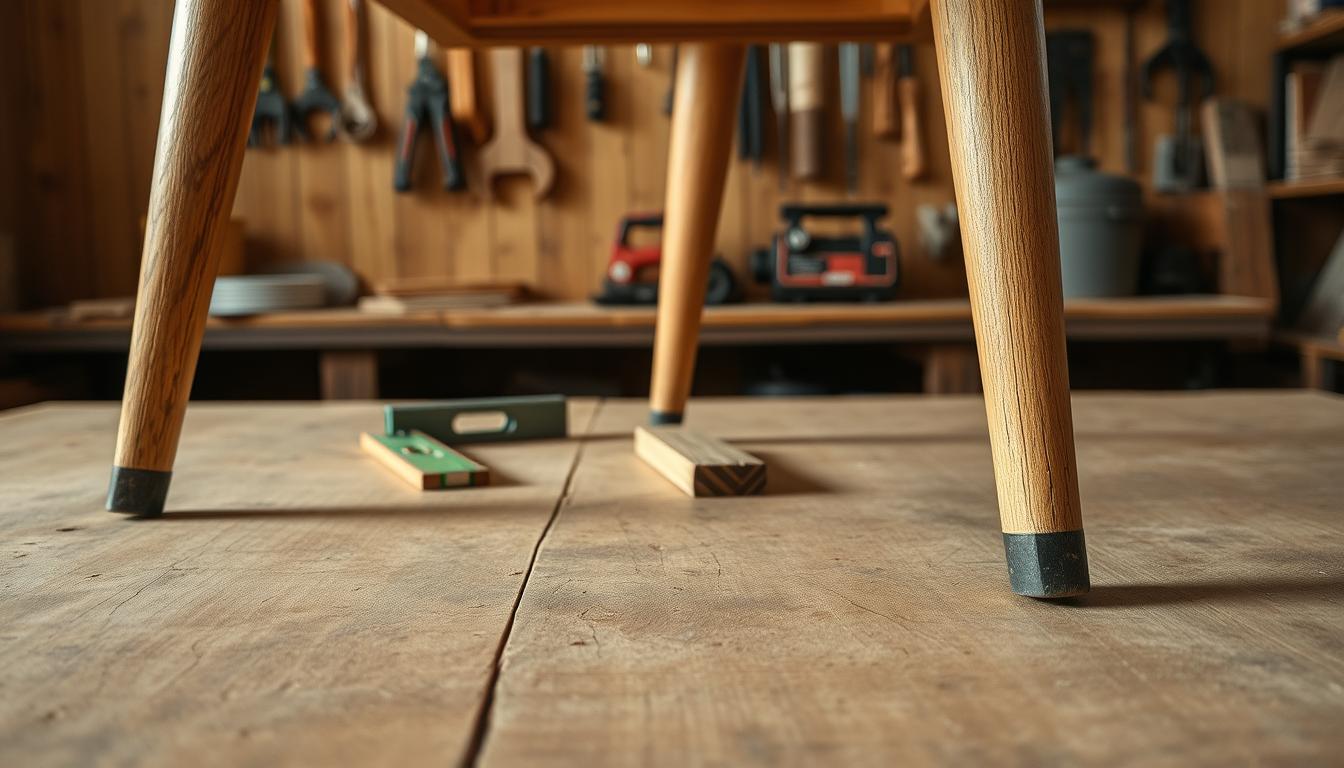
Before you pick up any tools, inspect the leg to see if the damage affects strength or only appearance. A quick, deliberate check helps you decide whether to rebuild corners or do a cosmetic fill.

Check whether the leg is structural or cosmetic
Gently rock the piece and watch for wobble. If the leg still bears the load without flex, you can focus on surface fixes. If it fails the stability check, plan for a structural rebuild or call a pro.
Decide if you’ll stain or paint
Stain-grade work needs tighter color matching and smoother transitions to show the grain. Painting is more forgiving and lets you hide seams more easily.
Evaluate missing corners and geometry
Use a small square or straightedge to see if edges are out of square. Map damage with painter’s tape so you don’t over-sand surrounding areas you want to preserve.
Plan safety, ventilation, and your work site
Protect floors with drop cloths and keep a vacuum nearby. Open windows and run a fan to exhaust epoxy odors; keep children and pets away while materials cure. If you plan to film, mind privacy by avoiding visible personal items in the background.
- Stability check: rock, look, confirm load-bearing.
- Identify surface marks vs. missing material to pick your approach.
- Mark boundaries and protect the site with drop cloths and a HEPA-capable vacuum if possible.
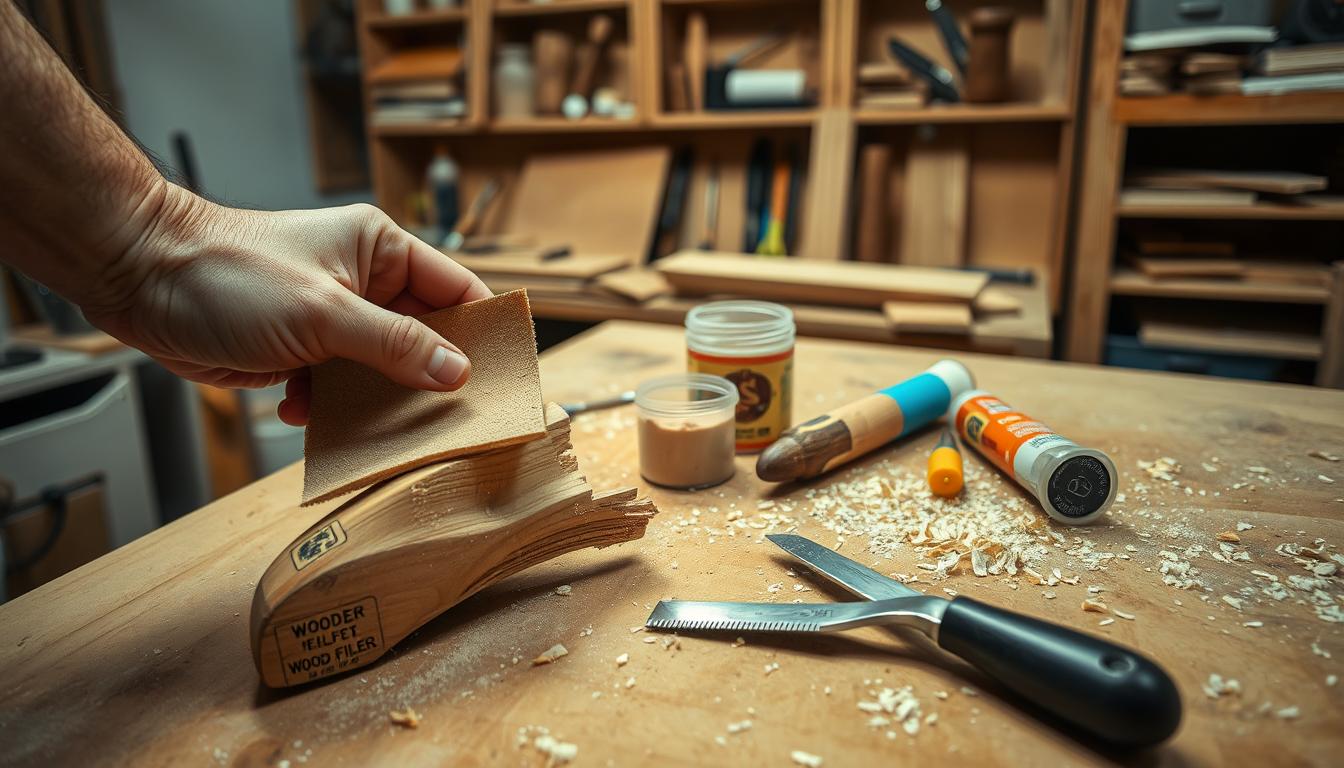
Repairing chewed wood with the right filler (epoxy resin, wood putty, or body filler)
Picking the correct filler is the key step to rebuilding missing corners and restoring a clean profile. Use an epoxy resin wood filler when the leg needs volume and strength. Epoxy bonds well, cures very hard, and sands to sharp edges that survive daily knocks.

When epoxy works best
Epoxy resin is your go-to for structural rebuilds. If you cannot recreate the leg’s shape by sanding alone, choose epoxy-style filler. Plan clamps and forms before mixing so you use the pot life efficiently.
Color matching for stain-grade pieces
Pick an epoxy tint close to your piece and refine with stain, glaze, or toner after sanding. No filler truly recreates grain, but careful color and finish work will help it blend.
Putty and body filler—where they fit
- Wood putty: best for shallow marks, nail holes, and tiny divots on non-load-bearing surfaces.
- Body filler (Bondo): quick and sandable, but often shows under clear stains—better for paint-grade fixes.
Work time and curing vary by product; read labels. Epoxy can smell strong, so work with vents or wear an organic-vapor respirator if recommended. For privacy and advertising, disclose affiliate links and avoid sharing personal purchase details when you document materials.
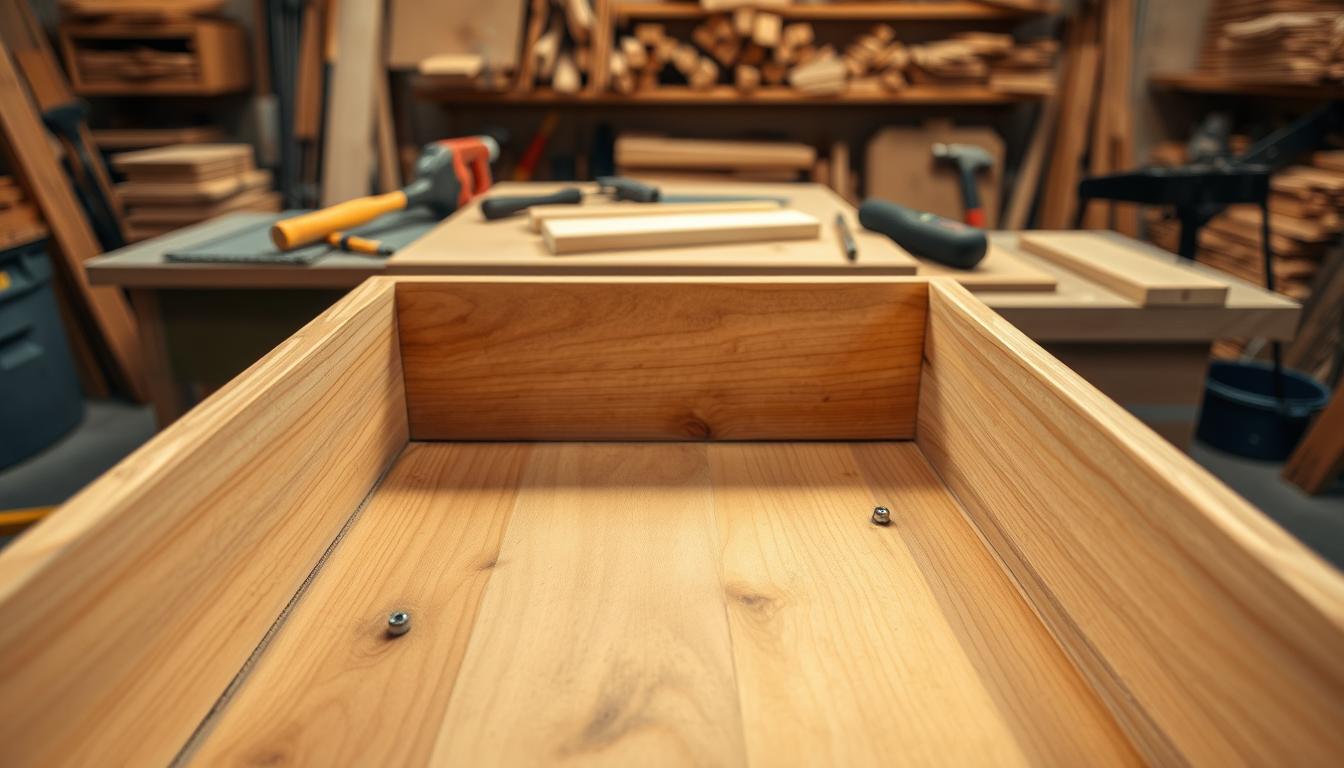
Step-by-step: rebuild, sand, and blend the repaired leg so it matches
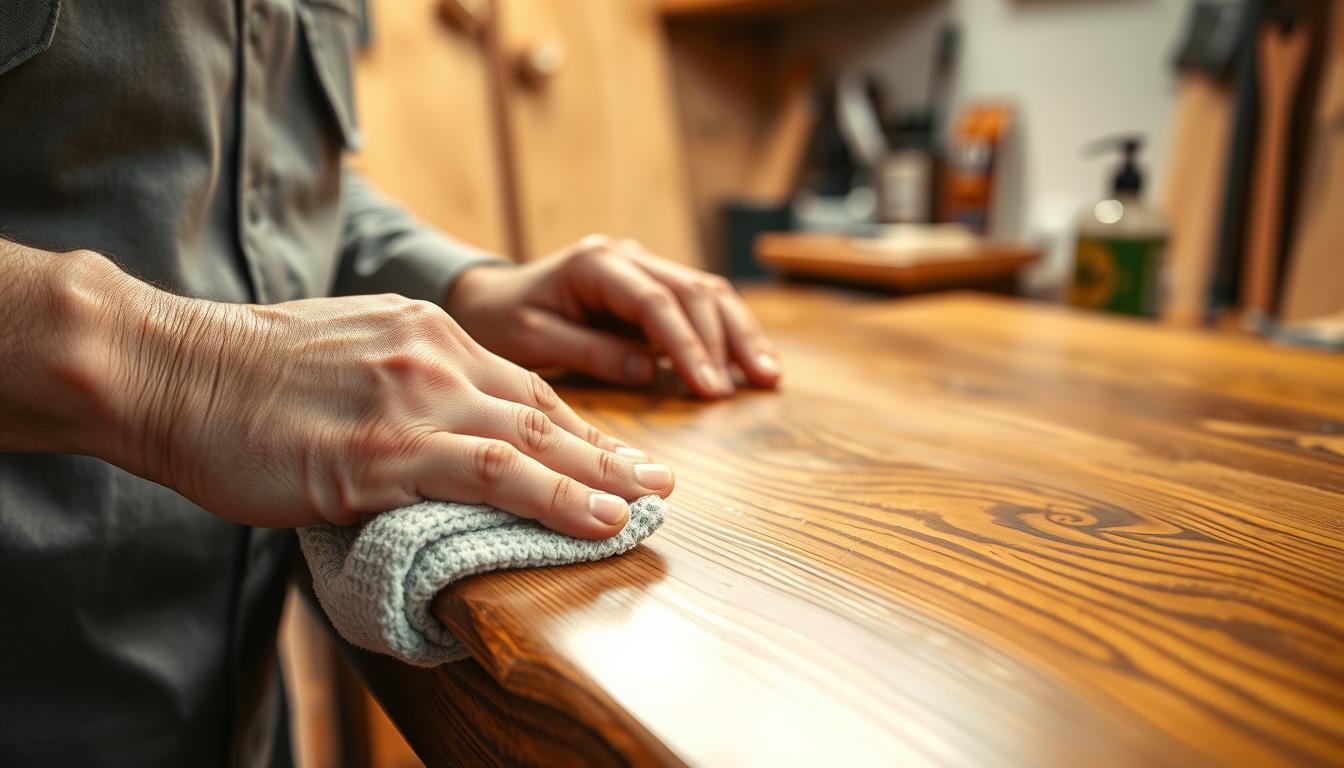
Start the rebuild by creating a clean, stable base—this sets you up for a seamless finish. Remove loose fibers, crumbs, and any oils. Lightly scuff-sand the surrounding area so the repair bonds to solid material.
Clean and prep for strong adhesion
Vacuum dust and wipe with a solvent recommended by the filler manufacturer. Work with vents open; epoxy can smell strong and sanding creates fine dust.
Pack and shape the filler to recreate missing profile
Use a simple form of painter’s tape or a straightedge to re-establish a square edge. Mix small batches and pack the filler firmly into gaps, slightly overbuilding so you can sand back to the exact profile.
Sand and refine profiles after curing
Once cured, true the shape with a coarse grit, then move to finer grits to remove scratches. Use sanding blocks to keep lines straight and compare often to the other legs.
Stain and finish strategies to disguise filler without painting
For stain-grade outcomes, start with an epoxy tint close to the piece. Test stains on scrap and layer a toner or glaze to blend the patch with surrounding wood grain.
Final sealing and durability checks for everyday use
- Seal: Apply a durable topcoat such as satin polyurethane that matches sheen on the rest of the piece.
- Test: Confirm the patched area resists fingernail pressure and routine cleaning.
- Protect: Keep the site clean during sanding, maintain ventilation, and consider pet-safe deterrents so the repair lasts.
When you post progress online, protect your privacy and clearly label any sponsored tools or advertising. Keep the workspace tidy so final results read like the original piece.
Conclusion
The right combination of material choice and patient sanding delivers a near-invisible repair.
Follow a simple decision tree: assess structure versus cosmetic damage, pick epoxy for missing corners and edges, use putty for small dents, and avoid body filler on stain-grade pieces when possible.
Key success factors: solid prep, correct shaping, careful sanding, and thoughtful stain and topcoat blending. Test tones on scrap and match sheen so the patch reads like the rest of the leg.
Work with good ventilation, control dust during sanding, and allow full cure before heavy use. If you share photos or a how-to, protect your location and personal details to preserve your privacy.