You can make dings and gaps vanish on trim, shelves, cabinets, and furniture by choosing the right repair approach and following a clear process. This guide sets realistic expectations: cosmetic repairs can be made flush and smooth, and the overall durability of your project will improve when you close holes and cracks before finishing.
First, you’ll learn how to select an appropriate patch material, prep the surface, apply and feather the repair, let it dry, then sand and finish. A good patch lets your paint or stain lay down smoother and reduces visible seams.
Note that “seamless” usually means the repair is flush and smooth to the touch, not a perfect color match. Repair compounds often absorb stain differently than unfinished wood, so slight variation can remain.
Later sections walk you step-by-step so you can control edges, dust, and shrinkage early. That cuts correction work later and helps your repairs blend with the surrounding surfaces for a cleaner finish.
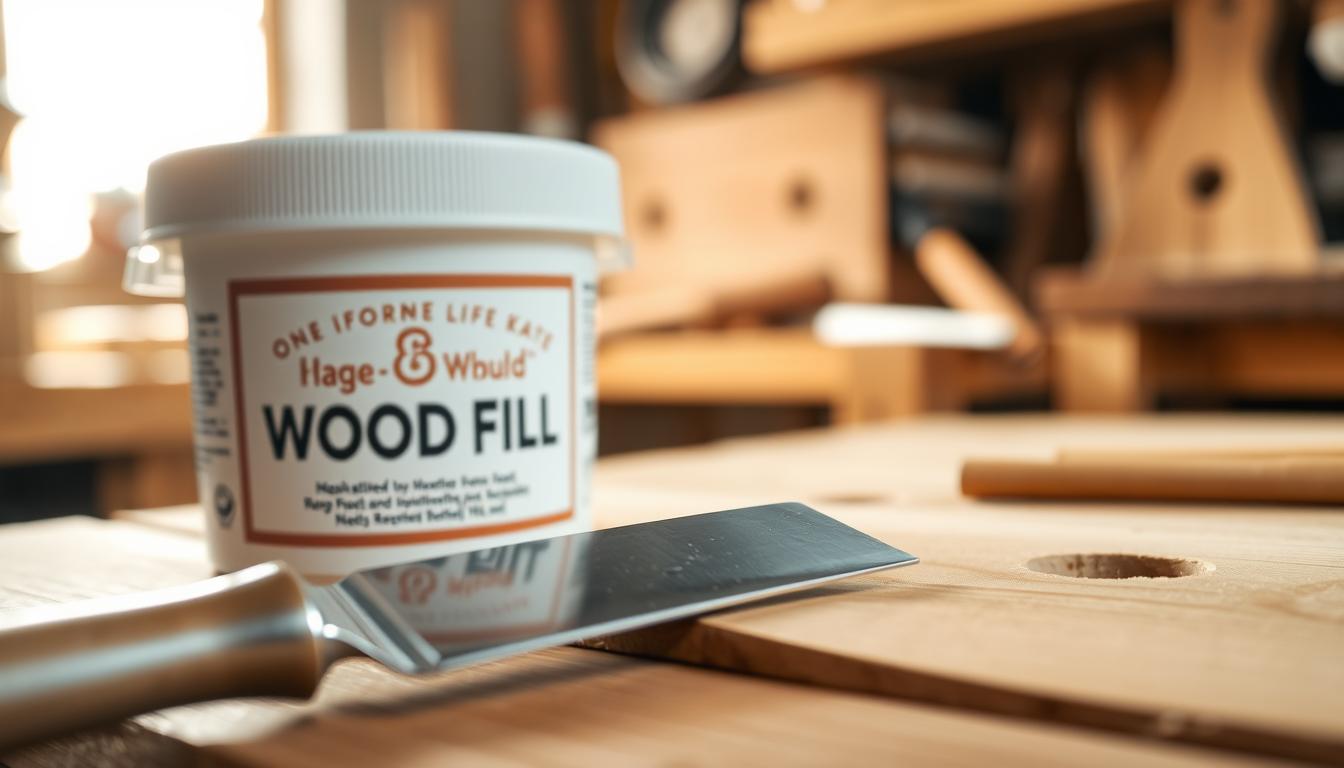
Choose the right wood filler, wood putty, or epoxy for your surface and project
Pick the right repair compound before you start—your choice controls sanding, staining, and durability. Match the product to the surface and the expected wear so you don’t fight the repair later.

When to pick filler, putty, or epoxy
Wood filler works best on unfinished pieces you will sand and finish. It dries hard and sands easily, so it blends under paint or stain.
Wood putty stays a bit pliable and suits finished surfaces or small touch-ups. It is often solvent-based (example: DAP Plastic Wood) and can be harder to sand.
Choose epoxy for deep damage or moisture-prone spots. Epoxy gives strength and water resistance for heavy repairs.
Water vs. solvent
- Water-based products clean with water, have low odor, and sand well (example: Elmer’s).
- Solvent-based putty needs mineral spirits or acetone for cleanup, smells strong, and requires ventilation and a dust mask when sanding.
- Use caulk instead of fillers where two different materials meet; caulk stays flexible as materials move and seals gaps better.
Tools and prep
Stage a flexible putty knife, fine sandpaper (220–320), tack cloth, shop vacuum, and rags. Pick a pre-tinted option or a color close to the wood to make final blending easier for your project.
Using wood filler to fill holes and large cracks without visible edges
Prep the damaged spot carefully to ensure the repair seats fully and hides its edges. Sand away splinters and sharp edges, then remove dust so the patch bonds to solid surface material.

Mix and condition—stir solvent-based putty until it reaches a uniform, peanut-butter-like consistency. Unmixed product can cure unevenly and show through the finish.
- Hold your putty knife at about a 45-degree angle. Press the compound deep into cracks and voids rather than skimming the top.
- For nail holes and small holes, slightly overfill to allow for shrinkage. Note brands like Durham’s Rock Hard Water Putty may not shrink when mixed per instructions.
- Feather the patch outward into surrounding wood so sanding won’t leave a raised ridge.
Keep the knife clean between passes by scraping on scrap wood and wiping the blade with a rag. Use water for water-based products or mineral spirits for solvent-based putty.
Dry time varies: surface dry can be 2–8 hours, but deep sections and larger areas may take 1–2 days. Wait until the patch is fully hard before sanding or refinishing.
Sand, remove dust, and finish for a seamless color match
Finish strong: sand only after the patch is fully hard so your hand can’t feel a lip between the patch and the surrounding wood. Level the repair until it is flush and smooth for the best finish results.
Hand sand small repairs; sander for larger areas
For small areas, hand sand with 220-grit sandpaper and move with the grain. Keep strokes light so you avoid cross-scratches.
On larger patches, use an oscillating sander. Start with a medium grit to knock down excess, then finish with 220–320 for a smooth surface ready for finish.
Control dust the right way
Remove bulk dust first with a shop or HEPA vacuum. Follow with a tack cloth and wipe gently—don’t press hard or you may embed wax that ruins adhesion.
Stain or paint: what to expect
- Stain can reduce contrast but often absorbs differently than the surrounding wood, so test on scrap.
- Prime repaired areas before paint to seal porous filler and improve topcoat adhesion and color consistency.
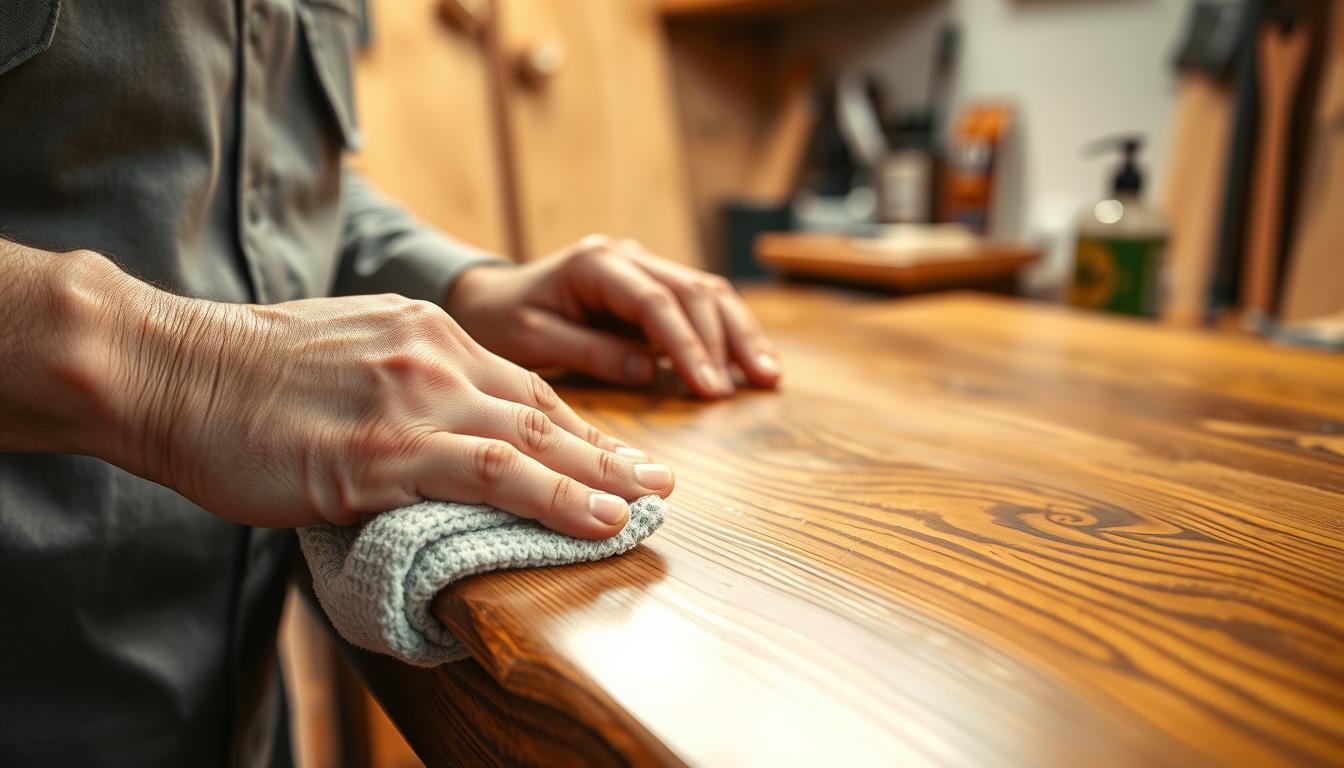
- The goal is uniform smoothness, clean surfaces, and matching sheen so the repair disappears at normal viewing distance.
Conclusion
Wrap up your repair by following a clear, repeatable workflow that keeps edges tidy and finish consistent.
Choose the right product, prep and clean the area, press and feather the patch, allow full cure time, then sand, remove dust, and finish. This sequence gives consistent results across projects and areas.
Match wood filler, wood putty, epoxy, or caulk to the job so cosmetic fillers don’t get used for structural gaps. Keep fresh products on hand; discard any that are dry, won’t mix, or smell rancid.
Quick checklist: correct tools, clean rags or cloth, and the proper cleanup method for your products. Final tips: apply sparingly, plan extra cure time for deep areas, and test stain because exact color match is not guaranteed.
When you control edges and dust and use the right products, your repairs blend and the finished surface looks smooth and professional.