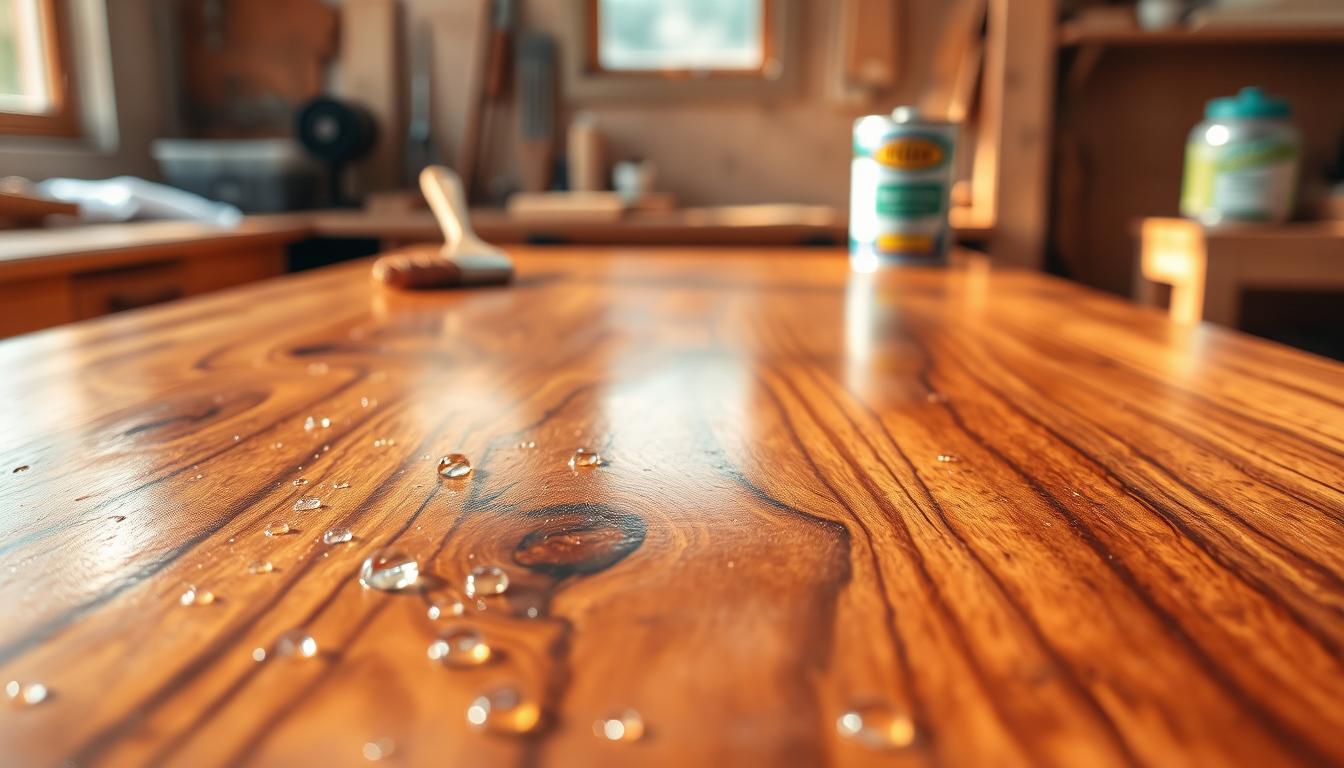
You want a natural-looking finish that feels handmade without brush marks or drips. A hardwax oil is a wipe-on, wipe-off system that soaks into wood and leaves a thin, tactile surface rather than a thick film. It blends the ease of oil with the durability of a sealed finish.
Expect to aim for an even, thin coat instead of building layers. Testers found the category forgiving in application and easy to repair later. With common woods, two coats and finer sanding usually deliver the best look and water resistance.
You’ll read about how it stacks up against polyurethane, how many coats you truly need, and how color and sheen change over time. This guide focuses on real results, prep tips, and maintenance so you can pick a product based on look, protection, ease, and safety — not marketing hype.
What counts as a hardwax oil finish and why it’s replaced traditional finishes
A true hardwax oil finish blends plant-based oils with wax to add depth without leaving a plastic film. Formulas often start with tung or linseed and add carnauba or beeswax. Some include solvents, hardeners, or resins that change performance, so ingredients matter.

Compare failure modes to film systems like polyurethane, shellac, and lacquer: film failures show runs, peeling, and the need to sand back layers. A penetrating oil-plus-wax system reduces runs and hides brush marks the way a film finish does not.
You’ll also notice a tactile difference: the oil highlights grain and figure, while wax smooths feel and evens sheen. The result is depth and a natural feel instead of a thick, plastic-like layer.
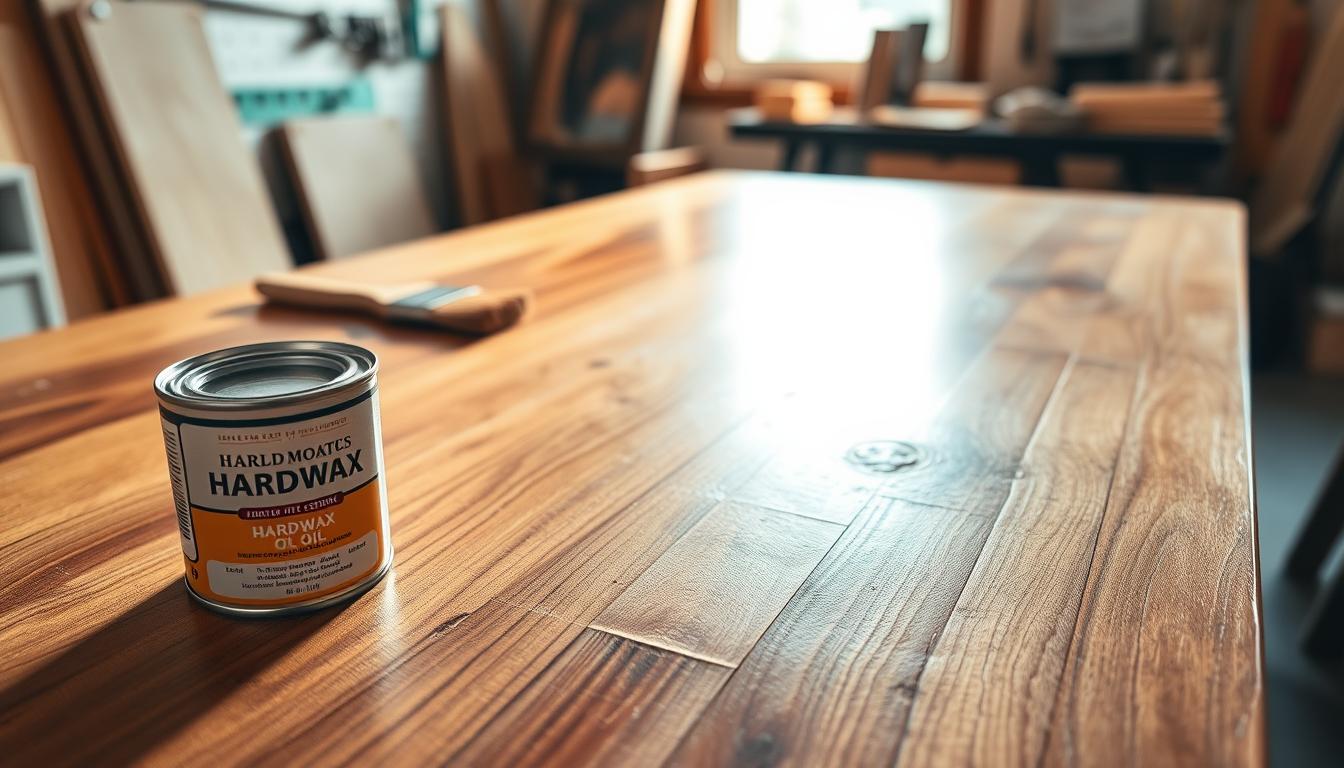
- One-part systems (Osmo Polyx-Oil, Tried & True, Odie’s) aim for simple two-coat application.
- Two-part systems (Rubio Monocoat, Osmo 2K, Natura Onecoat) add a hardener for faster cure and higher claims, but require mixing and can waste product.
- Look at label guidance: coat counts, wipe-off windows, sanding range, solvent cues, and SDS/PPE notes.
Hardwax oils review: What real-world testing shows about results on common woods
Real-world tests show species and prep change the look more than brand claims. Multiple labs tested finishes across common surfaces and found consistent patterns: walnut and cherry often read richer, while ash and maple reveal clarity and yellowing differences. You can’t judge a finish on one wood alone.

How species and grain change outcomes
Figured woods like curly maple can “pop” and show strong depth under many products, but ambering varies. Open-pore ash shows more texture and can look duller unless you use extra sanding and a second coat.
What testers found on sheen after one coat vs two coats
Fine Woodworking and a 2K comparison both reported that a single coat can look fine at first. Still, most products gained depth and sheen after two coats. Blind testing put Osmo 2K highest in sheen and General Finishes lowest; rubio monocoat, Natura, and Rustic Lumber clustered close behind.
Why one-coat claims often benefit from a second coat
Wipe-off timing in the first minutes and early hours affects how much finish stays and whether streaks appear. A second coat evens out sheen and improves resistance to short liquid exposure. If you want glossier results with fewer coats, prioritize brands that tested higher in sheen; if you need spill durability, choose the formula that scored best in liquid tests.
- Surfaces tested: ash, walnut, cherry, maple
- Practical tip: plan for two coats for consistent depth
- Shopper takeaway: match sheen goals to durability priorities
Surface preparation that drives quality (sanding, dust control, and grain clarity)
Prepping the wood surface determines how your finish will reflect light and feel to the touch. This step controls final sheen and the tactile quality you expect from a premium coat.
Why grit choices change look and feel
As you move up grit, visible scratches vanish and light reflects more evenly. Coarser sanding leaves a flatter, matte look; finer sanding raises reflectivity and clarity.
Fine Woodworking found dramatic improvements when testers went far beyond typical label ranges, finishing with very fine grits for a satiny result.
Manufacturer ranges vs enhanced testing methods
Labels often stop around 120–150 grit for flooring prep. Testing showed better outcomes at 180–300 for most projects, and enhanced workflows jumped even higher for reflectivity.
Prevent burnishing and control dust
Too-fine sanding on dense species can burnish and reduce absorption, hurting adhesion. Match grit to species, not a single number for all jobs.
- Keep a consistent scratch pattern across the surface.
- Vacuum, then tack to remove dust before finishing.
- Target 180–300 grit for tables and cabinets; go finer only when species and testing justify it.
Application the modern way: wipe-on/wipe-off, pads, rags, and timing
How you apply a finish matters more than the brand—control, timing, and thin coats win every time. Use a white non-woven nylon pad for the initial laydown and a clean cotton rag for wipe-off to keep coats thin and even. Fine Woodworking preferred Norton Bear-Tex style pads for predictable results.
Pad vs cloth vs brush vs roller
Pads give controlled, thin application and light buffing. They reduce streaks and help build even sheen on small surfaces.
Cloths excel for wipe-off and final leveling. Terry or denser cloths may be needed for firmer buffing on some brands.
Brushes reach corners but need practice; they raise risk of runs and visible marks. Rollers (4mm nap microfibre) cover large flat areas quickly and evenly.
Wipe-off windows and avoiding a sticky film
Wipe-off window is make-or-break: wait too long and you get streaks or a gummy film; wipe too soon and you lose penetration. Follow the label for minutes before wipe-off and test a scrap piece when in doubt.
Thin coats, edges, and high-risk areas
Think thin coats as a rule. Excess product causes tack, dust nibs, and uneven sheen. Pay extra attention to edges, end grain, corners, and glue lines—these areas show mistakes fast.
Drying time vs curing time
“Touch dry” often happens in a few hours, but full cure can take days to weeks. Plan light handling after hours, and wait the longer cure time before heavy use. Good ventilation, moderate temperatures, and thin coats speed both drying and cure.
- Repeatable method: apply thinly, keep the product moving, wipe off excess.
- Tool pick: pad for control, rag for leveling, roller for flats, brush for tight spots.
- Timing tip: minutes for wipe-off; hours to touch dry; days or weeks to full cure.
Durability and protection: water resistance, stains, solvents, and everyday damage
Real-life spills and scrapes reveal the true limits of a finish faster than lab specs. You should expect good daily durability and protection, but not invulnerability. Quick spills rarely harm well-prepared surfaces; long exposure and harsh chemicals tell a different story.
Water testing takeaways
Timed tests show short puddles often cause no visible harm, but haze and blushing can appear after hours. Fine Woodworking’s nut-in-puddle test at 90 minutes, three hours, and 12 hours found some products only showed problems later.
Odie’s performed well in extended exposure with only slight haze after 12 hours. Luckensmeyer’s 24-hour test showed rubio monocoat resisted water marking better than most.
Liquid and solvent comparisons
Controlled 15-minute liquid tests ranked Natura Onecoat least damaged and some brands more vulnerable. Acetone checks found Feast Watson, Fiddes, Odie’s, and rubio monocoat held up, while others softened or went tacky.
Scratch and real-world guidance
Scratch resistance often tracks with wood hardness more than the topcoat. You’ll get the best results by matching prep, coat count, and expected wear to your use case.
- Practical rule: expect good protection for daily use, not chemical or long-immersion immunity.
- Pick for use: choose formulas proven in extended water or acetone tests for kitchens and bars.
- When to choose film: if you need maximum chemical resistance and a mirror gloss, a film finish still beats a wipe-on system.
Look and feel: sheen, color shift, and how “warmth” shows up on light woods
The final look of a finished board depends as much on prep and application as it does on the formula itself. Your choices change how grain reads in real rooms and under varied light. Fine Woodworking found that enhanced prep gave consistent clarity across products, and top performers for look and feel included Tried & True Original and Osmo Polyx-Oil.
Clarity and depth: why figured grain pops
Hardwax oils often make curly maple and figured pieces look three-dimensional. The oil soaks in and the wax levels surface light, which increases perceived depth. Some formulas deliver this while staying very clear; others add amber warmth to boost contrast.
Yellowing risk on pale species
Light woods like ash and maple can shift toward yellow or amber. Testing flagged General Finishes, Interbuild, Natura, Osmo 2K, Rubio, and Rustic as leaning warmer on very pale samples. That warmth can be cozy or unwanted, so test a scrap for your style.
How prep grit and coat count alter sheen
Finer sanding raises reflected light and smooths the feel; coarser prep reads flatter. A second coat usually increases depth and evens sheen across mixed grain. Buffing after application also improves uniformity and the final look.
- Clarity: how cleanly you see grain.
- Depth: how three-dimensional figure appears.
- Sheen: matte, satin, or gloss and how it reflects light.
Safety, smell, and the health equation: VOCs, solvents, and PPE you should use
What you breathe and touch while finishing matters as much as the final look. Labels that say “low-VOC” can still hide solvent content and PPE needs. Fine Woodworking’s SDS checks showed wide variation: some products listed minimal precautions while others required gloves and ventilation or a respirator.
Low-VOC claims versus the SDS
Don’t rely on marketing alone. Review the SDS for solvent percentages and required protective gear before you buy. Luckensmeyer found many formulas had 30–60% solvents; a few had very low solvent counts, like Odie’s and Rubio Monocoat (component B is the exception and contains isocyanates).
Two-part hardeners and isocyanates
Two-part systems shorten working time and raise PPE stakes. Pot life is often only 4–6 hours, and isocyanate-containing hardeners need respirators, gloves, and careful handling. Treat mixing like a controlled operation to avoid exposure and waste.
Skin-over, storage, and reducing waste
Oxygen causes skin to form in cans at different rates. Tests showed some products skinned in under 24 hours while others stayed fluid at 48 hours. To extend shelf life, minimize headspace, seal cans tightly, and decant into smaller containers.
- Practical steps: read the SDS, ventilate even for low-smell products, and use gloves when label warns.
- PPE guide: gloves for light use; add respirator if ventilation is limited or if the SDS lists isocyanates.
- Plan ahead: account for short pot times to avoid throwing away mixed product.
Conclusion
When choosing a finish, balance appearance, repairability, and real-world durability. For furniture, cabinets, and built-ins you want a consistent, attractive surface that still feels like wood. One-part systems are great to keep on hand; two-part products are tools for specific needs.
Follow a repeatable recipe: careful sanding, clean prep, a thin coat, correct wipe-off timing, and plan for two coats even when labels promise one. Testing showed a second coat improves depth and uniformity.
Testing highlights: Osmo Polyx-Oil-style products give reliable results; Tried & True delivers warmth and clarity with buffing; Natura Onecoat resisted liquids best; Osmo 2K scored highest for sheen. Rubio Monocoat showed strong water performance in long tests but needs PPE attention.
Before you buy, run this quick checklist: identify surface risk, pick your sheen, confirm coat count and sanding range, and read the SDS so your shop and PPE match the product. Match the finish to the project and you’ll get predictable, repairable results.