Preventing pests in wood means making smart, low-cost choices that stop termites, woodworms and other insects from turning your furniture into a food source or nest. You’ll learn clear steps to cut risk and spot trouble early before major damage occurs.
Damage in the United States tops $5 billion a year, so this guide mixes simple DIY moves with advice on when a pro is the right call. Focus on keeping timber dry, sealed, and away from soil contact to block common entry points.
This section sets scope: tips cover furniture plus nearby house structures, since basements, crawl spaces and exterior walls often expose pieces to moisture and insect threats. You’ll see a step-by-step flow: identify the main insects, learn signs, use daily prevention, then add targeted defenses for high-risk areas.
Know the wood-destroying insects that target furniture and homes
C. Some insects eat wood, others hollow it out for nests — identifying the culprit matters for treatment and prevention.
Major groups to watch:
- Termites: Subterranean termites live in underground colonies and build mud tubes to reach timber, while drywood termites live entirely inside wood and produce fecal pellets. Correct ID changes the treatment approach.
- Beetles and woodworms: “Woodworms” are beetle larvae. Powderpost beetles leave tiny holes and flour-like frass. Old house borers can stay 3–15 years and make oval holes with granular frass.
- Carpenter ants and bees: Carpenter ants excavate galleries but do not eat cellulose; you’ll see sawdust trails and ant activity. Carpenter bees drill 1/2-inch round entrances and drop coarse sawdust below.
Different species favor different environments: subterranean termites need soil contact and humidity; drywood species thrive in dry, untreated furniture. Beetle larvae can remain active for years, so fresh exit holes may appear long after eggs were laid.

Next: Learn the early warning signs tied to each group so you can spot an infestation before major damage and plan proper treatment.
Spot an infestation early before insects cause serious damage
Spotting the right signs early limits repair costs and stops spread. Make a simple scan routine once a month and focus on edges, joints, and any furniture near foundations.
Use a flashlight and tap suspect areas; hollow-sounding panels and blistered surfaces often mean active trouble. Check around windows and doors for discarded wings during swarm season; that cue calls for a closer inspection.
Exit holes, tunnels, and powder clues
Look for tiny pin-sized exit holes or larger oval holes. Fresh powder or frass near exit holes signals active activity. Fine, flour-like powder points to certain beetles, while coarser sawdust ties to carpenter ants or bees.
Termite red flags and moisture links
Mud tubes on foundations, tunnels along trim, and hollow-sounding wood are classic termite signs. Damp wood, plumbing leaks, and poorly ventilated crawl spaces raise the chance of damage and let destroying insects thrive.
Tell insects from rodents
Rodent gnawing leaves chew marks, droppings, and nesting material. Insect damage shows holes, frass, and internal galleries. If you spot fresh exit holes, sawdust piles, or wings near windows, assume active infestation and consider a pro.

Preventing pests in wood: everyday steps that protect wood furniture
A simple, year-round routine can keep your furniture dry, sealed, and far less attractive to termites and other damaging insects. Start with moisture control, then finish surfaces and adjust placement to reduce risk.
Control moisture indoors
Fix leaks quickly and keep gutters and downspouts working to move water away from foundations. Use a dehumidifier in basements or crawl spaces where humidity stays high.
Improve ventilation in closets and behind large pieces so air circulates and panels dry faster after damp weather.
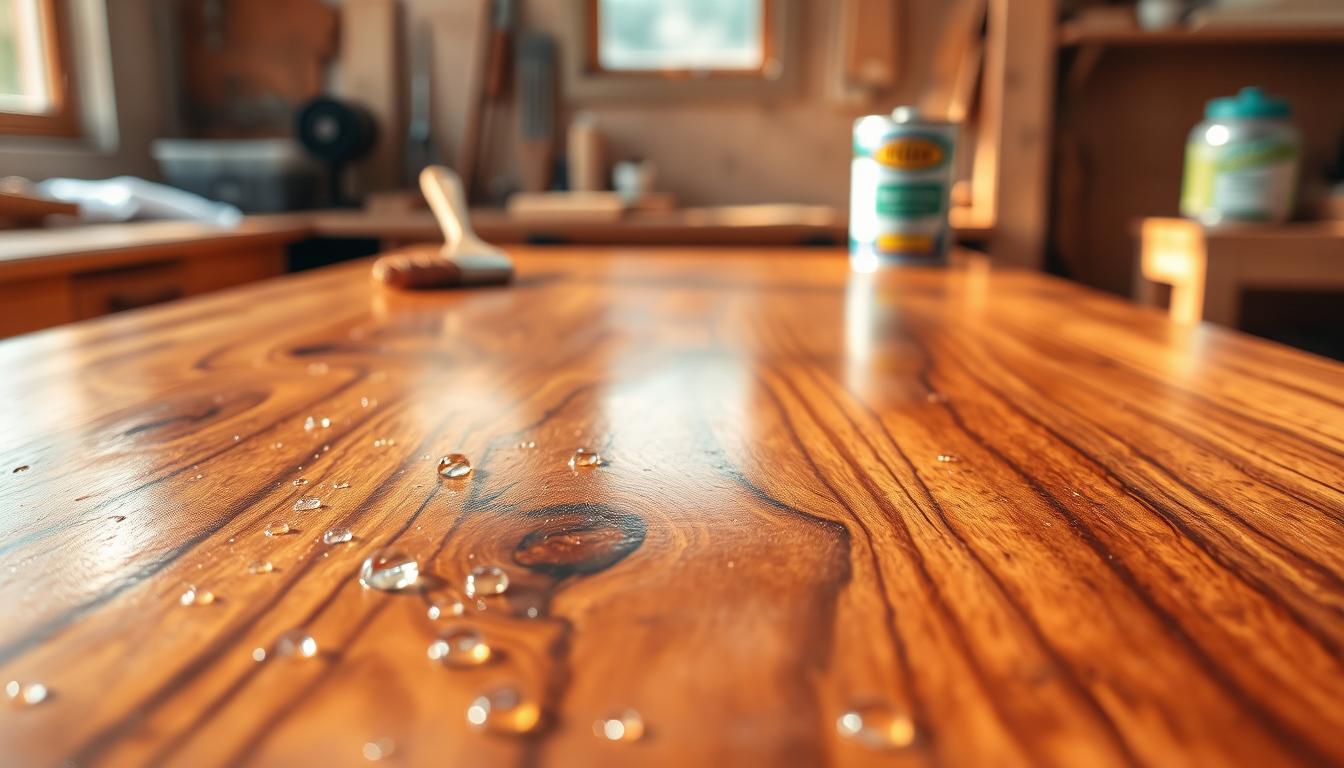
Seal and finish surfaces
Finish bare material with paint, stain, or varnish to limit absorption and reduce attractiveness to termites. For exposed items, apply a waterproof wood sealant for added protection.
Tip: Paint gives a barrier; stain shows grain while adding protection; varnish adds wear resistance. Choose products suited to the location and exposure.
Store and place furniture to reduce risk
Avoid storing items in damp basements, garages, or against exterior walls. Keep pieces off concrete when possible and leave airflow gaps behind large cabinets.
Reduce pest pressure outside
- Keep woodpiles covered and away from the foundation.
- Move mulch and plantings several feet from structures to cut moisture and soil-to-wood contact.
- Remove stumps and dead material that attract carpenter ants and other destroying insects.
Close entry points
Seal cracks and gaps around foundations, windows, and doors to tighten the exterior envelope. Less access helps with both pest control and moisture control.
If you notice mud tubes, fresh frass, or sawdust piles, consider professional pest control treatment—products and DIY fixes help, but active termite activity often needs a pro-led treatment.
Targeted protection for termites and woodworms in high-risk areas
High-risk spots around your home hide colonies that feed quietly for years. Focus on the zones under floors and near foundations because subterranean termites and certain beetle larvae work out of sight.
Why subterranean species thrive
Subterranean termites rely on soil contact, steady moisture, and protected travel routes. When wood touches soil or ground water pools near a foundation, a colony can expand and cause serious damage before you notice visible signs.
Crawl space defenses and long-term options
Improve drainage and keep gutters and downspouts clear so water moves away from structures. Use dehumidifiers in crawl spaces and consider encapsulation if dampness returns season after season.
- Raise wooden elements off soil and use concrete or treated supports.
- Inspect periodically; beetles’ larvae can remain inside for years, so visual checks alone are not enough.
- Monitor vulnerable areas and act early—targeted control often means removing moisture, sealing access, and calling pest control for treatment when needed.
Conclusion
Treat your furniture like an investment: check regularly, keep surfaces sealed, and reduce moisture to limit access to cellulose material and protected nesting spots.
If you suspect activity, document holes, frass, or mud tubes and avoid aggressive disturbance that can spread infestation. Photograph evidence and note dates for accurate records.
Choose treatments that match the confirmed insect. Many DIY products do not reach insects inside wood, so call a professional when signs are active or when evidence returns after repair.
Schedule annual inspections of high-risk areas, control humidity, and reapply protective finishes as needed. Small, steady steps protect your furniture and the surrounding home long term.