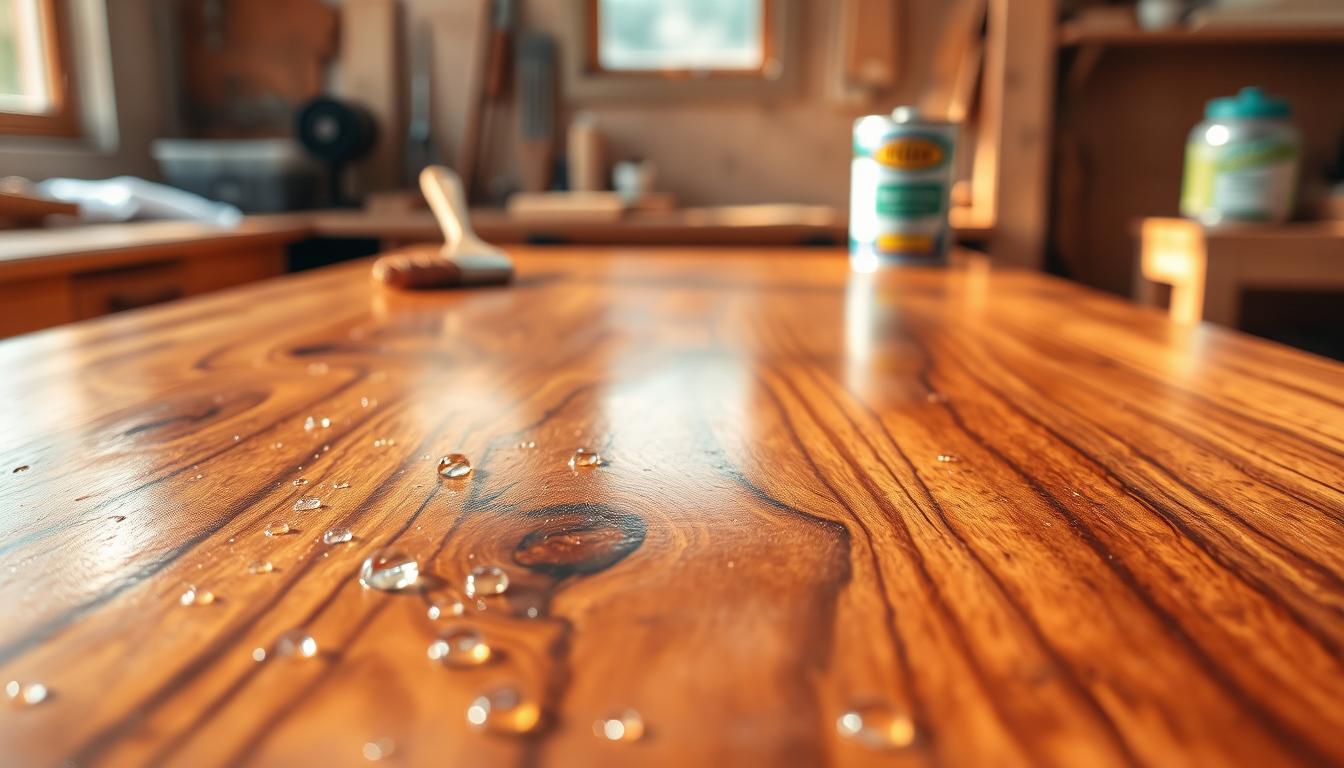
Clear coats for wood protect against wear, moisture, and daily handling while lifting the look of your piece. You’ll learn what a clear coat does, why sheen matters, and how to make a smart choice for your next project.
Sheen—matte, satin, or glossy—can change the same clear finish dramatically. Matte hides flaws and works in low light. Satin balances warmth and reflection. Glossy boosts color and shows grain.
Think of a finish as both aesthetic and performance. Durability and easy maintenance matter on tabletops and handles. Pick a product that fits how you use the piece.
This guide previews major families: penetrating oils and surface topcoats like polyurethane, polycrylic, lacquer, shellac, and exterior spar. Expect notes on General Finishes Arm-R-Seal and High Performance Topcoat to help match the right wood finishes to your furniture kit.
By the end, you’ll know how to choose and apply a finish so your results look intentional, not streaky, cloudy, or dusty.
Matte, Satin, and Glossy Clear Finish: How Sheen Changes the Look of Your Wood
The degree of sheen changes how color, texture, and grain appear under different lights. Sheen measures how much light the surface reflects. That reflection varies with open-grain versus tight-grain material and with the applied film.

Matte: natural, low-reflection look
Matte hides small sanding scratches and minor surface unevenness. It reduces glare and keeps a piece looking soft. Choose matte when you want subtlety and less show of wear.
Satin: the balanced default
Satin is the go-to for many furniture builds. It adds warmth while still resisting fingerprints better than high gloss. Use satin on shelves and handled pieces where practicality matters.
Glossy: maximum shine and depth
Gloss amplifies depth and contrast in the grain. It makes colors pop but also makes flaws easier to spot. Prep, dust control, and smooth application matter more with gloss.
Lighting and grain direction
Overhead lamps, windows, and raking light can increase perceived sheen and reveal lap marks. Apply and inspect in good light and keep the application direction consistent.
- Quick decision: highlight grain → higher sheen; hide wear → lower sheen; unsure → choose satin.
- Tip: judge sheen on a test board made from the same material, with the same prep and application direction.
Clear coats for wood: Picking the Right Product for Your Project and Location
Picking the right top finish depends on where the piece will live and how hard you’ll use it.
Penetrating finishes soak into fibers and emphasize a natural look. They are easy to refresh and often give lower sheen. Tung, linseed, and Danish oils fall here.
Surface finishes build a protective film that resists spills and abrasion. Polyurethane and polycrylic create durable layers that stand up to daily contact on tabletops and shelves.

Oil-based options warm and amber slightly, with stronger odor and longer dry time. Water-based models clean with soap, dry fast, and stay clearer. Match your stain or paint base to reduce adhesion issues.
- Polyurethane — best for heavy use and abrasion resistance.
- Polycrylic — lower odor, DIY-friendly indoor choice.
- Lacquer — sprayed, refined furniture look.
- Shellac — beautiful but sensitive to water and heat.
For exterior work choose spar varnish (spar urethane) and apply multiple coats with full coverage. In-store examples to try: General Finishes Arm-R-Seal (oil) and General Finishes High Performance (water).
Decision snapshot: pick by location (inside vs outside), abuse level (light vs heavy), and your application method (wipe, brush, or spray).
Prep Work That Makes or Breaks Your Finish
Proper prep sets the stage for a smooth, durable result. Work in a clean, dry, well-ventilated area to cut dust and control humidity. Good lighting helps you spot streaks and bubbles before they set.
Set up a clean, dry, well-ventilated area
Dust and humidity affect clarity and curing. Crack a window and run an exhaust fan outward. Keep the area dry so the coat cures predictably and you avoid trapped debris.
Sand the surface to smooth scratches and open pores
Sanding levels scratches, improves adhesion, and prevents the finish from telegraphing defects. Treat this step as critical; it makes later layers lie flat and look deeper.
Work through grits for a smoother base
Start with 80–100 grit to remove blemishes, refine with 100 grit, and finish at 220 grit for a silky surface. This roadmap reduces raised grain and yields a clearer result under topcoats.
Remove sanding dust before you apply clear
- Vacuum thoroughly with a shop vac, including surrounding area.
- Wipe with a lint-free cloth dampened with mineral spirits.
- Use a tack cloth right before you apply clear to catch final sanding dust.
Take a few minutes to re-check corners and edges where dust collects. The cleaner the surface and the more consistent your sanding, the more glass-like the finish looks, especially on darker stains and open-grain wood.
How to Apply Clear Coat Without Brush Marks, Bubbles, or Runs
A smooth film comes from the right tool, steady hands, and thin, patient layers. Start with a plan and work methodically to reduce defects and save finish time.
- Foam brush — convenient and low-lint for small panels.
- Natural bristle brush — best when using oil-based polyurethane; it lays down a better flow.
- Cloth wipe-on — an easy apply route that reduces brush marks on large flat areas.
- Spray — fastest for detailed profiles, but requires masking and practice.
Make a simple sealer
Mix 1 part mineral spirits to 2 parts polyurethane to make a thin sealer. Brush it on with long, even strokes and check edges after about 5 minutes. Let the sealer cure 12–24 hours before full-strength layers.
Technique to avoid problems
Use long, overlapping strokes and stretch each thin coat. Brush marks form when you overwork a wet area or lay the finish on too thick. Wait a few minutes, then inspect and smooth any drips before they set.
Pop bubbles by lightly brushing back over the wet surface. Stir gently to avoid foam. Allow roughly 24 hours between full-strength coats so the surface is ready to sand or recoat without getting sticky.
Sanding Between Coats and Building a Protective Finish That Feels Smooth
Between layers you create the smooth surface that makes a project look finished. Lightly sand to remove nibs, tiny runs, and raised grain so the next layer can lie flat.
Lightly sand to remove small defects
Use about 280-grit and very light pressure. You are leveling bumps, not cutting to bare material. Run your hand to check for a uniformly smooth feel.
Clean again before you apply the next layer
Start with a tack rag to lift fine dust, then follow with a lint-free cloth or vacuum to pick up remaining debris. This sequence stops sanding dust from getting trapped in the next clear coat.
Final coat: full-strength and steady strokes
Apply the last coat full-strength and work with the grain using long, consistent strokes. Building multiple layers increases the thickness of the protective finish, which matters most on tabletops, shelves, and desktops.
- Tip: sand lightly between each coat and clean before recoating.
- Expect: allow about 24 hours of cure time before heavy use to avoid marking the clear finish.
Conclusion
The right finish balances how it looks with how it stands up to daily use.
Match sheen to purpose: matte to hide wear, satin to mix warmth and practicality, glossy to boost depth. Pair penetrating products when you want a natural look and easy refresh. Choose surface-building topcoats when furniture needs tougher protection.
Prep is the make-or-break step. Control dust, sand well, clean thoroughly, apply thin layers, and respect cure time so the clear coat cures smooth, not sticky.
Always test on a scrap piece to confirm sheen and color under your home lighting. Use this quick checklist: where the piece will sit, what it will endure, and how shiny you want it. Pick the product you can apply well with your tools—good technique beats the fanciest product every time.