You’ll learn practical steps to revive a tired surface without myths or hard sell. In real terms, conditioning dry wood means improving how a piece looks, feels, and resists wear. It does not reverse age at a microscopic level.
Start by checking whether your furniture has an intact finish. If it does, most products sit on that finish, so results usually focus on cleaning, evening sheen, and adding protection rather than deep repair.
Know the difference between unfinished and finished items. Unfinished boards can absorb oil and change more dramatically. Finished tabletops often get only a surface treatment, so choose products with that in mind.
This guide walks you step by step: assess the surface, clean safely, pick the right oil or finish, then apply and buff for a non-sticky result. You’ll also learn common mistakes to avoid, like trapping grime under a new coat or using the wrong oil on a high-use top.
Finally, I’ll help you match product choice to use case so your restored piece stays useful and ready for future refinishing.
Assess Your Wood: Dryness, Brittleness, and What the Surface Can Actually Absorb
strong, clear tests make this step fast and reliable. You’ll learn whether the piece will take an oil or if the existing seal blocks absorption.
Begin with a close inspection in angled light to reveal worn spots and sheen changes. Run your hand for roughness and note where the finish feels thin.

How to tell what you have
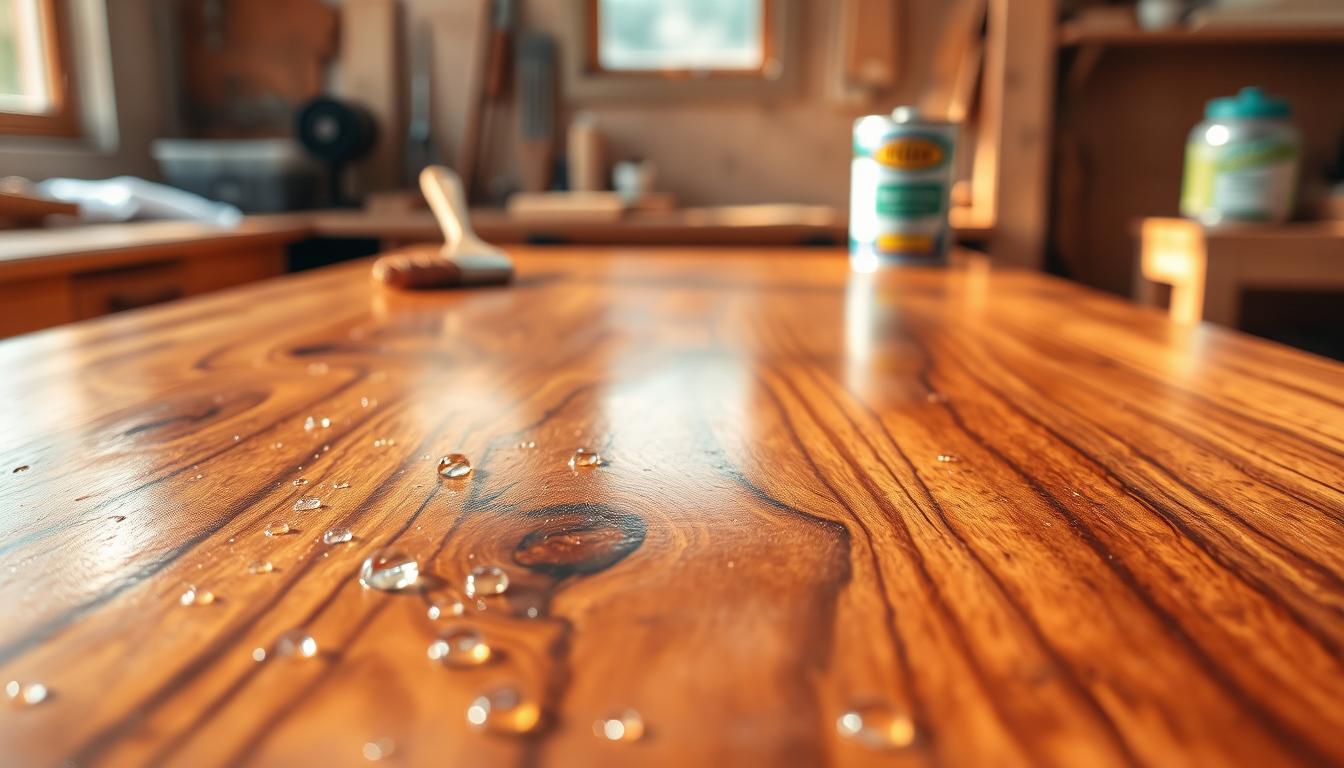
Drop a few water drops in an inconspicuous area. If the water beads, the finish likely remains. If it darkens quickly, the bare wood is absorbing moisture.
Why “feeding” is often a myth
If the finish is intact, most oils sit on top. Only where the seal is worn through will oil sink in. Treat those spots carefully to avoid blotches.
Where loss shows up first
- Edges and handles — high-touch areas wear fastest.
- End grain — it soaks and releases moisture more dramatically.
- Years of use and cleaning habits influence how brittle the finish looks.
Decision tip: If sealed, focus on cleaning and wax. If there are mixed areas, isolate and treat the bare zones before coating the whole piece. Next up: cleaning comes first to avoid locking in grime.
Clean First: Remove Grime Without Damaging the Finish
Your first cleaning move should be to lift loose dirt with a soft, slightly damp cloth. Work gently so you do not abrade the surface or spread grime into worn areas.

When a cloth is enough
For light dust and everyday marks, a microfiber or cotton cloth and plain water often do the job. Wipe along the grain and dry within a few minutes so moisture doesn’t sit at seams or edges.
When to step up to a solvent-style cleaner
Choose a lemon-oil–type product only for greasy buildup, waxy residue, or stubborn grime that water won’t remove. Treat it as a cleaner: it removes buildup and leaves a temporary shine, not deep nourishment.
- Test first: try any product in an inconspicuous spot to check for reactions.
- Timing: let cleaners work for a few minutes, then wipe dry—do not leave liquids to soak overnight.
- Avoid on antiques: never use silicone polishes or silicone-containing sprays; they’re hard to remove and ruin future finishes.
After cleaning, follow with an appropriate protectant such as paste wax if the surface needs sheen. Clean and dry surfaces make the next restoration step look even and perform better.
Conditioning dry wood With the Right Product for the Job
Pick a product that matches the job—kitchen boards, decorative pieces, and finished tabletops all need different care. Choosing correctly avoids problems like gummy finishes or uneven sheen and helps you protect the piece for its intended use.
For cutting boards and kitchen surfaces
Mineral oil is the standard for cutting and prep surfaces because food-grade mineral oil soaks in and conditions fibers without going rancid.
Combine it with beeswax to seal and slow wash-out. Apply sparingly in a circular motion, let it sit, then buff to a smooth, non-greasy feel.
DIY mineral oil and beeswax mixture
Use pharmacy-grade mineral oil and quality beeswax. Melt and blend until spreadable, cool, and test on a small area. Keep the mix light—reapply periodically rather than flooding the board.
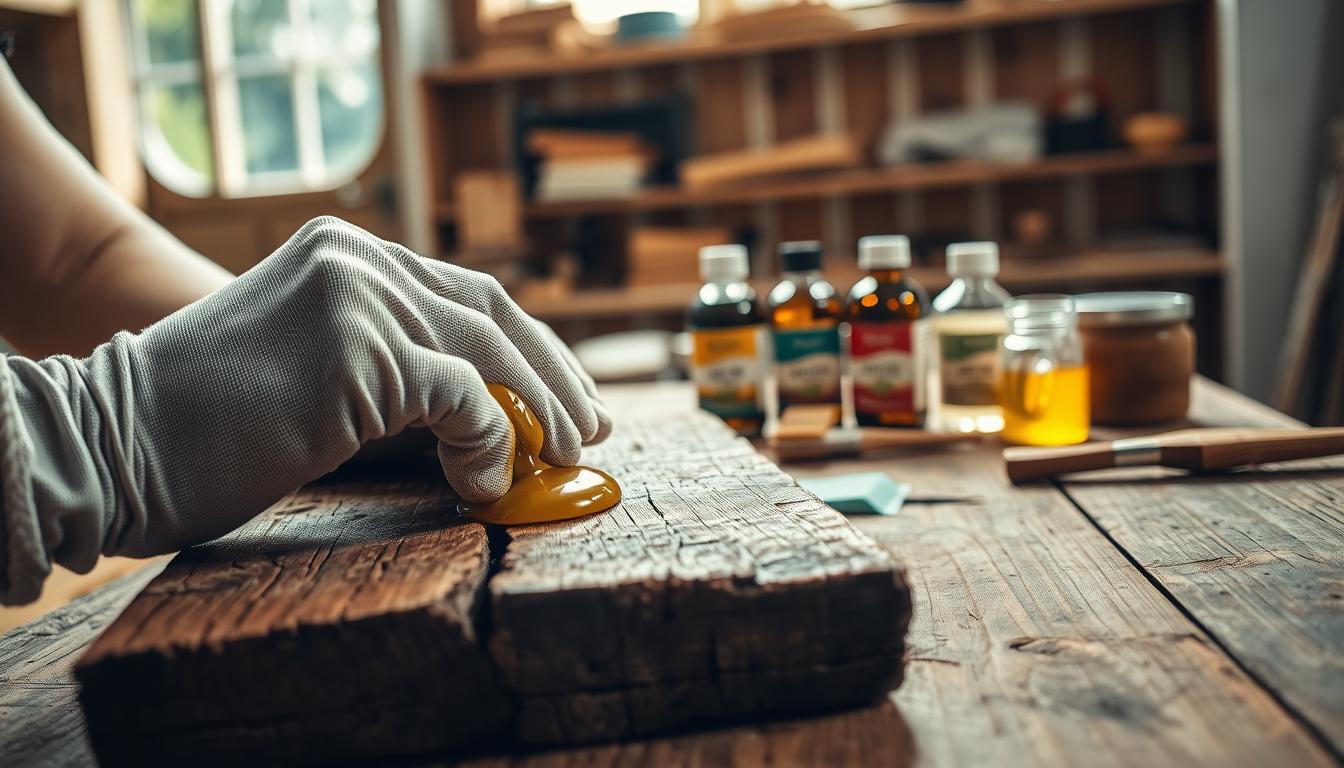
For decorative or older pieces
Hemp oil rubs in quickly and gives fast visual hydration and richer tone. Work it in, allow a brief soak, then wipe the excess to avoid tackiness.
When paste wax is the right choice
On an intact finish, paste wax boosts sheen and adds a sacrificial layer without trying to “feed” the substrate. Pick a paste wax with no silicone and apply evenly across the top for consistent gloss.
What to avoid on tabletops
Do not wipe drying oils such as tung oil or boiled linseed oil over an existing finish. They can cause adhesion problems, blotchy gloss, or a gummy surface that is hard to fix.
- Pick by use: cutting areas—mineral oil + beeswax; decorative—hemp oil; sealed furniture—paste wax.
- Test first: always try any product in an inconspicuous spot.
- Choose no-silicone waxes to keep future refinishing options open.
Application Steps That Get Real Results (and Don’t Leave a Sticky Surface)
Work one area at a time with a light touch so you control how much product the surface receives. Use a soft, dry cloth and a small amount — a little goes a long way. Follow the product directions for best results.
How to apply
Apply sparingly in a circular motion with the cloth. Keep pressure light so you don’t abrade the finish. On flat tops, work in sections to keep a wet edge.
How long to let it sit
Wait minutes to about an hour depending on the product. Bare grain will dull as it soaks in; a sealed finish stays wet on top. Shorter time on sealed pieces prevents smears.
Wipe-off and buffing technique
Remove all excess with a clean, lint-free cloth. Buff until the surface feels dry-to-the-touch and looks even under light. Proper buffing stops tackiness and evens sheen.
- Repeat over days: for very worn areas, apply thin coats over several days rather than flooding at once.
- Carved details: use a small cloth and avoid buildup in crevices.
- End grain: expect faster absorption and use thinner coats to manage moisture.
Conclusion
Close with clear rules of thumb so you know when to clean, wax, or call a pro. The best results come from matching the product to the surface: unfinished kitchen pieces take conditioning oils, while finished furniture usually benefits from cleaning and a non-silicone paste wax.
Don’t expect oil to “feed” beneath an intact layer—most improvements are cosmetic and protective. Avoid silicone sprays and wiping drying oils over a finished tabletop; they can ruin future refinishing and create tacky spots.
Keep a simple maintenance rhythm for years: light cleaning as needed, occasional rewaxing of dull areas, and periodic reconditioning of prep boards based on washing frequency. If multiple zones look blotchy or worn through this year, plan for professional refinishing rather than more topical oil.
Result: steady, correct care keeps pieces looking richer, feeling smoother, and holding better condition through daily use and seasonal change.