Protecting antique veneer starts with simple awareness. Peeling means the edge lifts away. Lifting is a partial separation along a seam. Bubbling is a raised blister where glue has failed. Learn these signs early so you act before the surface fails.
Wood veneer is a thin layer of real hardwood glued to a substrate like MDF or particle board. Moisture weakens glue and leads to peeling. Heat can make the layer blister. Knowing the materials helps you prevent common damage.
You’ll get a clear plan: understand causes, adopt daily habits, clean safely, control the environment, stop small issues early, and refinish or seal correctly when needed. This guide focuses on practical steps you can do at home.
When you treat your furniture with intentional care, it can stay beautiful for years. The goal here is simple: reduce avoidable damage and extend finish life with easy routines you can follow over time.
Understand Why Veneer Peels and Bubbles in the First Place
Real wood layers over a support panel create beautiful surfaces, but the bond between them is the weak link. The thin wood top and the base expand and contract differently. That mismatch stresses the glue line when conditions change.

Over time adhesives age and finishes wear thin, so tiny edge gaps let moisture in more easily. Water on surfaces can migrate through a worn finish or seam and soften the glue.
Humidity swings cause the thin wood and the core to move at different rates. That movement opens seams, then lifting, blisters, and bubbling appear.
- Veneers are thin sheets of real wood bonded to a base; the glue line is the weak link.
- Moisture follows seams and worn finish, then breaks down adhesive and creates blisters.
- Heat and direct sunlight speed aging by softening glue and drying finishes, increasing failure risk.
In short, stability wins: keep steady temperature and a balanced environment to minimize stress on these delicate surfaces.
Protecting antique veneer with Daily-Use Habits That Prevent Damage
A few simple routines will stop common household wear from turning into permanent finish damage. Start with clear rules you follow every day and the risk of water marks, heat blisters, and edge lifting drops noticeably.

Use coasters and barriers to stop condensation and water rings
Coasters every time. Condensation from cold drinks leaves circular clouding on a finished surface. A thin barrier like a coaster or placemat is far easier than refinishing later.
Keep hot mugs and dishes off surfaces to prevent blistering
Heat plus trapped moisture can soften glue and make blisters. Always place hot items on trivets or heat-resistant pads to avoid stressing the thin wood layer.
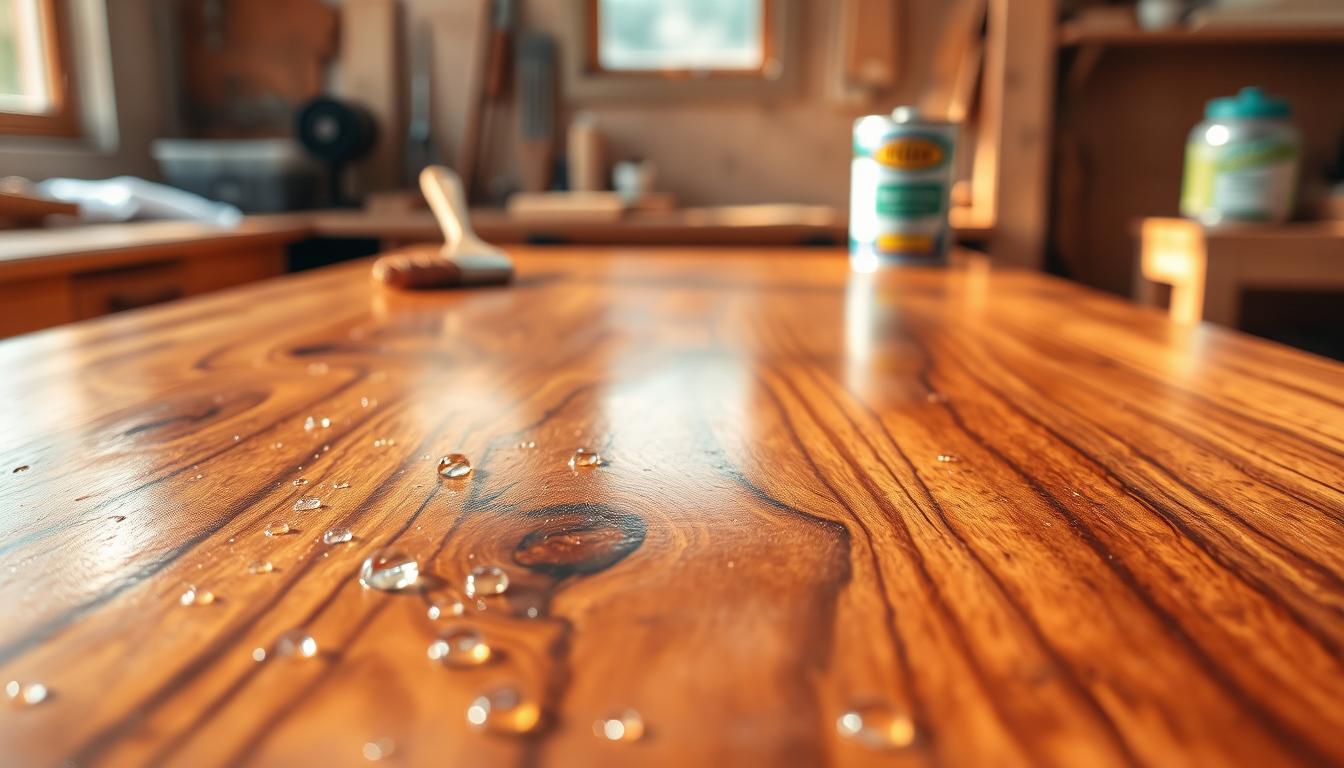
Clean spills immediately so moisture can’t seep under the veneer
Blot spills at once. Wipe gently with minimal water, then dry thoroughly. Never push liquids toward seams or edges, since moisture can start glue failure and later cause peeling.
Reduce wear in high-touch areas to minimize scratches and edge lifting
High-traffic corners and drawer edges wear faster and develop tiny lift points. Use felt pads, a soft desk mat, or careful handling to cut friction without altering the look of your furniture.
- Daily rules: coasters, trivets, and barriers for busy areas.
- Spill response: blot, light wipe, dry—don’t push water to seams.
- Protect high-touch zones with pads and gentle use to reduce scratches and water damage.
Clean Veneer Furniture Safely Without Dulling the Finish
Daily dusting and gentle wipes are the easiest way to stop grit and grime from dulling your furniture. Start by dry dusting with a clean microfiber cloth so you don’t grind particles into the finish.
For routine cleaning, dampen a second microfiber cloth with minimal warm water. Wring it so the cloth is only slightly damp, then wipe with the wood grain. Dry the area immediately with a dry cloth to protect the bond line.
For sticky grime, mix a small drop of mild soap in warm water. Wipe gently with the grain, then remove any residue and dry at once. This is the best way to clean without risking cloudiness or glue softening.
- Avoid ammonia-based cleaners and abrasive products; they can cloud the finish and change the look over time.
- Use wax or polish sparingly; repeated use creates residue that attracts dust and complicates future work.
- To reduce the appearance of a small scratch in one area, try a light oil polish and a soft microfiber cloth, buffing gently and stopping once the scratch blends in.
Your goal is to preserve the finish and the thin material beneath it, not to deep-clean aggressively. Treat cleaning as maintenance and you’ll extend the life and look of your pieces.
Control Moisture, Sunlight, and Temperature to Preserve Longevity
Small placement choices have a big impact on how long your wood surfaces remain stable and attractive. Choose spots that avoid direct sunlight and harsh artificial light to prevent fading and drying. A shaded area or a room with soft lamps keeps color and grain steady.
Keep a steady room rather than chasing perfect numbers
Rapid swings in humidity and temperature create stress between thin wood and its core. Those swings cause cracking, warping, and glue failure more than slight long-term variations.
Monitor conditions with simple tools
Use a basic thermometer or a combined humidity/temperature monitor. Check seasonal changes so you can adjust humidifiers or dehumidifiers before problems start.
Smart storage and placement protect design and material
Store delicate pieces flat and supported to prevent curling and splits. Avoid leaning items that stress seams. Long leaves may hang, but most furniture fares best when kept level and pressed.
- Avoid vents, radiators, fireplaces, and exterior walls that make microclimates.
- High humidity swells MDF or particle board and telegraphs through the top layer.
- Stable conditions extend the life and longevity of your pieces and materials.
Stop Small Problems Early: Scratches, Lifting Edges, and Cloudy Rings
Catch minor surface faults quickly so they stay small, easy fixes instead of big restoration jobs.
First, triage the area: decide if the issue is surface-only (a finish haze or scratch) or structural (a lifting edge or split). That choice guides your next move and limits further damage to the pieces.
Reduce scratch visibility quickly
For light scratches, use a gentle oil polish sparingly on a soft microfiber cloth. Work with the wood grain and stop as soon as the mark blends with the surrounding colour.
Fix water rings and cloudy spots before they set
Water rings signal moisture has reached the finish. Act fast: try mild drying and oiling first. For stubborn haze, a cautious naptha spot treatment can remove clouded finish—but test in an inconspicuous spot, ventilate, and never flood seams where liquid can travel under the surface.
Stabilize small splits early
Small splits can follow the grain if left loose. Use veneer tape to bind a tiny tear and reduce movement while you plan a repair project. That early restraint keeps a small problem from becoming a larger one over time.
- Triage: surface haze vs. structural split.
- Scratch fix: oil polish + soft cloth, follow grain.
- Safety: spot-test naptha, ventilate, avoid seams.
- Stabilize: veneer tape for small splits to prevent travel.
Refinish and Seal Veneer the Right Way to Prevent Future Bubbling
A cautious refinishing plan will keep you from making small faults much worse. First, inspect the piece for water damage, loose edges, or a warped substrate to decide if the project is sensible.
Why heavy liquid stripping can backfire
Liquid strippers may seep into breaks and soak MDF or chipboard. That swelling creates bubbles and warping and can render a piece unsalvageable.
Sand carefully and use the right sandpaper workflow
For most jobs, sanding is safer than flooding with chemicals. Start around 120 grit, then move to 150 and 180/220 to remove finish slowly.
Remember the top layer is very thin—about 0.5 mm—so avoid aggressive sanding that you would use on solid wood.
Prepare, stain, and seal for lasting protection
Use a pre-stain wood conditioner to even absorption and reduce blotchiness on worn areas.
Apply stain slowly with the grain and accept some variation. Seal with durable topcoats, follow grain direction, allow full drying (at least 12 hours), and lightly sand (320) between coats for the best way to boost longevity.
- Decide: assess substrate and water damage before you start.
- Safer sanding: progressive sandpaper grits protect thin real wood.
- Seal: proper finish and drying times keep daily wear off the wood surface.
Conclusion
Simple daily choices keep your wood surfaces from turning small flaws into big repairs.
Start with the high-impact habits: coasters, no hot items, and blot spills right away. Clean with a soft microfiber cloth and minimal warm water; use mild soap only when needed. These steps cut the chance that moisture or heat will reach the glue line and start lifting or bubbling.
Keep humidity steady and limit direct light to extend the life of your veneer furniture. Treat cleaning as upkeep and refinishing as a cautious project—sanding thin veneer needs care. Check your pieces often for scratches, cloudy rings, or tiny lifts so you can fix them while they are small.
Follow a simple rhythm—quick dusting, occasional mild wipe with the grain, minimal polish, and periodic checks—and your pieces will keep their design and function for years.