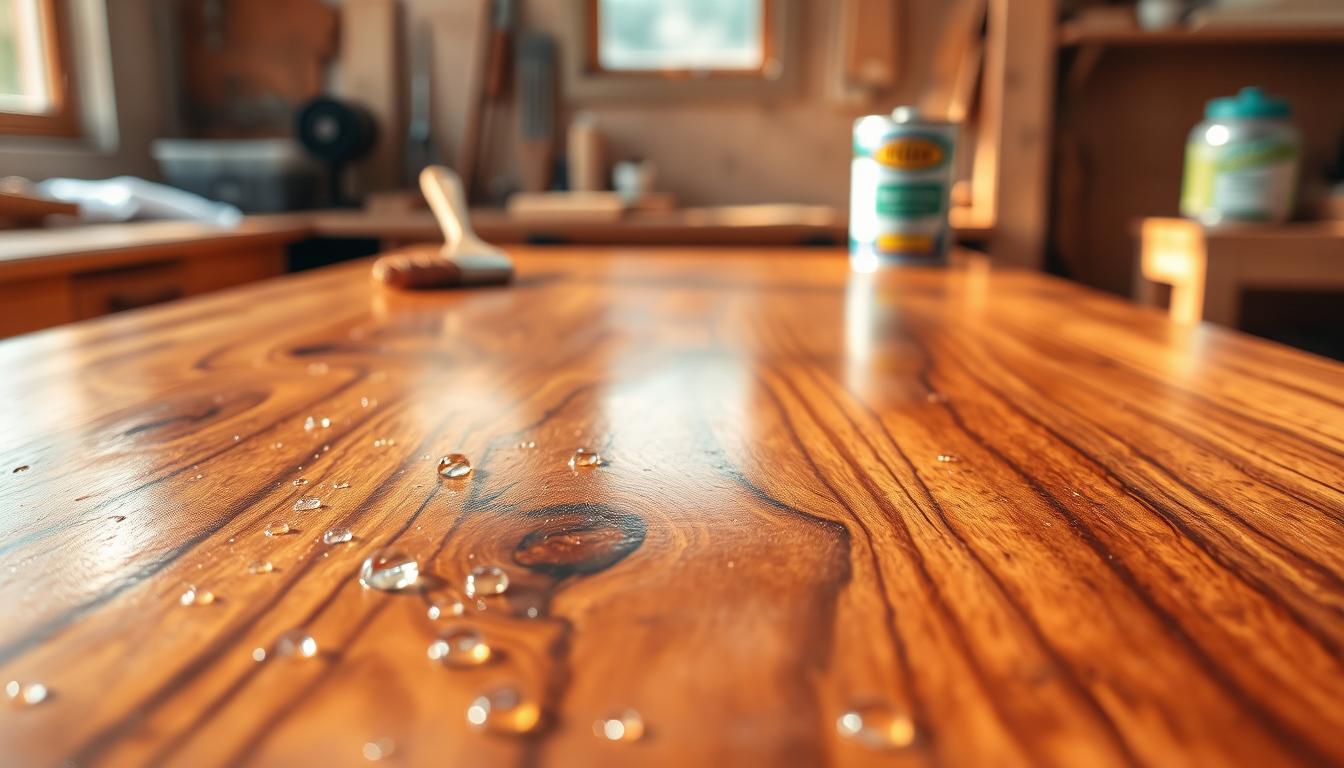
When you restore furniture or trim, a wood grain sealer is a pore filler that evens surface texture so topcoats lay down smoother. You’ll see similar items labeled as clear pore fillers or modern performance clear products in a store listing.
Use it when working with open-pore species, veneer, doors, or tabletops where pore telegraphing shows through finish. Skip the step for closed-pore pieces or when you want a textured, low-sheen look.
Expect a high performance clear product that fills pores, reduces telegraphing, and preps the surface for a top coat. Sizes usually include pint and quart options; regular price cues and unit price help you compare cost per volume.
Aqua Coat is a recognized brand here, offering a higher-solids gel formula that can fill in fewer coats for faster turnarounds. For product information or technical help, call 1-877-886-2422.
This page helps you weigh time and cost against finish quality and previews guidance on choosing filler vs sealer, benefits, and clean application tips.
What grain sealing does for wood restoration projects
If pore telegraphing shows through after your top coat, the culprit is usually untreated open pores.
Why pores telegraph through stain, paint, and clear finish: Open pores act like tiny channels. They absorb stain unevenly and pull clear finish into low spots. Under a glossy top coat, that contrast becomes obvious and your surface reads as textured instead of smooth.

What filling actually does at the surface
Filling levels those hollows so the next coat sits on a flat plane instead of sinking into lines. A proper filler creates an absolutely clear, glass-smooth surface that lets a top coat build evenly and sand back cleanly.
Filler versus sealer and practical rules
Use a pore filler when you need to physically fill deep pores for a furniture-grade finish. Use a sealer when the goal is to lock color, control absorption, and improve adhesion between coats.
- If you can feel the grain with your fingertips after sanding, you’ll usually see it after finish.
- One coat rarely covers very open-pore species; multiple coats are common on walnut and white oak.
- Stain can highlight pore structure and sanding between coats risks burn-through on heavily dyed pieces.
Time trade-off: Filling adds steps but often saves time overall by avoiding repeat build-and-sand cycles chasing telegraphing. Choose the method that matches the period look and sheen you need, not just smoothness for its own sake.
Wood grain sealer benefits you can expect from modern clear grain fillers
Modern clear pore fillers give practical, visible wins on restoration projects. You get a flat, clear surface that preserves your color and sheen while reducing rework and wait time between steps.

Clear, glass-smooth results that stay absolutely clear
The headline benefit: a clear wood grain filler levels pores to a glass smooth feel and stays absolutely clear under a top coat. That keeps your restoration color and clarity from looking cloudy or plastic.
Faster dry time and easy sand-back
Faster dry time means shorter waits between coats and less dust trapping in tacky layers. You can sand back the filler to the surface plane so pores stay filled without building a thick film that reads fake on vintage pieces.
Fewer coats with higher-solids gel formulas
Higher-solids gels, like improved Aqua Coat formulations, fill deeper with fewer coats. That saves time and reduces material build-up on open-pore species such as white oak or walnut veneer.
Stainable surfaces and finish compatibility
Choose a stainable filler with known finish compatibility so you can match existing finishes and use common topcoats, including instrument lacquer systems, without blistering or adhesion issues.
- Project wins: walnut veneer on radios, white oak tabletops, doors and trim.
- Instrument pathway: filled pore + instrument lacquer (Gloss Brite Tone) + Menzerna polishing.
- Performance cues: pro-shop reviews (Levin Handcrafted Guitars), long-term cabinetry use, and restorers reporting consistent results and time savings with Aqua Coat.
How to apply grain filler cleanly and avoid common restoration issues
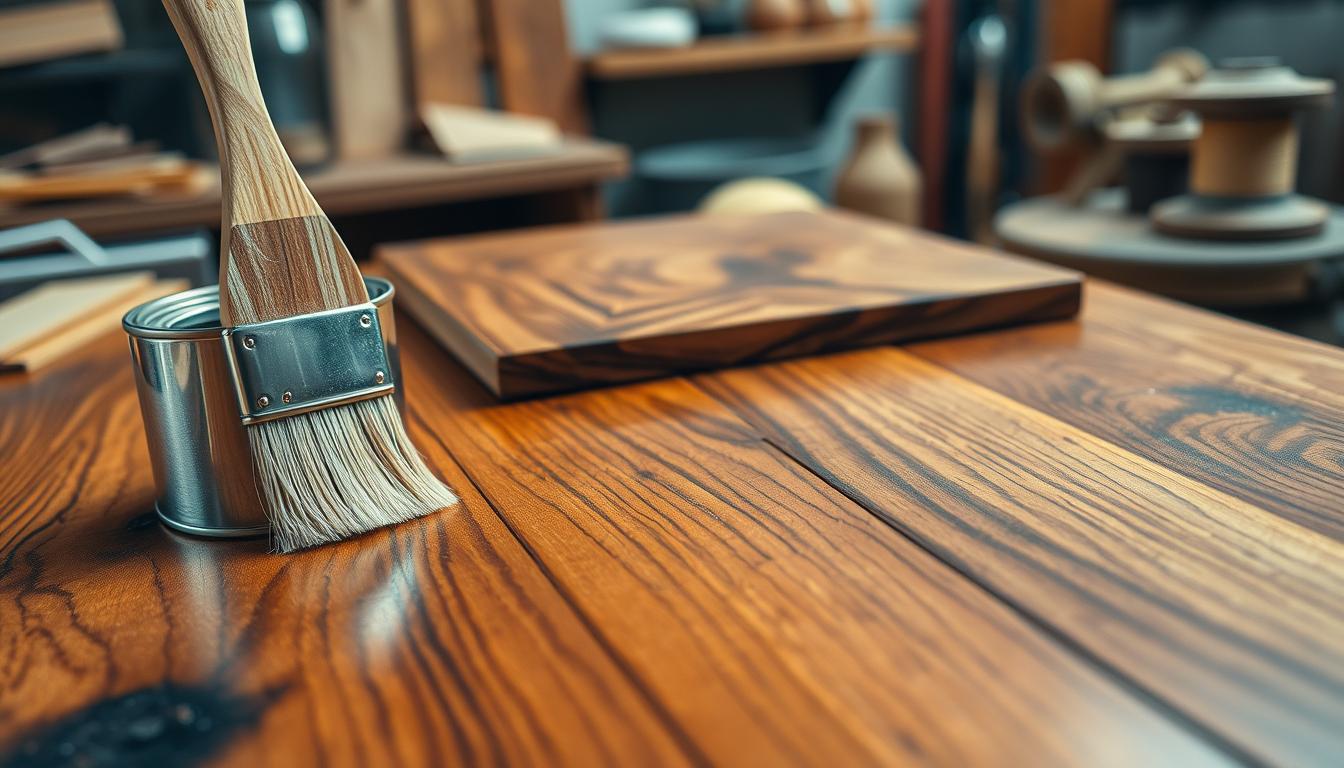
Start by planning thin, controlled passes so the grain filler levels without leaving hard ridges. Use a straight edge or a wide plastic putty knife to pull a skim coat across the surface. That motion removes excess before it cures and prevents the rivulets that are hard to sand.
Application methods that reduce ridges and buildup
Pull thin, even coats and remove surplus immediately. A CrystaLac reviewer found a wide plastic putty knife smooths off filler flush and often required three thin applications on open-pore pieces to fully fill.
Managing haze and clarity before you lock it in with a clear finish
If you still see haze after filling, don’t assume the clear finish will hide it. Sand the haze until it’s virtually gone. That preserves clarity under the final clear coat.
Protecting dyed or stained work when sanding so you don’t burn through
Sand with a light touch and correct grit progression. Focus on high spots and buildup rather than aggressive, wide-area sanding to avoid burn-through on dyed surfaces.
Troubleshooting “page blocked extension” errors when viewing product information
When a store page shows a page blocked extension message it often means a browser add-on is blocking scripts or resources. This stops product details and images from loading.
When to try disabling extensions or a blocked extension to load store content and results
Try disabling extensions one at a time and reload the page to identify the culprit. If disabling fixes the issue, re-enable necessary protections and consider allowlisting the store domain so you can access product information safely.
- Test board reminder: always try your filler + sealer/topcoat stack on a scrap piece before the full job.
- Use thin passes, full dry time, light sand, and repeat until pores are filled.
- When research is blocked, try disabling extensions, then re-enable and allowlist as needed.
Conclusion
Deciding whether to add a pore-filling step comes down to the smoothness you need and the openness of the surface pores.
Quick checklist: identify pore openness, pick your target sheen, and confirm if you will paint, stain, or clear. Then choose the right product and workflow for that plan.
Good results mean fewer visible pores, less telegraphing, and a more even topcoat with less rework. The commercial wins are clear: save time between coats, cut sanding cycles, and get consistent results on doors, trim, veneer, and other high-visibility pieces.
Aqua Coat is often referenced by pros as a high performance clear option. Compare price by size and coverage so you buy the right amount. Checkout is safe at most sellers; many state they don’t store credit card details.
Next step: pick your product, confirm compatibility with your finish system, and run a small test panel before the full restoration.