Your furniture is an investment. When you plan ahead, a storage unit can protect finish, joints, and fabrics. You’ll avoid common problems like cracks, warped panels, mold, pests, and faded upholstery by choosing the right conditions and using simple prep.
This guide shows you what safe storing looks like and why prevention is cheaper than repair. You’ll learn to pick a proper storage unit, clean and prep pieces, disassemble where needed, pad and wrap correctly, and set up airflow and moisture control. The steps apply whether you use self storage during a move, a short-term unit, or longer storage solutions while you renovate your home.
Keep in mind the main enemies: humidity swings, trapped moisture, pests, temperature changes, and bad stacking pressure. Think about the value of each item — antiques and solid timber often need climate control. The safest plan balances protection and breathability so wood can “breathe” while it waits.
Storing wood furniture: choose the right storage unit environment
Pick a steady environment to protect your pieces from seasonal swings and surprises. A controlled space keeps materials like veneers, leather, and upholstery from absorbing moisture or odors.

When climate-controlled storage is worth it
Choose climate control for long-term storage, antiques, heirlooms, or items with thin veneers, leather, or fabric covers. These materials absorb moisture and can hold odors, so paying more can save repair costs later.
How humidity and temperature cause damage
Fluctuating humidity and temperature make wood expand and contract. That movement leads to warping, finish cracking, and loose joints over time.
What to look for in self storage facilities
- Consistent temperature and controlled humidity—no big seasonal swings.
- Clean units, no musty smell, and no visible water staining.
- Well-sealed doors, clear pest-control practices, and a good reputation for stable conditions.
- Practical options like carts or dollies to reduce handling damage when you move items into the unit.
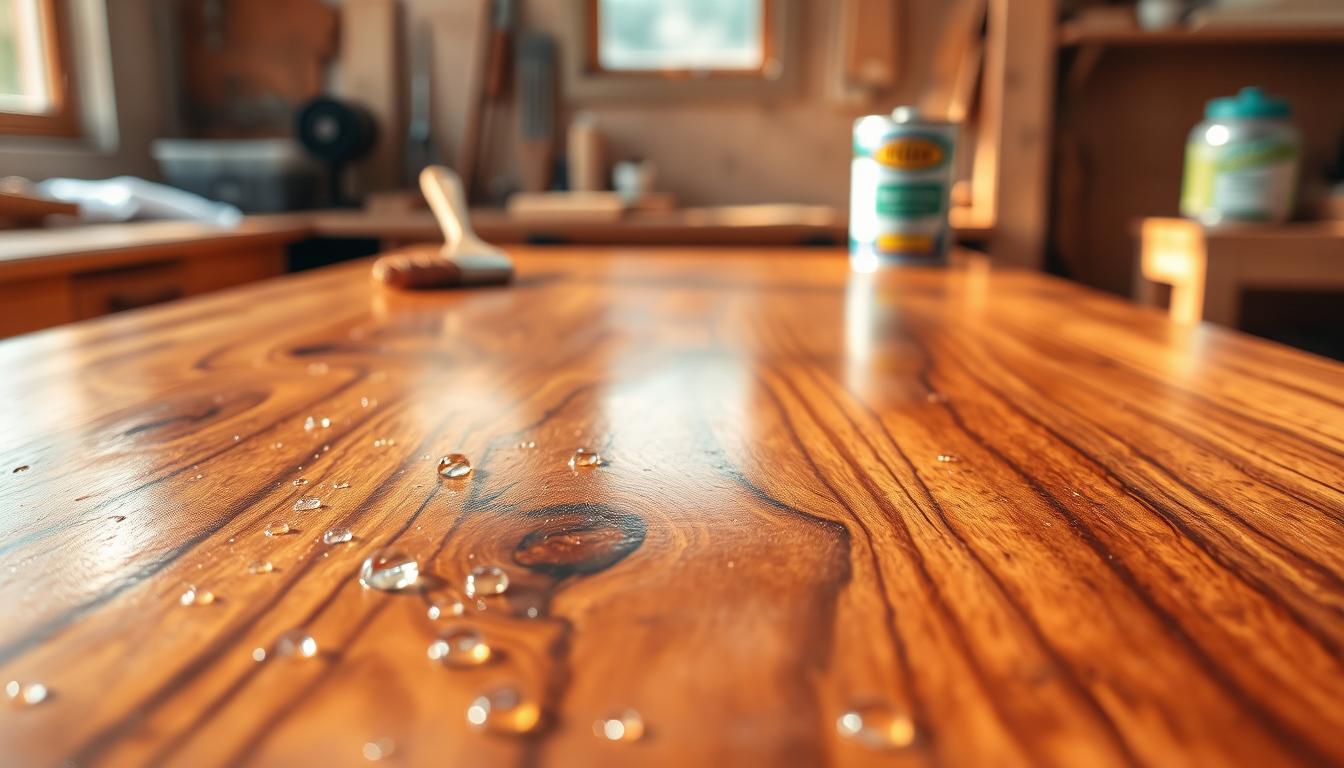
Clean, dry, and condition your wooden furniture before storage
Before you move anything, give each piece a careful clean so pests and damage don’t start while items sit idle.

Start by removing crumbs, spills, and visible stains. Food left behind attracts pests and raises the risk of odors and decay.
Use a mild soap-and-water mix on a barely damp cloth and wipe with the grain. Immediately dry the surface to avoid adding moisture that can swell joints or finish.
For crevices and carved trim, vacuum loose dust first, then use a soft brush to lift buildup so dirt won’t scratch the finish during moving or wrapping.
After cleaning, apply a quality furniture polish or paste wax to seal and protect the surface. A small amount of vinegar mixed with olive oil works as a gentle conditioner if you prefer natural options.
- Ensure there are no damp seams, wet undersides, or trapped moisture in drawers.
- If anything smells musty or feels cool, pause and fully dry it to prevent mold and mildew.
- Do this prep the right way once so your items come out of storage in the same condition they went in.
Disassemble and protect pieces to prevent scratches, dents, and breakage
Before you move large pieces, break them down into smaller parts to ease handling and cut risk. Disassembly lowers leverage stress on joints and reduces the chance of breakage when you lift or shift items.
What to take apart
Remove table legs, headboards, footboards, and shelves when possible. Take out drawers and cushions to lighten weight and avoid protruding corners that cause scratches.
Keep hardware organized
Bag screws, bolts, and small parts per piece. Label each bag and tape it to the underside or inside the matching item so reassembly is simple and quick.
Protect edges and trim
Wrap delicate edges, feet, and trim in a light layer of padding before you add outer covers. Use moving blankets, soft cloth, and minimal cushioning to avoid surface damage without trapping moisture.
- Photograph tricky joints before disassembly so you can reassemble with confidence.
- Do only what you can reassemble; practical limits save time and frustration.
- Proper padding prevents dents and pressure marks over long storage periods.
Wrap and cover furniture the right way for long-term storage
Choose coverings that protect but still let air move. Breathable covers like cotton sheets, canvas drop cloths, and moving blankets block dust while preserving airflow. These materials reduce the chance that trapped humidity will cause mold or swelling.
Pick breathable covers and understand the trade-offs
Prioritize natural or breathable materials so moisture can escape. Fine dust still matters; grit can settle and later scratch surfaces when you unwrap items.
Why plastic can be risky and when shrink wrap helps
Plastic wrap can trap moisture against surfaces and raise mold risk in storage units. Avoid full plastic seals for long stays.
Shrink wrap can work for short moves if the piece is fully dry. Leave small gaps or use breathable covers underneath so you don’t seal in damp air.
- Pad corners and edges first for impact protection.
- Add a breathable cover second for dust protection and airflow.
- Use minimal tape or straps to keep the cover in place without compressing trim.
- Label covered pieces and hardware so you don’t unwrap more than needed.
Remember: More wrapping is not always better. Breathability is part of protection when items sit for weeks or months.
Move and load furniture safely to reduce damage during transport
Most accidental damage happens while you move pieces, so plan for controlled handling from your home to the unit. Use tools and clear steps to keep pace slow and steady.
Use dollies, sliders, and careful lifting to protect you and your furniture
Bring dollies for heavy loads and sliders to shift items without scraping floors. If you rent a truck, use straps so nothing slides during transit.
Follow safe lifting basics: clear the path, bend your knees, keep weight close, and avoid twisting. Get help for bulky items to protect joints and reduce damage risk.
- Load large, sturdy pieces first to preserve space and create a stable base.
- Keep delicate pieces upright and secure them against shifting or pressure marks.
- Keep hardware bags taped to their matching parts so small items don’t get lost.
- Check if your self storage location offers carts or dollies—those options cut strain and reduce bumps entering the unit.
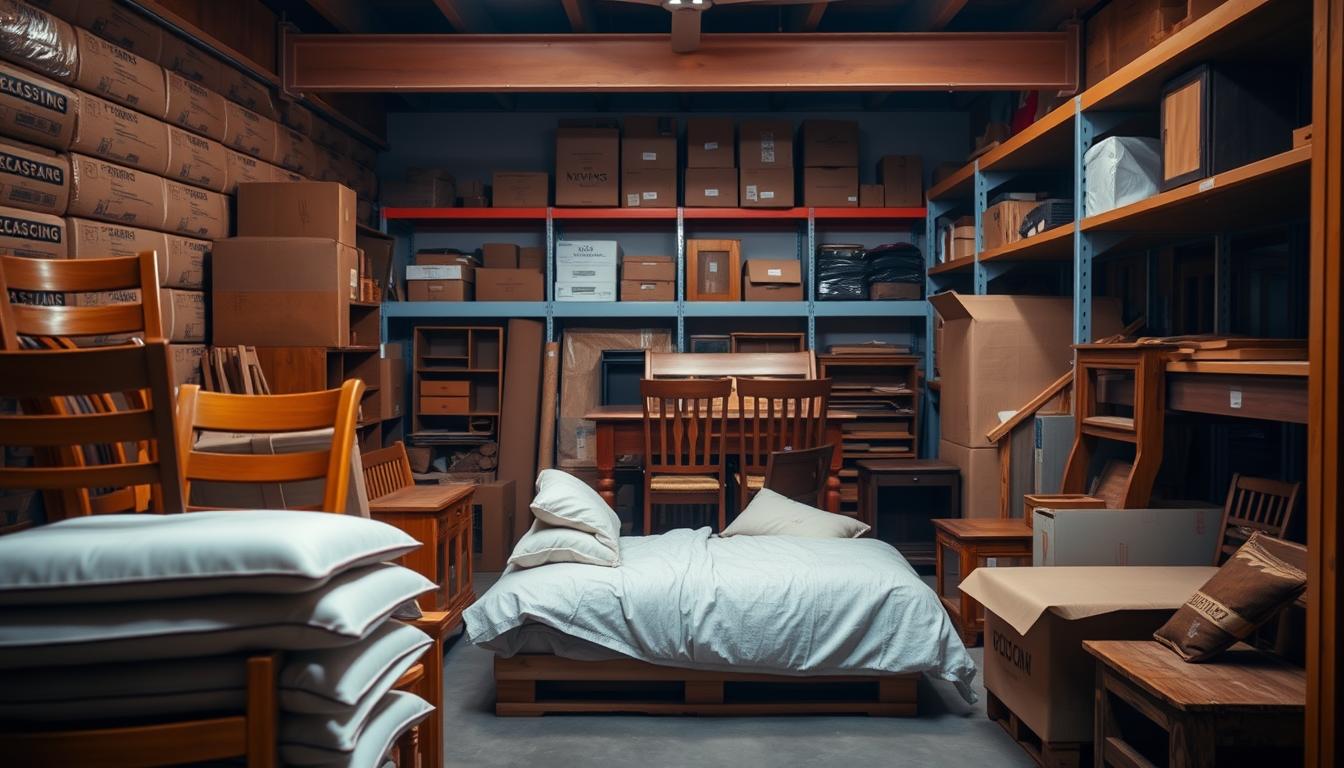
Set up your storage unit to control moisture, airflow, and pests
Think of the unit as a small environment you can arrange to stop moisture, pests, and warping before they start. Proper staging reduces damage and makes inspections simple.
Elevate, barrier, and ventilate
Start with the floor: lay a thick plastic sheet or tarp as a moisture barrier. Place pallets or 2x4s on top so each piece sits off the floor.
Keep a few inches of space between items and walls to improve airflow and cut condensation risk.
Monitor and deter problems
- Use silica gel, calcium chloride packs, or moisture-detection strips (like DampRid) to track humidity.
- Store only clean items and add cedar blocks or lavender sachets to deter pests.
- Avoid heavy stacking; if you must stack, only use flat, sturdy pieces and add padding to spread weight.
Inspect the storage area every 2–3 months in non-climate-controlled units. Quick checks catch stains, moisture damage, or pests early so you can act fast and protect your investment.
Conclusion
Before you lock the unit, confirm a few simple steps to keep things safe. Choose the right environment, clean and condition surfaces, disassemble and pad as needed, cover with breathable material, and load carefully to protect value during moving and storage.
Prioritize a stable climate for sensitive or high-value pieces. Breathable protection and good airflow prevent the most common long-term problems: warping, mold, loose joints, and finish damage.
Match your options to your time frame. Short stays may tolerate basic self storage, but long-term holds usually benefit from climate control and well-maintained facilities.
Before you close the door, check that each item is dry, elevated, not overstacked, spaced for airflow, and monitored for humidity. Do that, and your belongings will come out ready to use—no costly surprises, just peace of mind.