Maintaining outdoor sealants means keeping water out, protecting joints, and preserving the finish you touch. You should inspect furniture yearly to catch gaps, cracks, or soft spots before they let moisture in.
How long a sealant lasts depends on exposure, climate conditions, joint movement, and product choice. Use a consistent inspection schedule as your baseline rather than guessing by time alone.
Reapplying at the right moment matters. If you wait too long, water can cause swelling, splits, stains, and faster finish breakdown. A quality sealant should stay flexible to handle movement and weather swings.
Your goal is predictable maintenance that extends service life for years, not constant rework. This guide will show signs to watch for, what shortens life, and how to match products to your materials so you get the best results.
How to Tell It’s Time to Reapply Sealant on Outdoor Wood Furniture
A quick annual walkthrough helps you spot early gaps and weak seams before moisture reaches the wood. Focus your check where protection lives: joints, seams, screw penetrations, and end grain. Pay attention to any area where water pools or can sit.

What to check during your annual inspection to prevent unnecessary damage
Look for visual clues: peeling edges, micro-cracks, open seams, dark lines where water has been wicking, or a chalky, brittle bead. Gently press suspect spots to find soft or separated material.
Common signs of sealant failure from moisture, weather, and sun exposure
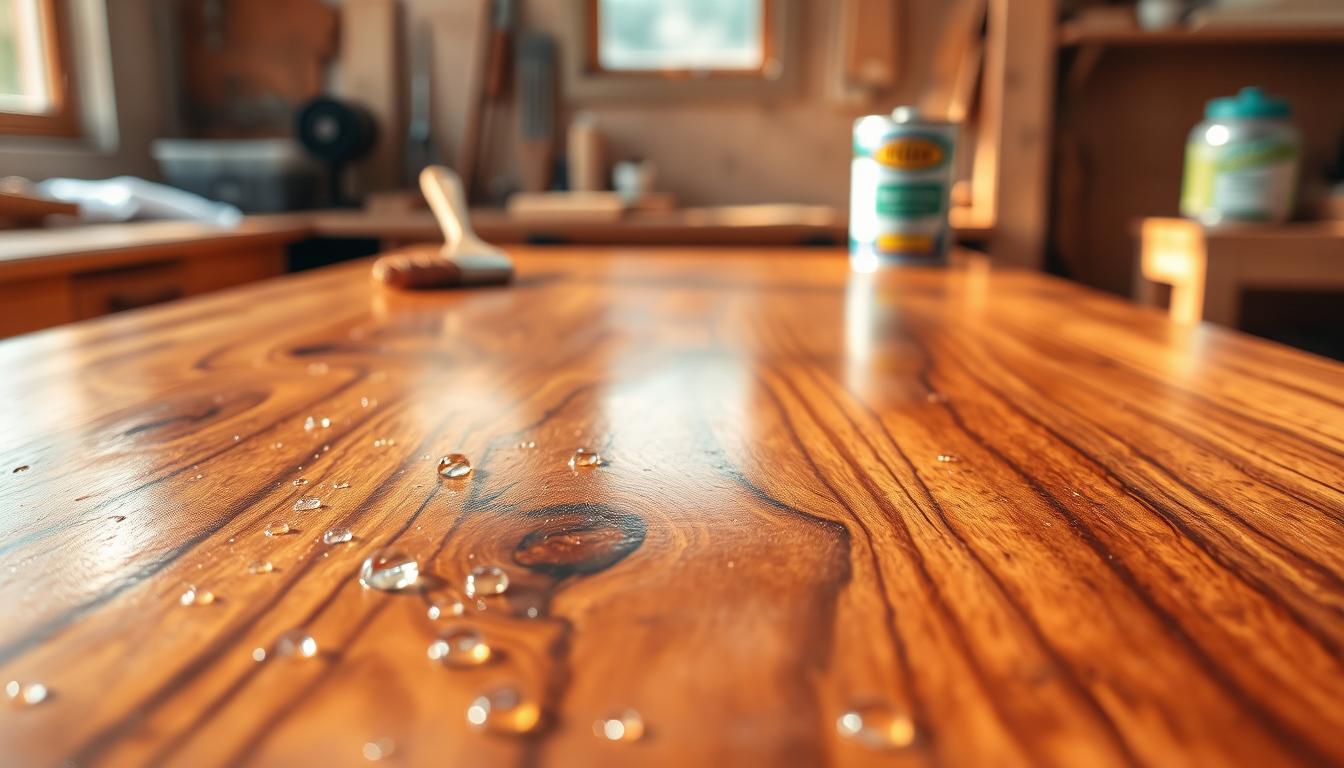
Do simple field tests: pour a little water and watch if it beads or soaks in. Beading means the surface still repels water; soaking means the finish or sealant is failing. Freeze/thaw cycles, wind-driven rain, and repeated wet/dry swings often open joints or create pinholes.
- UV exposure can discolor and shrink a bead, leaving gaps at the surface.
- Soft spots or lifted edges usually need removal and reapplication for good adhesion.
- If many joints and finishes show wear, plan a full refresh instead of spot fixes.
Maintaining outdoor sealants: What Impacts How Long Your Finish Lasts
Wood moves with heat and cold, and that movement ultimately tests the flexibility of your chosen product.

How temperatures and expansion/contraction break a seal
Repeated expansion and contraction from wide temperatures pulls at joints and gaps. If the compound is not elastic, the bead cracks and water finds a path in.
Why standing water and high moisture speed wear
Water sitting on horizontal surfaces causes swelling, edge lift, and mildew. Place furniture away from sprinklers and pool splash to reduce constant wetting.
Product choice, material compatibility, and following instructions
Pick a product that matches your materials. Not every silicone or polymer bonds the same to raw wood, painted boards, or metal brackets.
- Follow manufacturer instructions for prep, bead size, and tooling.
- Expect cure windows of about 24–72 hours; damp wood may need an extra 24–48 hours to dry.
- Higher quality products usually give longer life and better results under harsh exposure.
Make maintenance a simple system: choose the right sealant, apply per the instructions, and inspect before gaps widen. That approach saves time and keeps your finish working longer.
Choosing the Right Sealant for Outdoor Wood Surfaces
Choose a sealant based on how much movement, sun exposure, and wetting your wood will face.
Sealant vs. caulk and why elasticity matters
Elasticity is the key. Caulk (latex/acrylic) tends to be firmer and can shrink as wood expands and contracts. A true sealant stays flexible and keeps gaps closed as materials move.
When 100% silicone makes sense
Use 100% silicone for areas with heavy wetting, strong sun, or splash exposure. Silicone is waterproof, UV-resistant, and often antimicrobial. Note most silicone sealants are not paintable and cure in about 24 hours.
When polyurethane or elastomeric products fit
Choose polyurethane when you want a flexible, often paintable finish for joints that move. Elastomeric and acrylic-latex work well for trim, modest gaps, and areas you’ll paint later. Acrylic-latex cleans up easily but can take up to 72 hours to fully cure.
What to check on the label
- Look for “permanently flexible” and exterior use.
- Check ASTM marks like C920 (Grade NS Class 25+) or C834 for joint sealants.
- Compare products such as GE All-Purpose 100% Silicone, DAP Dynaflex 230, DAP Alex Plus, Sashco Big Stretch, and Sikaflex-1A to match materials and weather exposure.
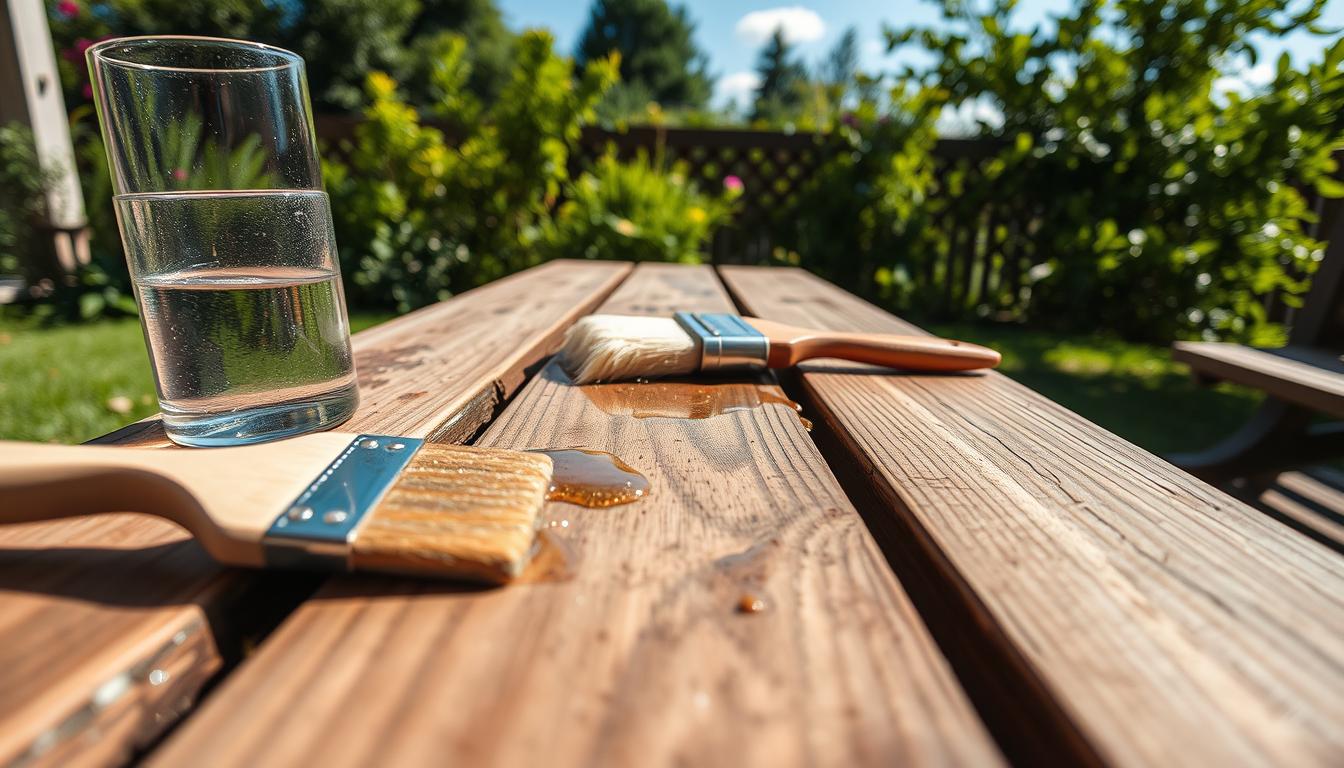
How to Reapply Sealant for Long-Lasting Protection
Before you squeeze a tube, check each joint and seam so you only re-seal the areas that need it.
Inspect and clean so the new bead bonds
Look for cracked beads, soft spots, and gaps around fasteners. Remove dirt, oils, and loose material so the new sealant adheres to a stable surface.
Remove old, failing material
Use a scraper or removal tool to clear old sealant from joints and gaps. Leaving residue can cause adhesion loss and early failure.
Apply and tool for a watertight finish
Cut the nozzle to match gap size, lay an even bead with steady pressure, and tool it smooth so the seal contacts both sides. Proper tooling improves the finish and the life of the seal.
Plan cure time and weather
Most silicone and polymer products cure in about 24–72 hours. Keep the area dry; cool or damp weather can extend cure hours and affect final performance.
- Mildew resistance: Choose mildew-resistant silicone for splash-prone areas to reduce mold growth.
- Ongoing maintenance: Inspect seasonally, clean pooled water from the surface, and cover during heavy exposure to avoid rework.
- Common mistakes: Skipping prep, using the wrong product, applying in wet or extreme weather, and not smoothing the bead.
Long-lasting protection comes from the full system: the right product, a clean dry surface, correct application, and enough cure time for the seal to do its job.
Conclusion
Spotting early failure is about routine checks and quick fixes, not last‑minute overhauls.
Inspect your furniture yearly and act when you see cracked beads, gaps, or softened material. Do a simple water test to confirm whether the finish still repels moisture.
Longevity hinges on three things: temperature‑driven movement, moisture exposure, and using products that stay flexible for exterior use. Read labels for “permanently flexible” and match product choice—silicone, polyurethane, or elastomeric/acrylic‑latex—based on whether you need paintability or heavy wetting resistance.
For best results, clean and dry the joint, remove old material, apply an even bead, tool it smooth, and allow the full 24–72 hour cure time. With this approach and regular checks, you can extend performance for years and avoid costly repairs.