Quick shine often masks long‑term harm. Many store-bought products focus on instant gloss, not the health of your wood finish. That one-size-fits-all approach can leave residue, haze, and a slick layer that traps dust and ages surfaces faster.
The category is broad: sprays, liquids, and pastes behave very differently. Treating every product as interchangeable leads to disappointing results across dressers, tables, and other pieces.
In this article you’ll learn the most common furniture polish myths and what really happens to wood and finish when you use the wrong product. You’ll also get clear tips for choosing options that match your real needs and routine.
Why this matters at home: frequent dusting and quick wipe-downs can compound buildup and dullness. The goal here is practical — better results without extra time or effort — and to show how correct prep and cleaning matter as much as the product you buy.
Why grocery store furniture polish can be tough on your wood finish
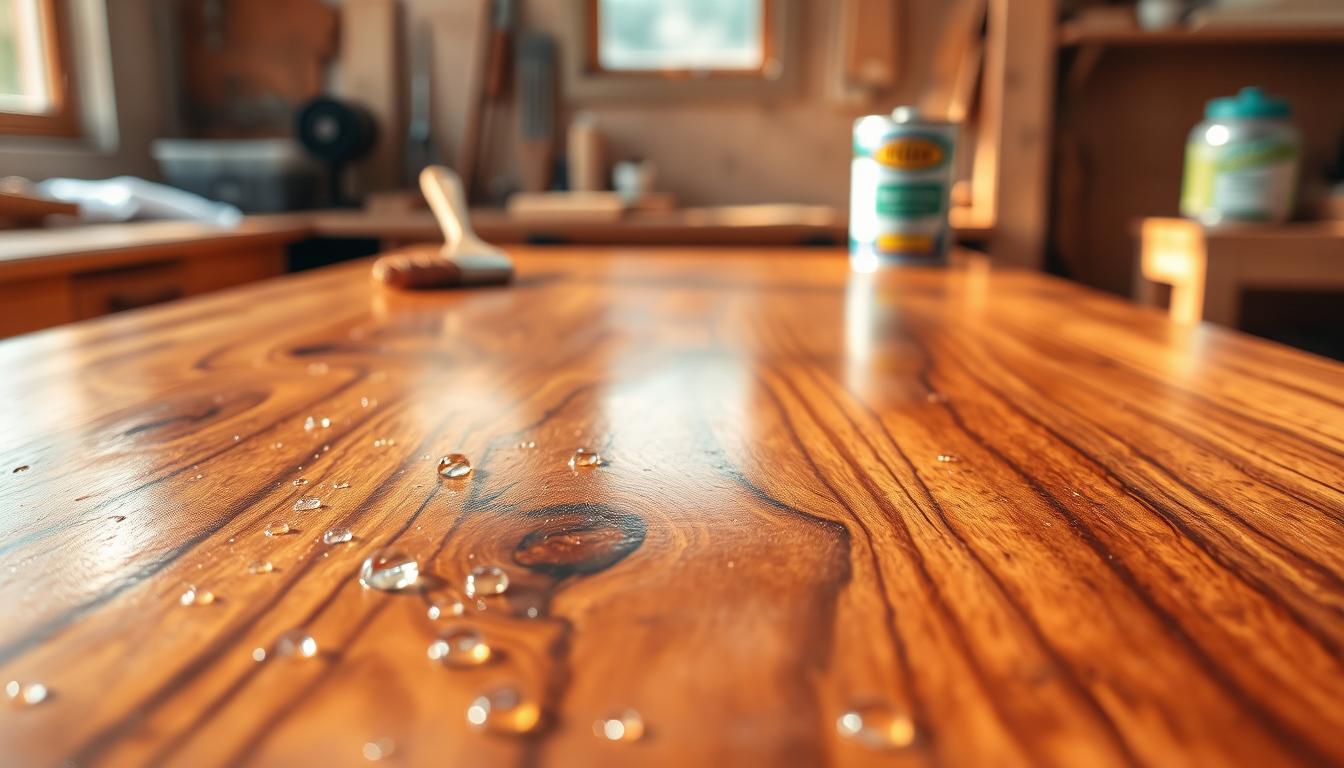
Many store polishes give instant shine, but that quick win can hide long-term problems. A typical spray leaves a thin film on the surface that changes how light reflects. At first the effect looks good. Over time that film builds up and alters the finish beneath it.
What “polish” actually does to a wood surface over time
The product often deposits a microscopic layer meant to boost gloss or mask scratches. Repeated applications make that layer thicker. Thicker film can attract dust and smear when you clean, and it can make future coats sit unevenly.
Residue and buildup that dulls results instead of improving shine
- Cloudy patches and streaks that won’t buff out.
- A slick, spreading feel that drags dust instead of lifting it.
- More frequent wiping, which causes micro-scratches over time.
Why “one product for every piece” is usually the wrong approach
Your dining table, an antique dresser, and painted trim tolerate different formulas. Start with cleaning first; otherwise you’re sealing dirt into the finish. If you want a steady shine and a stable finish, pick the right furniture polish for the job — not the quickest option on the shelf.

Furniture polish myths you’ve heard and what’s actually true
You’ll hear a lot of absolute claims about surface care. Some are helpful; others steer you toward extra work or poor long‑term results. Below are common myths and the facts you should use when deciding what to buy and how often to treat your wood.

Myth: All wood products are the same quality
Reality: “Wood” cleaners and glossers cover different chemistries and goals. Some boost shine, some add a thin protective layer, and some mask scratches. Match the formula to your finish and expected results.
Myth: Polishing daily protects better
Reality: Frequent applications waste time and build residue that dulls the surface. Most experts recommend treating pieces every three to six months, then adjust for sunlight, heavy use, or humid rooms.
Myth: Shine is all polish does
Reality: A proper product can add moisture resistance, make dusting easier, and help reduce fine scratches—not just improve gloss.
Myth: Vinegar or olive oil works as well as commercial options
Reality: Pantry fixes can leave sticky films or cause discoloration. Oils may go rancid; acids can harm certain finishes. Those quick fixes often create more work later.
Myth: Oil-based is always better than water-based
Reality: Oil formulas can deepen tones but may yellow or leave residue over time. Water-based options dry faster and resist yellowing, so choose based on the finish and the look you want to keep.
- Know your finish before you buy.
- Polish only as needed—don’t overdo it.
- Pick a product for protection goals, not just shine.
Next step: With these myths cleared up, choosing the right product becomes a matter of matching formula to wood, finish, and the results you want.
How to choose a quality polish based on your wood, finish, and purpose
Knowing what finish sits on your wood is the single best step toward a good outcome. Start there, then pick a product that supports your real purposes.
Match the product to the finish you actually have
Identify the finish first. Is it film‑forming (like lacquer), oil‑finished, or waxed? Each reacts differently to the same product.
Choose protection goals before buying
- Dust control — make maintenance easier without heavy buildup.
- Moisture resistance — choose stronger barriers for dining or kitchen surfaces.
- Scratch masking — use a cosmetic option for fine scuffs, not repair.
Look for signs the surface already has treatment: water beading, a waxy feel, or a slick sheen. These clues tell you what will blend and what will clash.
What quality looks like: predictable drying, minimal streaking, low buildup risk, and clear compatibility with your existing finish. Remember: a product can improve appearance but cannot rebuild a damaged finish.
Cleaning before polishing: the step that prevents haze, streaks, and scratches
Clean first, or you’ll lock grime into the finish. Polishing a dirty surface creates a hazy film that highlights streaks and increases tiny scratches over time. That extra work becomes a recurring job rather than a lasting fix.
Remove dust the right way so you don’t grind it into surfaces
Use a clean microfiber and lift dust with light strokes. Move in one direction and avoid pressing hard on dry dust.
A soft brush or compressed air helps in crevices. These methods reduce scratches and give you a safer start for any treatment.
When a solvent wipe makes sense and why fast-evaporating options matter
If you suspect oily residue or lubricant films, a controlled solvent wipe resets the surface. Naphtha is often preferred because it flashes off quickly and lowers swelling or streak risk.
Fast evaporation shortens the time liquids sit on the surface and reduces the chance of film distortion during finishing work.
How to spot polish buildup versus a worn finish
Buildup looks cloudy or smeary and changes when you wipe. A worn finish shows thin, even dull patches that won’t clean off.
How often you should polish for best long-term results
Polish on a schedule—about every 3–6 months for most pieces. Do lighter cleaning between treatments instead of frequent full applications.
- Why cleaning matters: prevents haze and streaks.
- Best dust method: microfiber, light strokes, one direction.
- Solvent use: for oily residues; choose fast‑evaporating agents.
Bottom line: the right cleaning routine saves you time and gives better, longer-lasting results. Prep is what separates a short-lived shine from a finish that ages well.
When “hand-rubbed” and specialty finishes change the rules
Some historic and hand-applied finishes behave very differently than modern sprays. That means the usual quick-clean routine can leave a sticky film, streaks, or worse damage the wood beneath.
French polishing is a true hand technique: it builds shellac in very thin films using a pad with an inner cotton or wool core wrapped in tightly woven cotton or linen. The maker uses straight, circular, or figure-eight strokes to layer shellac over time until the surface evens out and shines.
“Hand-rubbed French polish” on a label is redundant marketing. Focus on the actual finish you have, not a prestige phrase. The technique already relies on hand skill, slow build-up, and careful lubrication to prevent the pad from sticking.
Oils, sticky risk, and safer removal
Lubricants like mineral oil keep the pad moving, but some oils—raw linseed oil included—can stay tacky if not removed completely. That tackiness looks like dirt and makes cleaning harder years later.
For spot removal of leftover oil, naphtha flashes off much faster than mineral spirits and is a safer choice when you need to check progress without soaking the finish. Use gentle wipes and test in an inconspicuous area first.
Different finishes for different woods
- Shellac and darker species (rosewood, mahogany) matched well historically because shellac added warmth quickly.
- Sandarac and clear varnishes suited light woods and marquetry but dried very slowly.
- Wax was often the practical standard for interiors—Jean‑Henri Riesener recorded waxing inside and out for durability.
Takeaway: match your care to the finish and wood species, test gently, and choose minimal intervention. A cautious approach now saves you a major refinishing job later.
Conclusion
Long-term care starts with smart choices, not faster wipes. Many grocery options favor quick shine over lasting protection, so matching product to finish gives better results than frequent treatments.
Remember the core takeaways: not all solutions are equal, daily glossing often backfires, and DIY pantry fixes can leave sticky residue. Good cleaning resets the surface and prevents haze before you ever apply a treatment.
Identify your finish, pick a protection goal, then choose a quality product that supports that goal. For most homes, dust gently as needed, deep clean when buildup appears, and apply a measured polish on a schedule rather than by habit.
This simple way keeps pieces looking better now and makes upkeep easier over time.