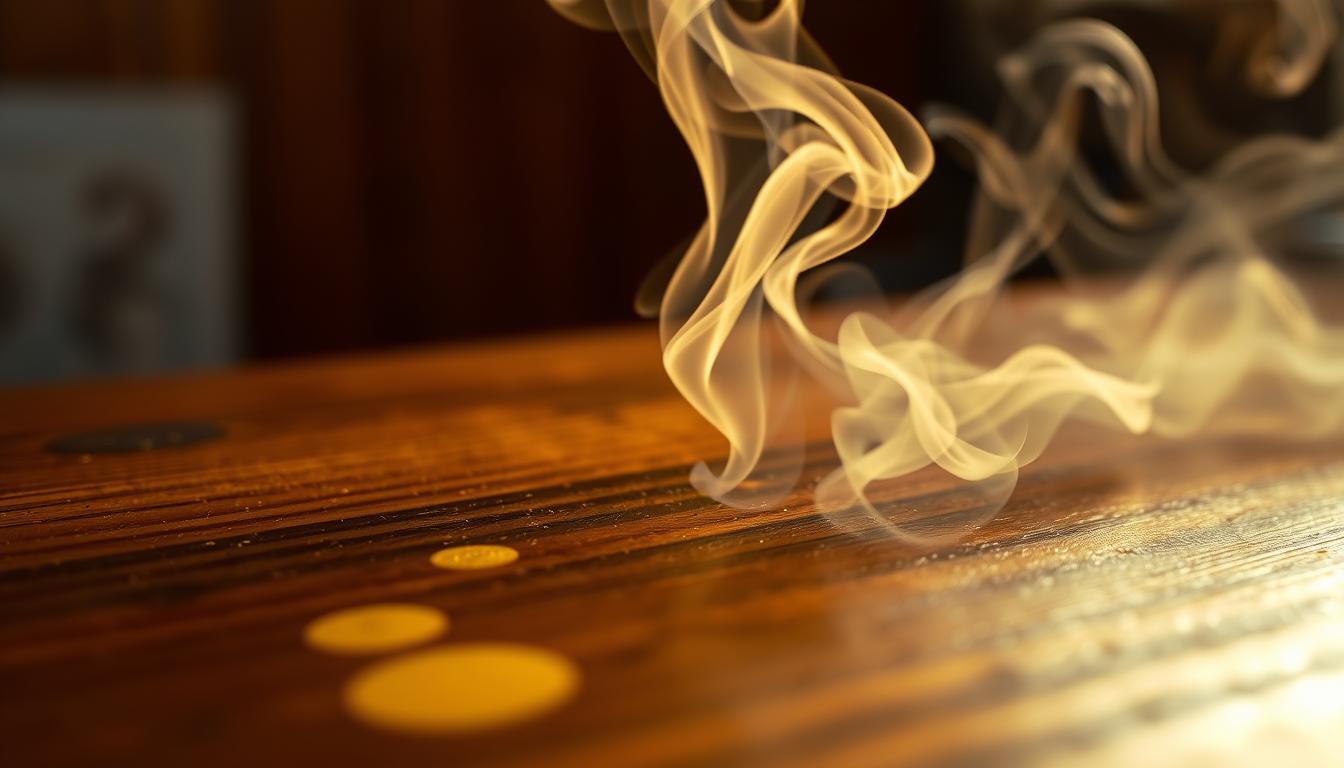
What you’re seeing: yellowing, a tacky film, or uneven discoloration on wood often comes from long-term indoor smoking. This film can cling to pores and finishes, so one wipe rarely solves the issue.
You can usually remove the film and reduce yellow staining, but expect to repeat passes or use stronger solutions if buildup is old. This guide moves from gentle to heavy-duty methods and shows how to handle odors and prep for refinishing if the finish has been oversaturated.
Protect the wood: work with the grain, limit water, and test a small area first so you don’t cloud a finish or swell raw wood. You’ll start with warm sudsy water, step up to TSP or TSP-PF for heavy buildup, and use vinegar, baking soda, or ammonia mixes only when needed.
Keep safety simple: wear gloves, ventilate, and avoid skin or eye contact. The tips here apply to cabinets, trim, doors, paneling, and furniture around your home that have picked up smoke residue over time.
Why Nicotine and Smoke Stains Turn Old Wood Yellow
Tiny smoke particles settle into pores and old varnish, producing a persistent yellow cast. That happens because the main chemical in tobacco smoke bonds to surfaces instead of staying airborne.

What the chemical is and why it sticks
Nicotine is a volatile, oily compound found in tobacco that rides on smoke particles. It lands on wood and mixes with household dust and oils, so the surface feels tacky.
How residue forms a stubborn film
Smoke leaves layered residue that can bond with finishes and dirt. Over time the color shifts from pale yellow to brown as layers build up.
Why smell often lingers
Even after you lift the surface film, embedded discoloration can remain in pores, seams, and micro-scratches. That trapped residue continues to off-gas, so the odor can persist.
- Surface film is often removable with cleaning.
- Embedded discoloration may need repeated cleaning or refinishing.
- Smoke builds quickly indoors, so layered cleaning steps work best.
Start gentle to lift grime without dulling or stripping the finish; the next section explains the basic supplies you’ll need.
What You Need Before You Start Cleaning Old Wood Surfaces
Before you touch the wood, gather the right kit so the job goes smoothly and safely. A quick setup prevents stops mid-task and helps protect finishes and floors.

Basic supplies
Assemble warm water, a mild dish detergent, a bucket, and several clean cloths. Use one cloth for wiping and fresh clean cloths for drying and checking progress.
Why both sponge and cloth sponge help
Bring a soft sponge and a cloth sponge. A sponge soaks and holds the cleaning solution for controlled wiping.
A cloth sponge and plain cloths rinse faster and let you dry or buff without leaving streaks.
Work flow, optional products, and safety
Set up a two-bucket system: one for the warm cleaning mix and one for rinse water. This keeps grime from going back onto the wood.
- Optional products: TSP or TSP-PF for heavy buildup, a dry-cleaning sponge for low-moisture pickup, and a Magic Eraser for small spots (test first).
- Safety gear: gloves and goggles protect skin and eyes. Wear old clothes and ventilate the area, especially if you use stronger cleaning agents.
- Prep tip: Protect nearby flooring, work in sections, and keep a trash bag and extra cloths handy.
Prep the Area and Protect the Wood Finish
Before you wet the wood, clear dust and grit so a cloth or sponge won’t drag particles across the finish. This dry step protects the surface and makes each wipe surface more effective.
Quick dry-prep:
- Dust by hand, then vacuum with a brush attachment to lift loose debris.
- Lightly brush crevices so you don’t grind gritty residue into the finish when you start wiping.
- Isolate the area by removing hardware where possible and covering adjacent floors or fabrics to stop runoff.
Test any cleaning solution on a hidden spot (inside a cabinet door or behind trim). Check for dulling, color shift, or finish softening before you clean the main surface.
Control moisture: use a damp—not wet—cloth and squeeze the sponge well after each dip. Work in small sections so water never sits in joints or end grain.
Good technique: gently wipe surface, follow with a rinse wipe, then dry immediately. Give the cleaner only brief contact time; don’t let liquid pool. Careful prep and steady technique usually prevent patchy results and water lines.
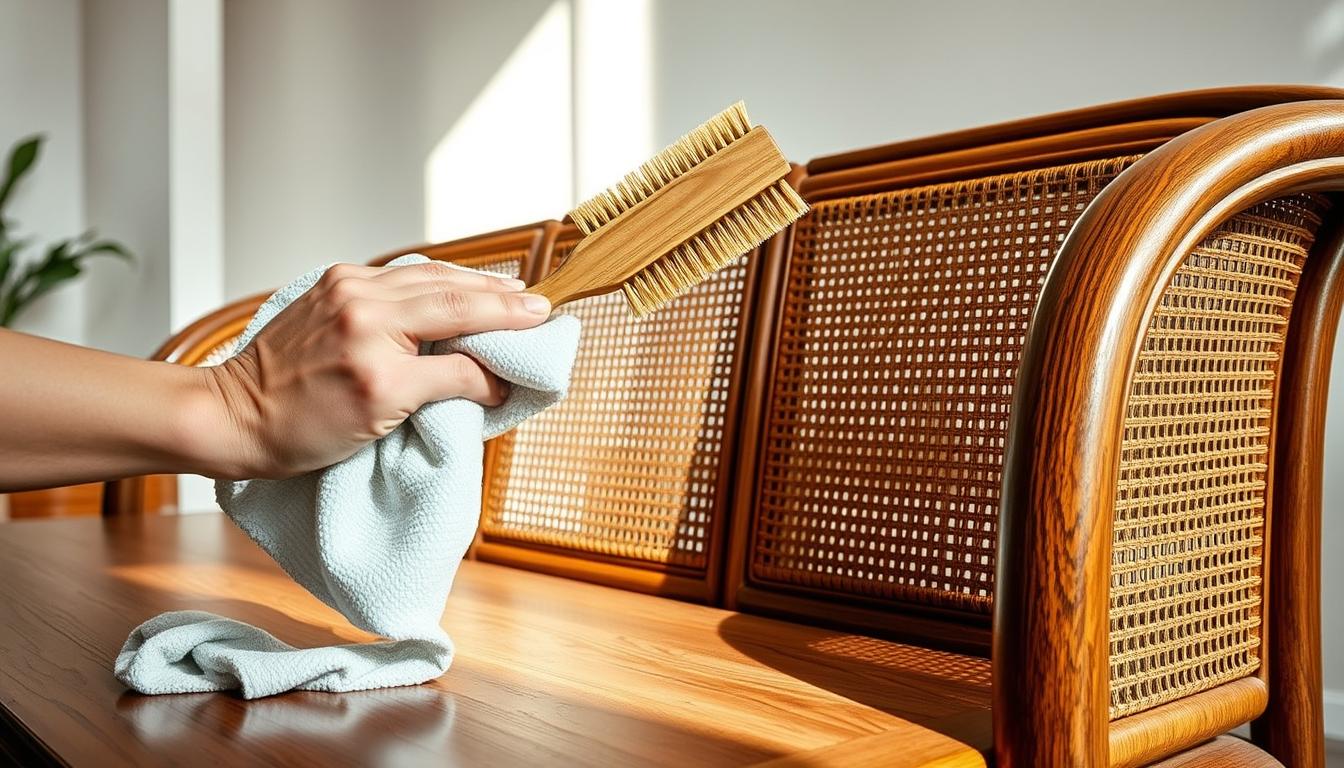
Removing nicotine stains With Warm Sudsy Water (Start Here)
Begin with a gentle approach: mix warm water with a small amount of dish detergent to make a light sudsy solution. This low-risk mix lifts surface film without harming most finishes.
Mix and prep
Submerge a clean sponge or cloth in the warm water and detergent blend, then wring until it is damp, not dripping. Controlled dampness lifts film instead of soaking joints or end grain.
Wipe and check
Wipe the surface with the grain using a soft sponge or cloth. For carved or detailed areas, use light pressure and repeat passes rather than hard scrubbing.
Rotate to a clean section of the cloth as you work. A yellow-brown transfer on the cloth shows the film is lifting.
Rinse and dry
- Rinse with a cloth dampened in plain water to remove soap residue.
- Immediately wipe dry with a clean, dry cloth to prevent water marks and raised grain.
- If marks remain, repeat the warm water and detergent cycle once or twice before moving to stronger cleaners.
Stronger Cleaning Solutions for Stubborn Nicotine Stains on Wood
When soap and water don’t finish the job, move up to a heavy-duty product that targets deep film and grease. Use approved powders or mixes designed for household wood and follow the label for safe dilution.
Using TSP or TSP-PF safely
If you see heavy yellowing or a sticky film after several gentle passes, use TSP or TSP-PF. Follow the manufacturer’s directions on the box for the correct dilution of the solution. Never guess ratios—too strong a mix can harm finishes.
Application technique
Work in small sections. Dip a soft sponge lightly, wring until damp, and scrub in controlled circular motions. Wipe with the grain when possible to protect the surface.
If finish lifts onto the cloth or color transfers, stop and reassess before you continue.
Rinse, safety, and disposal
Thoroughly rinse with clean water and change rinse cloths often. Wear gloves, keep airflow moving, and avoid contaminating other surfaces. Do not store used solution; dispose of it per local rules and product labeling. This step usually helps remove nicotine film, but deep discoloration may need repeats or spot treatment.
Vinegar, Baking Soda, and Ammonia Options (When You Need Extra Power)
When basic washing won’t clear tacky film, pantry cleaners give you controlled extra cleaning power. Use them for spot-treating persistent yellow patches after your initial wash.
White vinegar + baking soda mix
Mix 1 cup (240 ml) white vinegar, 2 cups (470 ml) warm water, and 0.5 cups (120 ml) baking soda carefully to form a workable cleaning mixture.
Dampen a clean cloth (do not soak) and rub in a gentle circular motion on the stained area. Avoid letting the solution pool in seams or veneer lines.
Ammonia option and safety
For tougher spots, prepare 1 part ammonia + 1 part vinegar + a couple squirts of dish detergent in a bucket. Use this only with windows open and strong ventilation.
Wear gloves and goggles, and work quickly. Scrub gently with a cloth or soft brush in circular motions.
Rinse, repeat, and damage prevention
- Do not skip the rinse: wipe the area down with clean water on a fresh cloth to remove any cleaning agent residue.
- If marks remain, repeat with fresh solution and fresh cloths, increasing gentle dwell time rather than scrubbing harder.
- Stop if the finish dulls, lifts, or hazes; revert to milder methods or seek professional help for valuable pieces.
Odor and Residue Control After Cleaning Smoke-Stained Wood
Odor often outlasts visible grime because chemicals keep off-gassing from porous areas. Even when the finish looks clean, residue can hide in joints, grain, and nearby materials and continue to smell.
Why the smell can persist and how to reduce it while you work
Keep ventilation running and swap rinse water and cloths often so you don’t reintroduce the smell to other surfaces. Bag dirty rags and launder or discard them to stop spread around the home.
When to try odor-neutralizing approaches
If you clean repeatedly but the smell remains, try light essential-oil sprays (eucalyptus or lemon) for a short-term refresh. Ozone generators are used to break down odor molecules, but follow safety instructions and remove people and pets before use.
Prep for refinishing or repainting
Once the wood is dry, prime with an odor-blocking oil-based primer such as KILZ to stop bleed-through and help remove nicotine smell from returning. This step is key if you plan to paint walls or furniture.
When to hire professional services
- If multiple rooms, upholstery, or walls are affected, pros can treat both surfaces and air.
- Professionals offer deep cleaning, ozone or thermal fogging, and targeted odor agents.
- Call help when time is limited, the odor persists, or you worry about damaging valuable wood.
Conclusion
Stick to a clear progression: wipe with warm sudsy water, rinse and dry, then escalate to heavier solutions only as required.
Start with gentle cleaning and move to TSP/TSP-PF or targeted vinegar, baking soda, or ammonia mixes when film stays. Work in small sections and keep moisture controlled so joints and veneer don’t swell.
Always wipe with the grain, rinse thoroughly, and dry immediately with a clean cloth or sponge. Use fresh cloths as you go to avoid re-depositing residue.
Protect yourself: wear gloves, goggles when needed, and ventilate the room. Be patient—old buildup often lifts over repeated passes rather than one harsh scrub.
Check nearby walls and other surfaces if smell or discoloration remains. When ready to repaint or refinish, consider an oil-based, odor-blocking primer for a lasting result.