If you are waxing wood furniture, set realistic expectations. A good wax will add feel, a subtle sheen, and light protection. It won’t make an armor-like surface.
Mark Schofield tested 21 brands on cherry boards with a shellac washcoat and three coats of wiped-on polyurethane. The final look was mostly similar, but effort, odor, and price varied a lot.
Think of wax as a final-touch step. It smooths the surface and raises the shine you want after a solid finish is already in place. It works best on bedroom pieces, display items, and decorative accents, not on heavy-use tops.
Later you will weigh paste vs. liquid, tinted options, hardness, smell, and value. Your results will depend on species, prep, and how thinly you apply each coat. Follow simple tips: prep well, apply thin coats, let a haze form, then buff to your preferred sheen.
What a Wax Finish Does for Solid Wood Furniture
A wax finish forms a thin film when the solvent evaporates, leaving behind a smoother, low-profile coating. This layer improves luster and makes the surface feel slick under your hand while offering only light protection against scuffs and fingerprints.

How wax adds luster, slick feel, and limited protection
The solvent in the product flashes off and a thin wax film remains. That film boosts sheen and reduces friction so the piece has a nicer feel.
Don’t expect strong resistance to water, heat, or heavy abrasion. Wax provides modest protection and is best for low-traffic areas.
Why many products look similar but differ in use
Test results showed most finishes land in the same sheen range over an existing topcoat. The real differences are how much elbow grease they demand, how strong the odor is, and whether the price matches the experience.
When wax hides small flaws and evens the surface
Working paste or liquid wax into pores can mute tiny haze, faint swirl marks, and light unevenness. You apply, wait a few minutes for a haze, then buff.
- Thin film: improves luster without bulk.
- Light protection: guards against mild scuffs and fingerprints.
- Quick timeline: wait minutes, then buff; repeat for more build.
Choosing the Right Wax for Your Piece and Your Space
You’ll want a wax that fits the level of use, the look you want, and the wood’s grain. Pick carefully and you save time and maintenance.

Types and ingredients
Paste wax gives control and depth on smooth, close-grained surfaces. Liquid options are easier to apply but can sit differently on the surface.
Tinted waxes add tone to dark pieces and help even blotchy areas, but they do not replace a stain or a full refinish.
Why hardness and ingredients matter
Beeswax brings warmth and a softer feel. Carnauba adds hardness and wear resistance. Paraffin makes budget blends. Solvents like mineral spirits affect odor and drying.
- Match to the project: choose gentle paste for antiques, softer blends for low-traffic accents, and harder blends if light wear is expected.
- Grain matters: close-grained boards take paste wax well; open-grained pieces may need filling before waxing.
- Buy checklist: consider odor, buffing effort, and value; keep a cloth or a small brush for trim and carvings.
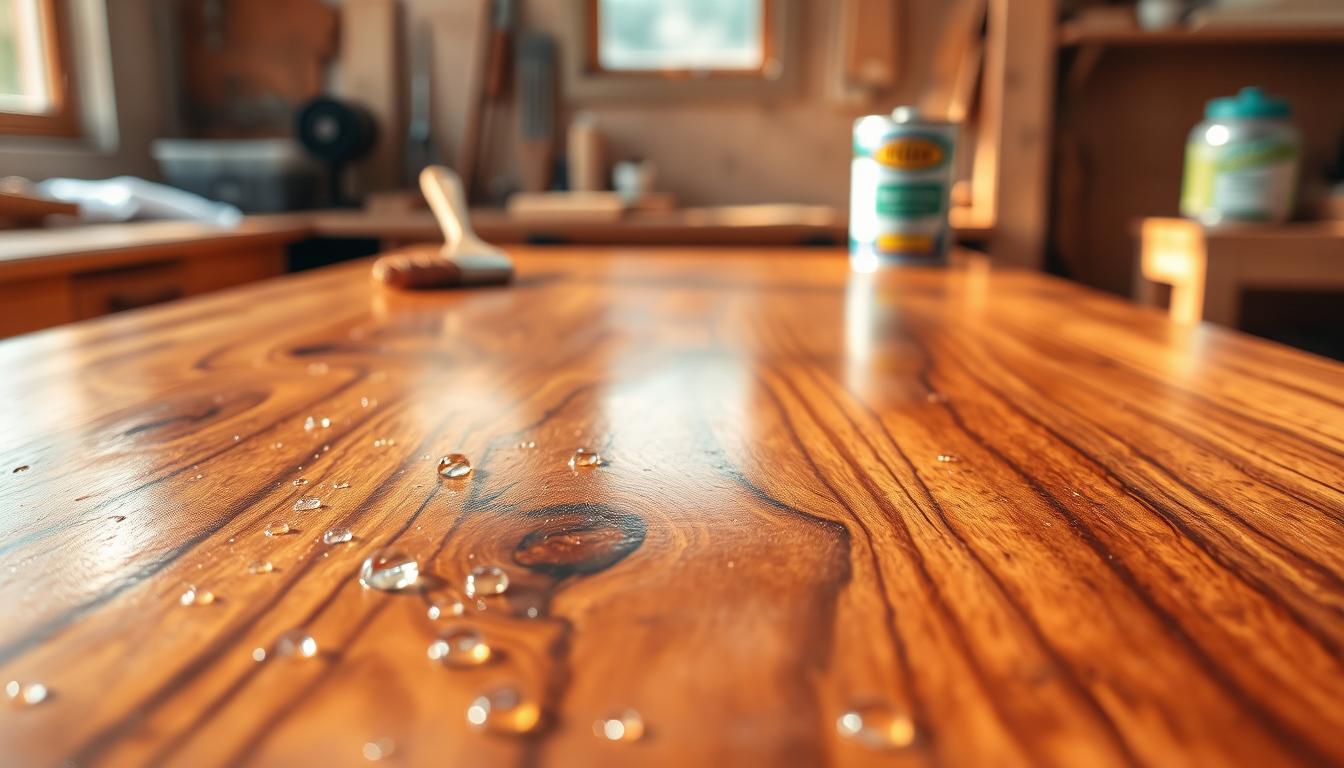
Waxing wood furniture: Prep Work That Makes the Finish Look Even
Start by eliminating dust and grease so the final sheen looks uniform. Clean the surface with a mild cleaner, then dry and wipe again with a clean, lint-free cloth to remove any residue.
When a shellac washcoat helps: On bare wood, a thin, thinned shellac sealer evens out fibers and stops blotchiness. Let it dry fully, then gently go over the area with 0000 steel wool along the grain.
After steel wool, remove particles with a tack cloth. A true clean means no silicone sprays, no oily film, and no embedded dust that will ball up when you apply the coating.
- Surface smoothing: Use 0000 steel wool with the grain, then wipe with a tack cloth.
- Open-grain tips: Fill pores on oak or similar species before you apply wax to avoid tiny pits showing through.
- Finish schedule: Apply wax only over cured shellac or fully cured wiped-on polyurethane as a final polish, not over uncured layers.
Good prep reduces buffing time and delivers a more consistent sheen across the entire piece.
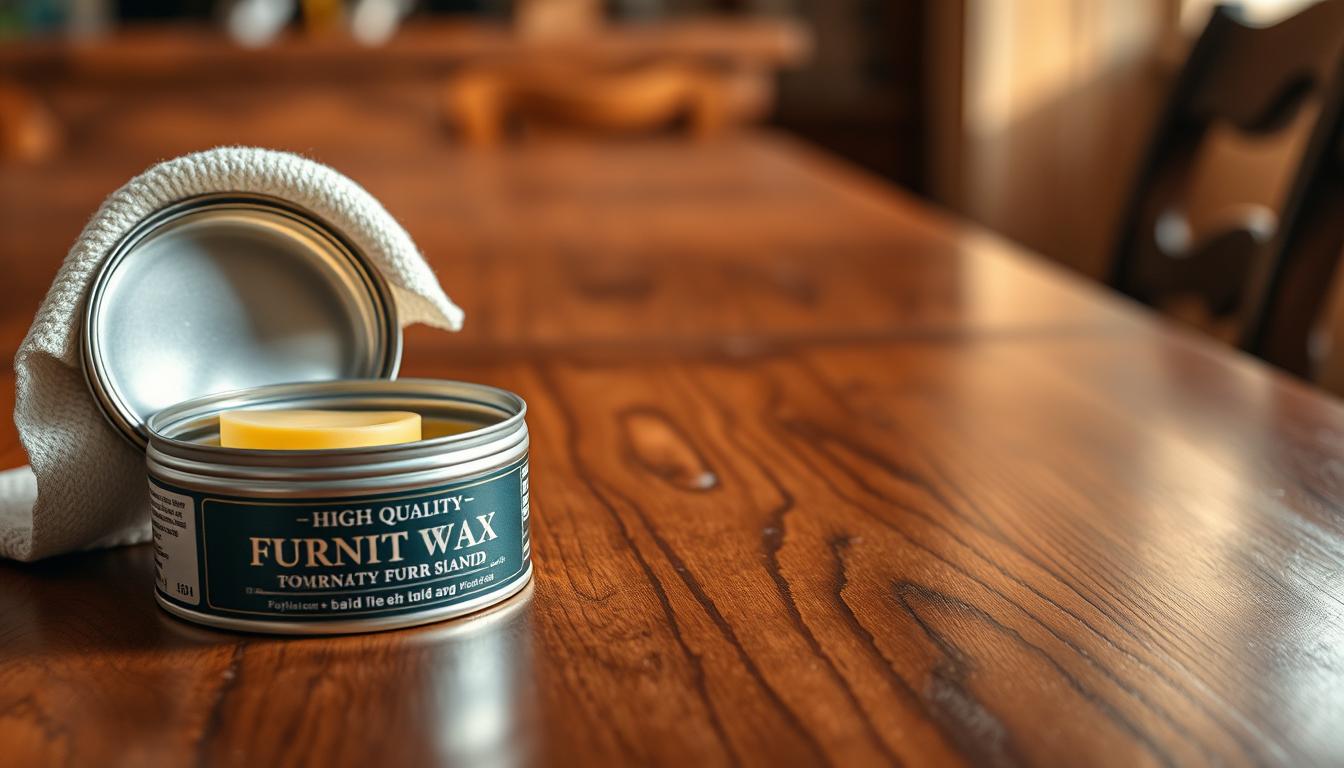
How to Apply Paste Wax for a Smooth, Durable Sheen
A steady hand and the right tools make applying paste wax a quick, controlled process. Start with clean, cured finish and good light so you see haze and streaks as you work.
Tools and quick checklist
- Lint-free cloth for spreading and a soft buffing cloth for shine.
- Wax brush for crevices and an open-weave cotton pad for flat areas.
- Optional 0000 steel wool for satin blending.
Easy apply technique
Load a small amount on the cloth. Spread a thin paste layer and work a small area at a time. Use circular motions into the grain for carved spots and straight passes along the grain on flats.
Haze, buff, and layering
Wait for a dull haze—often 10–20 minutes depending on temperature and humidity—then buff. Stop when you reach a satin sheen or keep buffing for higher shine. Add a second or third thin coat after 1–2 hours if needed. Allow fuller cure for 24 hours to several days before heavy use for best protection.
Troubleshooting, Refreshing, and Removing Wax Without Damaging the Finish
Most common faults come from too much wax or buffing too soon. If you see streaks, smears, or tacky spots, start by identifying whether excess product or humidity caused the issue.
Fix streaks, smears, and tacky spots
Rebuff the area with a clean, dry cloth using brisk, even strokes along the grain. That often clears haze and light smears.
For tacky patches, remove excess with a second cloth and very light pressure. If the tack remains, remove the thin layer and reapply a lighter coat after the surface dries.
Refresh dull or worn areas
Buff frequently touched spots first to see if sheen returns. If not, apply a very thin coat wax and buff to match adjacent areas.
Work small sections and let each coat haze before buffing. That saves time and keeps the sheen even across the piece.
Strip old wax safely
Dampen 0000 steel wool with mineral spirits and rub with the grain in small sections. Wipe the waxy slurry immediately with a clean cloth.
Repeat until the surface feels dry and not slippery. Allow enough time for solvents to flash off before deciding on another pass.
Testing and avoiding finish conflicts
New topcoats won’t bond over residual wax. Do a small adhesion test on an inconspicuous spot before switching finishes.
If bond fails, remove all wax down to a dry surface. Follow safety basics: ventilate, handle rags safely, and protect surrounding areas from drips.
- Quick diagnosis: streaks = too much product; tacky = insufficient dry time.
- Fast fix: rebuff, spot-remove, then recoat thinly if needed.
- Removal: mineral spirits + 0000 steel wool, small sections, immediate wipe-down.
Conclusion
Most waxes end up with a very similar look, so pick by how they feel and perform. A good wax adds immediate shine and a silky touch to your wood furniture without heavy build.
Remember that this finish offers only light protection. Treat high-use tops with caution and expect to spend a little time on upkeep for the most-used piece.
Choose among waxes by testing spread, haze time, and buffing effort in your space. Smell and price matter too—what you tolerate at home makes a lot of difference.
Get consistent results: prep well, apply thin coats, wait for haze, then buff. This method beats chasing a single brand every time.
Plan routine touch-ups. With a small investment of time, you can refresh the shine and keep the finish looking its best for years.