You can restore a bright, even gloss without stripping the surface. This simple process uses a soft, lint-free cloth and a light polish to lift residue and smooth the finish. Work in small sections and keep pressure steady for the best results.
Start by gathering supplies: a microfiber cloth, a suitable polish, and good lighting. Clean the surface first to avoid trapping grit. Apply polish sparingly in thin coats and move the cloth in controlled strokes.
Why the cloth choice matters: stray fibers or rough material can leave haze or tiny scratches that reduce shine. Swap to a clean section of cloth often to avoid streaks.
Expect improved gloss on sealed finishes, but know that deep scratches or water damage need repair before you can truly restore the look. I’ll guide you through the full steps and common pitfalls so you can safely enhance the finish without harming it.
What You Need Before You Start Buffing Wood Furniture</h2>
Prepare a small work station with the correct cloths and products to protect the finish and speed progress. Gather quality items so each step is clean and controlled.

Lint-free cloth options
Microfiber and soft cotton are your best choices. They trap dust and avoid tiny scratches that rough rags can cause. Carry a few spare cloths so you always have a clean section to use.
Polish, wax, and cleaning choices
Use a light polish for quick sheen and routine maintenance. Choose paste wax when you need longer-lasting protection on high-use surfaces.
Pick mild, wood-safe cleaners only. Harsh chemicals can strip the finish and create uneven sheen that is hard to correct.
Essential tools and detail items
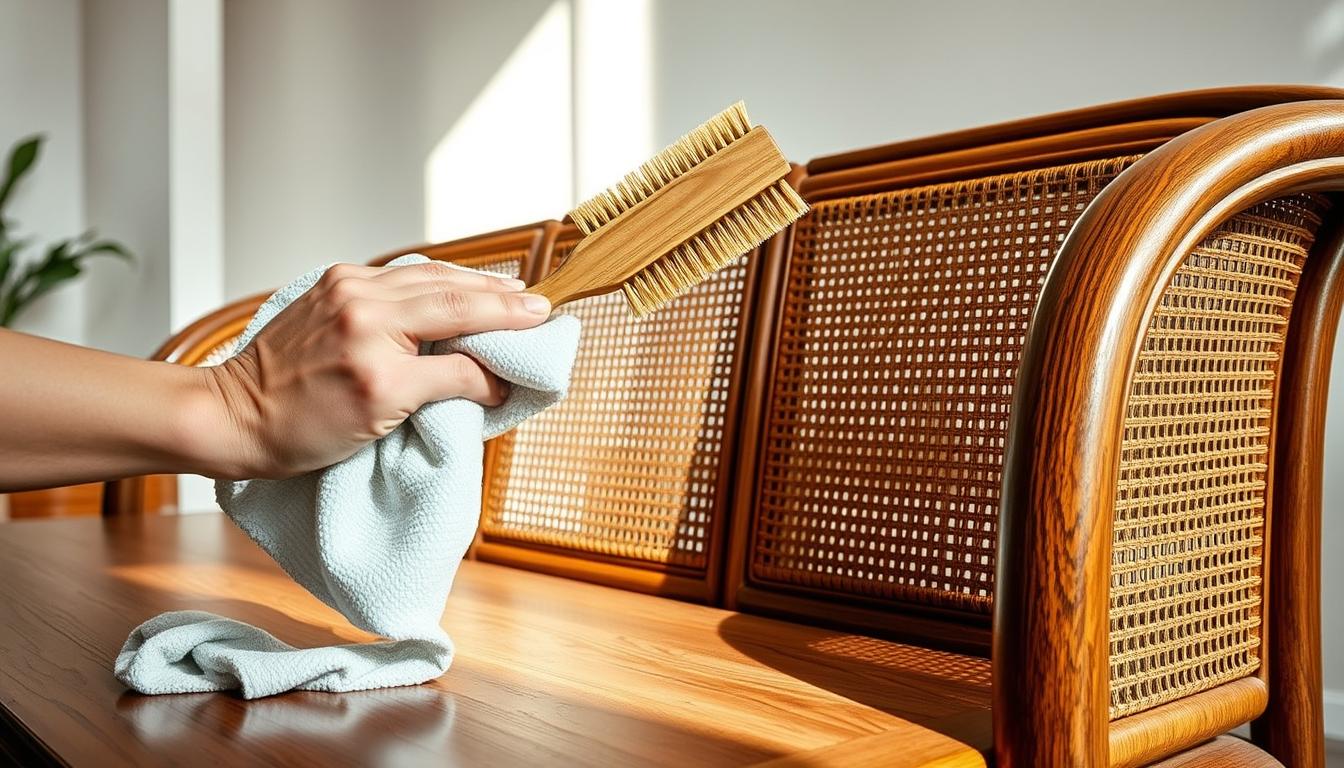
- Microfiber duster and a soft brush for carved areas
- Cotton swabs or detailing brushes for edges and corners
- Gloves to protect your hands and steady your grip
When to use abrasives and power help
Reach for fine-grit sandpaper, a sanding sponge, or fine-grade steel wool only on rough patches and only when compatible with the existing finishes.
An electric buffer or drill attachment helps on large tables, but use a light touch and follow the product and manufacturer directions to avoid damage.
Prep the Wood Surface for an Even, High-Gloss Shine</h2>
Begin by clearing the work area and inspecting the entire surface under bright light. This first step helps you spot stains, scratches, dents, and dull areas so you can plan where to spend more time.

Dust first so dirt won’t grind into the finish
Dust from top to bottom using a soft duster or a microfiber cloth that lifts particles. Start at the highest point and move downward so debris doesn’t fall onto areas you already cleaned.
Remove sticky spots with minimal moisture
Use a barely damp lint-free cloth and mild soap for sticky residue. Wring the cloth well—avoid soaking the surface—to prevent swelling or finish damage.
Spot-check and mark problem areas
Scan the entire surface in good light for stains, scratches, and dull patches. Note each area so you can target sanding or extra cleaning only where needed.
Sand rough patches with the grain and wipe clean
Use fine-grit sandpaper and sand along the grain with gentle, even pressure until the area feels consistent. Remove all sanding dust with a tack cloth so particles won’t mix with polish and create haze.
Allow full drying time before you polish
Let the piece air-dry completely away from direct sunlight. This prevents trapped moisture under finish and keeps the final sheen even instead of streaky.
- Dust top-to-bottom
- Use minimal water for sticky spots
- Sand only where needed, then tack-cloth
Choose the Right Polish or Wax for Your Furniture and Finish</h2>
Picking the right product makes a big difference in how the surface looks and lasts. Match a polish to the existing sheen and the species of the piece so you enhance grain without creating a smeary film.
Match product to your material: for hardwoods like oak, an oil-based polish or a heavier wax can deepen grain and add protection. For softer finishes, choose a lighter liquid polish to avoid buildup.
Work with the existing finish—matte, satin, or high-gloss—rather than trying to force a different look. A different product can change color or sheen and lead to uneven results.
Patch test first. Try any product in a hidden spot and follow manufacturer directions for application and dwell time. Apply sparingly; thin coats prevent sticky residue and streaks.
- When paste wax makes sense: high-use tops that need longer protection, but buff thoroughly to avoid haze.
- Homemade mix: 1 part distilled vinegar to 3 parts olive oil can clean and add temporary sheen; avoid it on old or compromised finishes that need restoration.
Apply Polish with a Soft, Clean Cloth for Consistent Coverage</h2>
Begin by applying a small, controlled amount of polish to a clean lint-free cloth. Use a soft cloth so you do not overload the surface. A little product spreads farther and makes the next step easier.
Use thin, even coats in small sections to prevent streaks
Load the cloth with a pea-sized amount and spread it out before touching the piece. Work one small area at a time so the application stays wet and even.
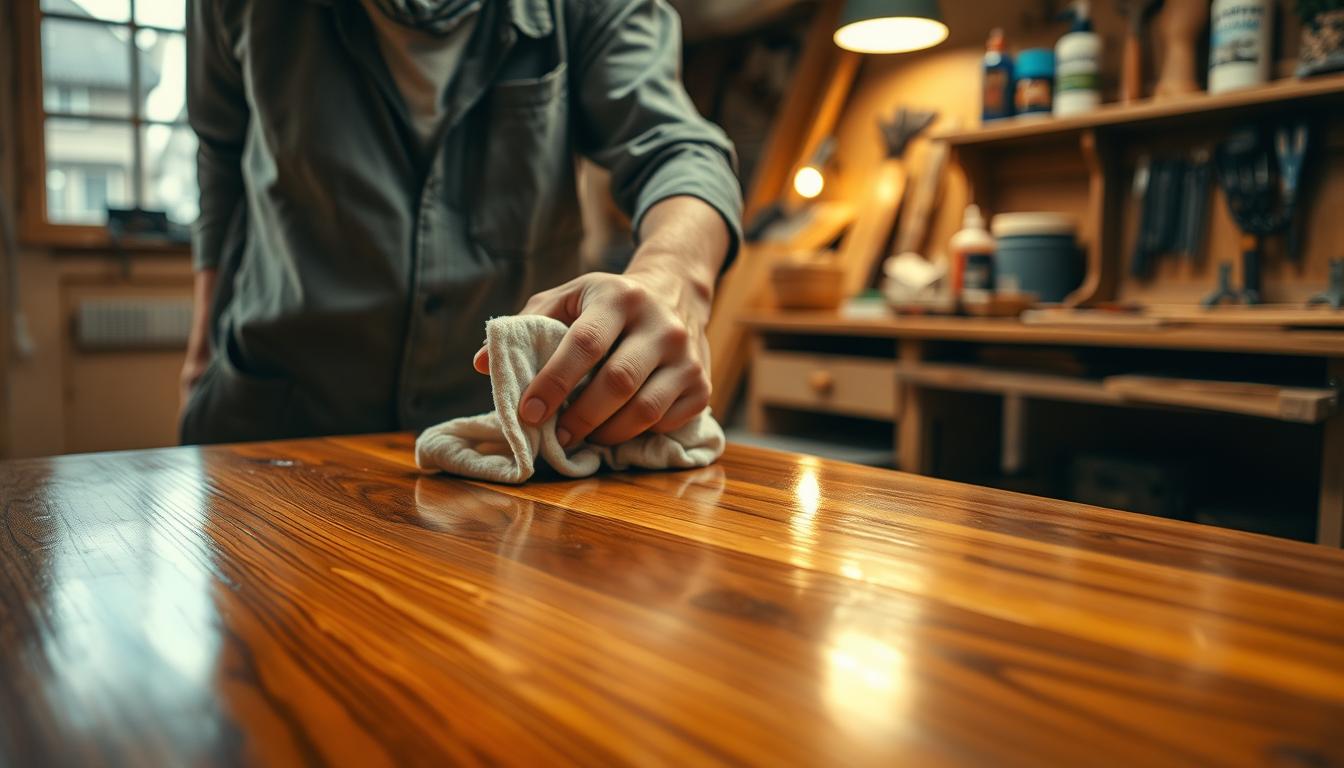
Rub in the direction of the grain to protect the finish
Make long, controlled passes that follow the grain. This way you improve penetration and clarity in reflected light.
Let the product sit for the manufacturer-recommended time before buffing
Allow the polish to rest for the labeled time—often 15–30 minutes—so oils or waxes bond properly. Move area by area instead of coating the entire surface at once.
- Load the cloth sparingly to avoid flooding or streaks.
- Apply thin, even coats and keep consistent pressure.
- Save circular motions for the final shine; the application step is grain-focused.
- Pace yourself by finishing one area before starting the next.
Less product usually gives a cleaner result. It’s easier to get a high shine when you are not fighting residue. Follow the process and the product label for best results.
Buffing Technique to Bring Out a High Shine Without Swirl Marks</h2>
Begin the shine step by focusing on a single, manageable area before moving on. Work one small patch at a time so you keep control and avoid uneven results.
Core move: use circular motions with moderate pressure. The goal is enough friction to activate polish, not to heat the finish or leave swirl marks.
When the section looks even, switch to a separate clean cloth for the final pass. A fresh cloth lifts residue instead of just spreading it around.
If dull spots remain, reapply a tiny amount of polish only on those spots. Blend outward into surrounding areas so the sheen matches.
- Plan your pace: expect several minutes per section; paste wax may take 10–15 minutes for one spot.
- Work systematically across the whole surface so lighting stays consistent.
- For large pieces, an electric buffer helps—keep it moving, use low speed, and check the finish temperature often.
Done looks like: no haze, no tack, and a consistent reflective shine across the surface.
Conclusion</h2>
Wrap up the job with a clear routine that protects the finish and preserves shine.
Start by summarizing the key steps: prep the surface, pick the right polish or wax, apply thin coats, and buff patiently with clean cloths. Keep your technique steady—work in small sections, use consistent pressure, and swap to a fresh cloth often.
Maintain results by dusting weekly to prevent dirt and grit from dulling the finish. Do periodic cleaning with a wood-safe cleaner and avoid harsh chemicals. Reapply polish or wax when the piece looks dull, often every 3–6 months depending on use.
Give extra attention to high-touch areas and keep pieces away from direct sunlight and heat. With the right prep, product, and care, your furniture will keep a clearer reflection and a longer-lasting shine.